
Troubleshooting
On This Page...
01. Why Is My Solar Light Not Lighting Up?
02. How To Install Solar Post Caps
03. Why Does My Solar Post Cap Not Fit On My Post?
04. How to Replace Battery
05. How To Install Kingsbridge Solar Post Cap
06. How To Install SLO82 Imperial Solar Post Cap
07. How To Install TRA45 Base Adapter
08. How to Install Solar Post Cap on Flat Railing
01.
Why Is My Solar Light Not Lighting Up?
Battery Replacement
Ensure the battery is making secure contact with the terminal. Batteries should be replaced every 2-3 years.
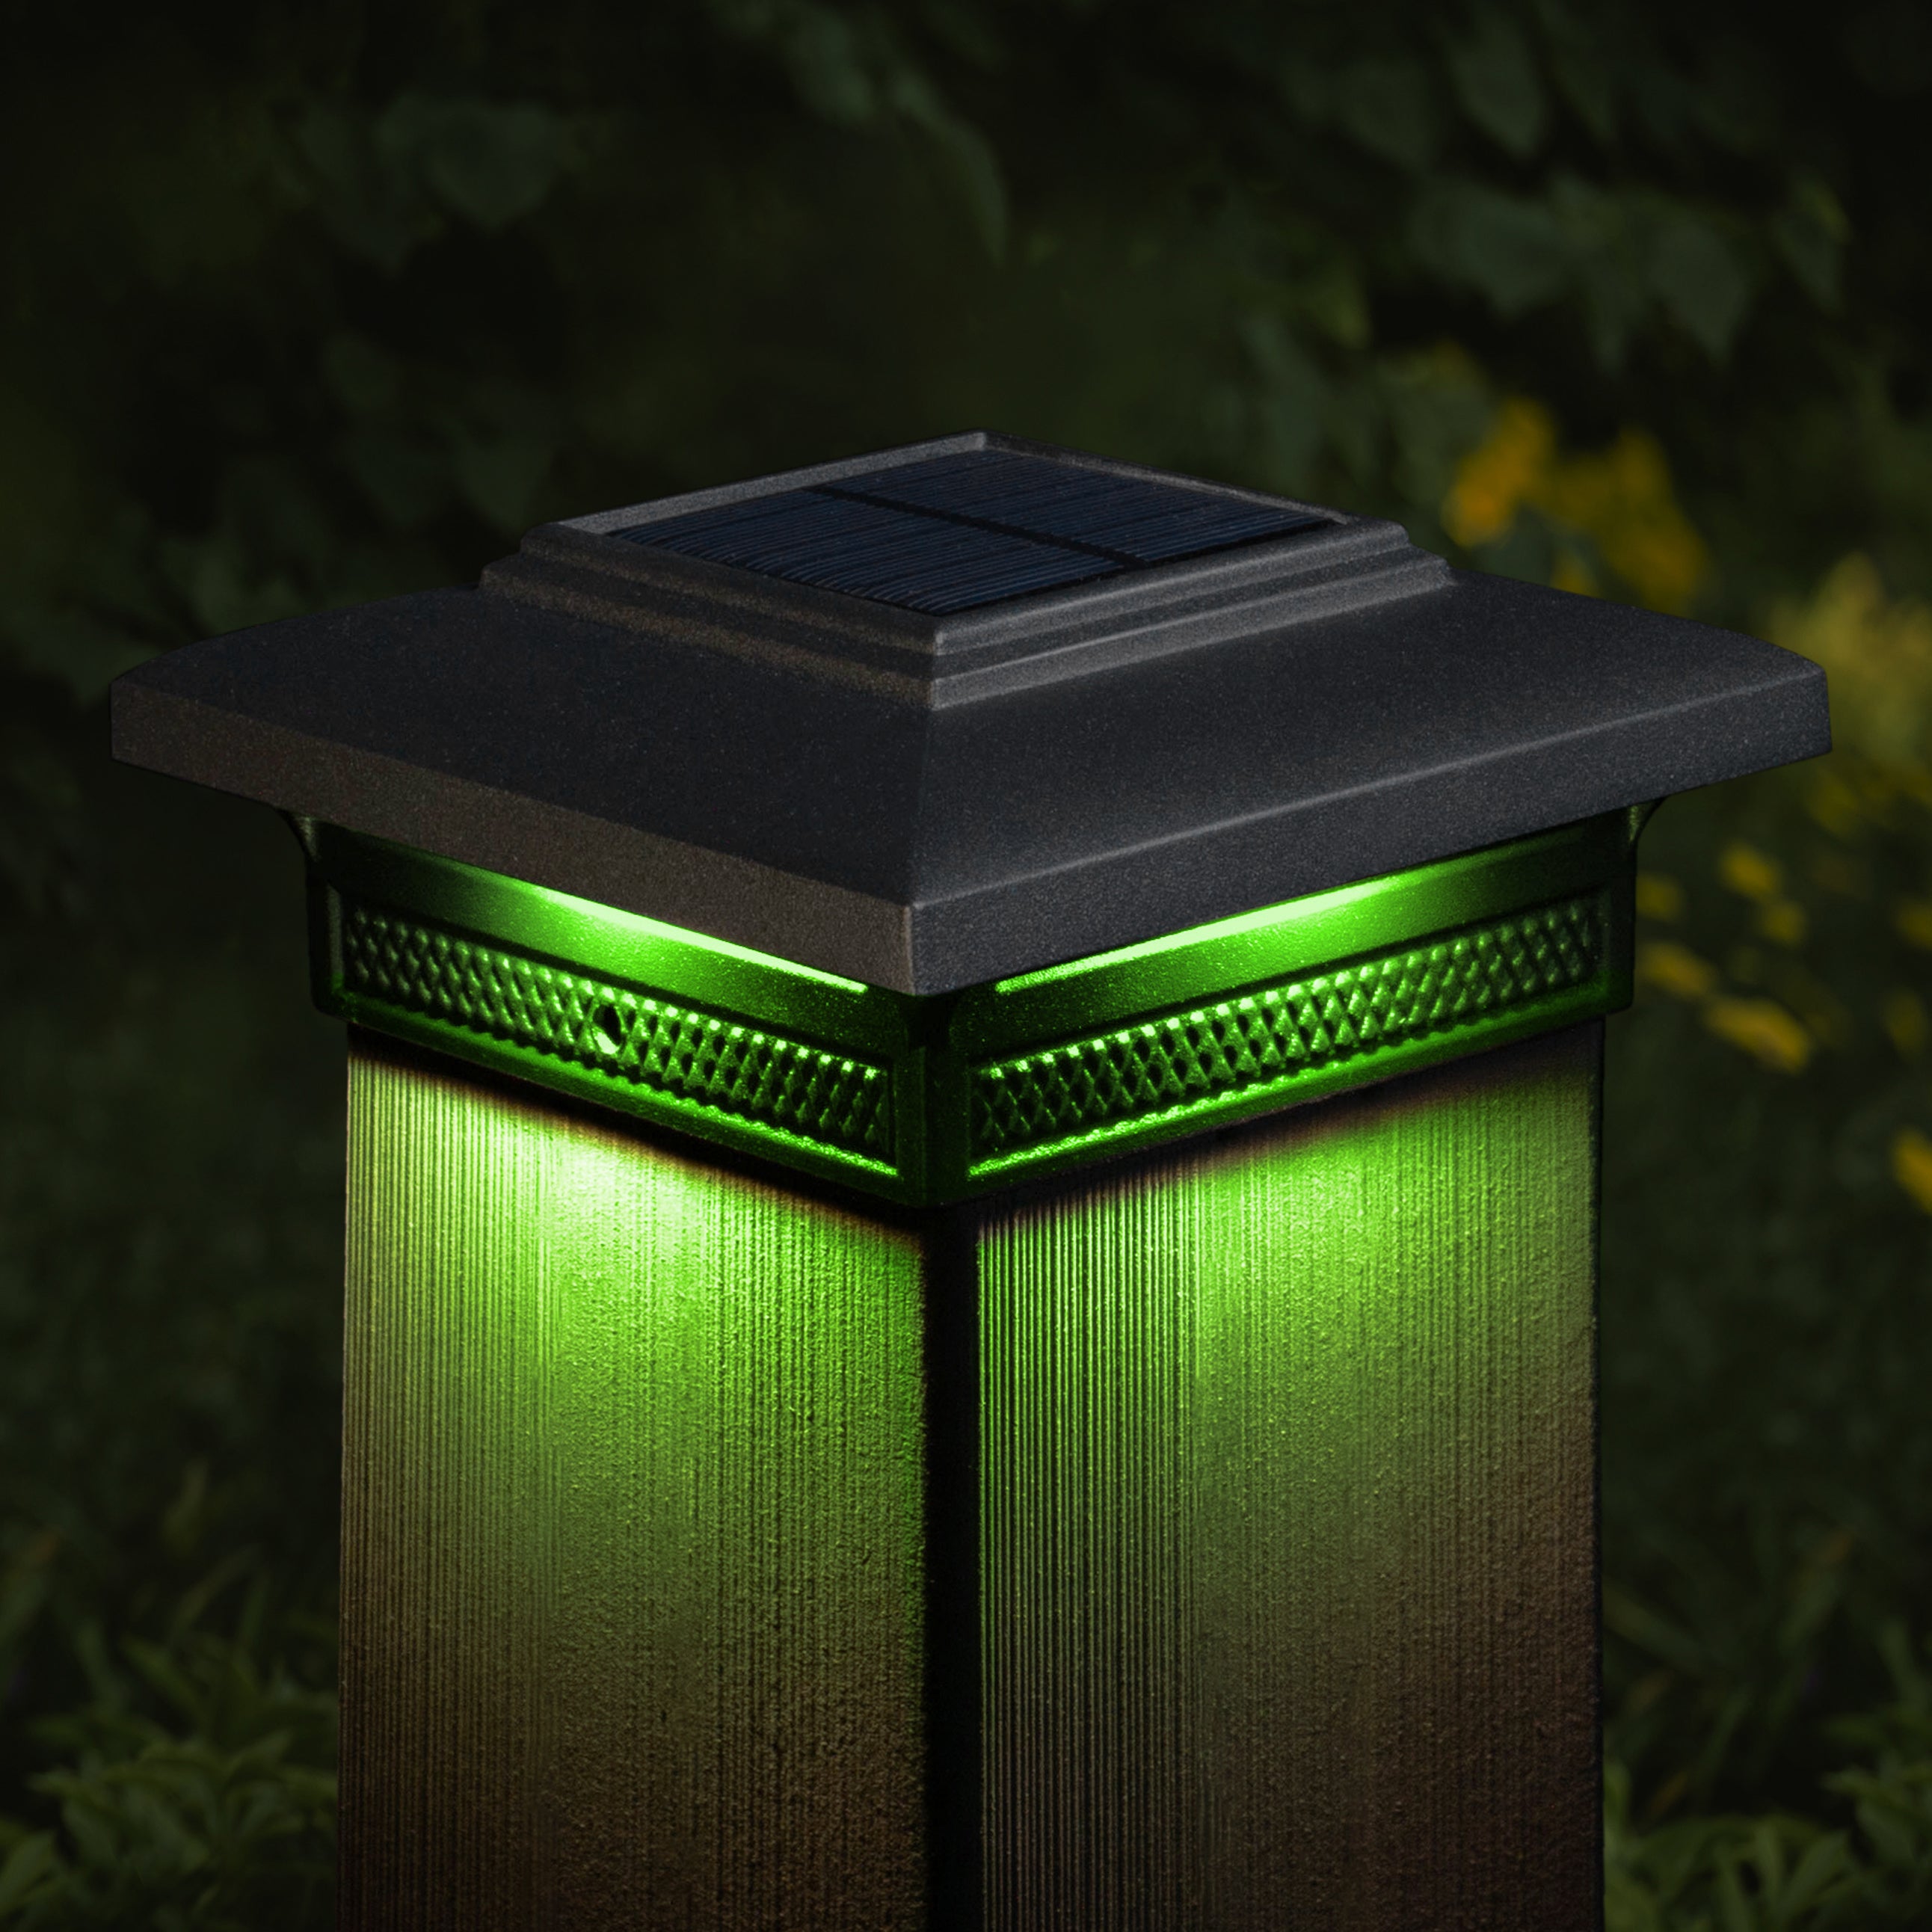
Insufficient Sunlight
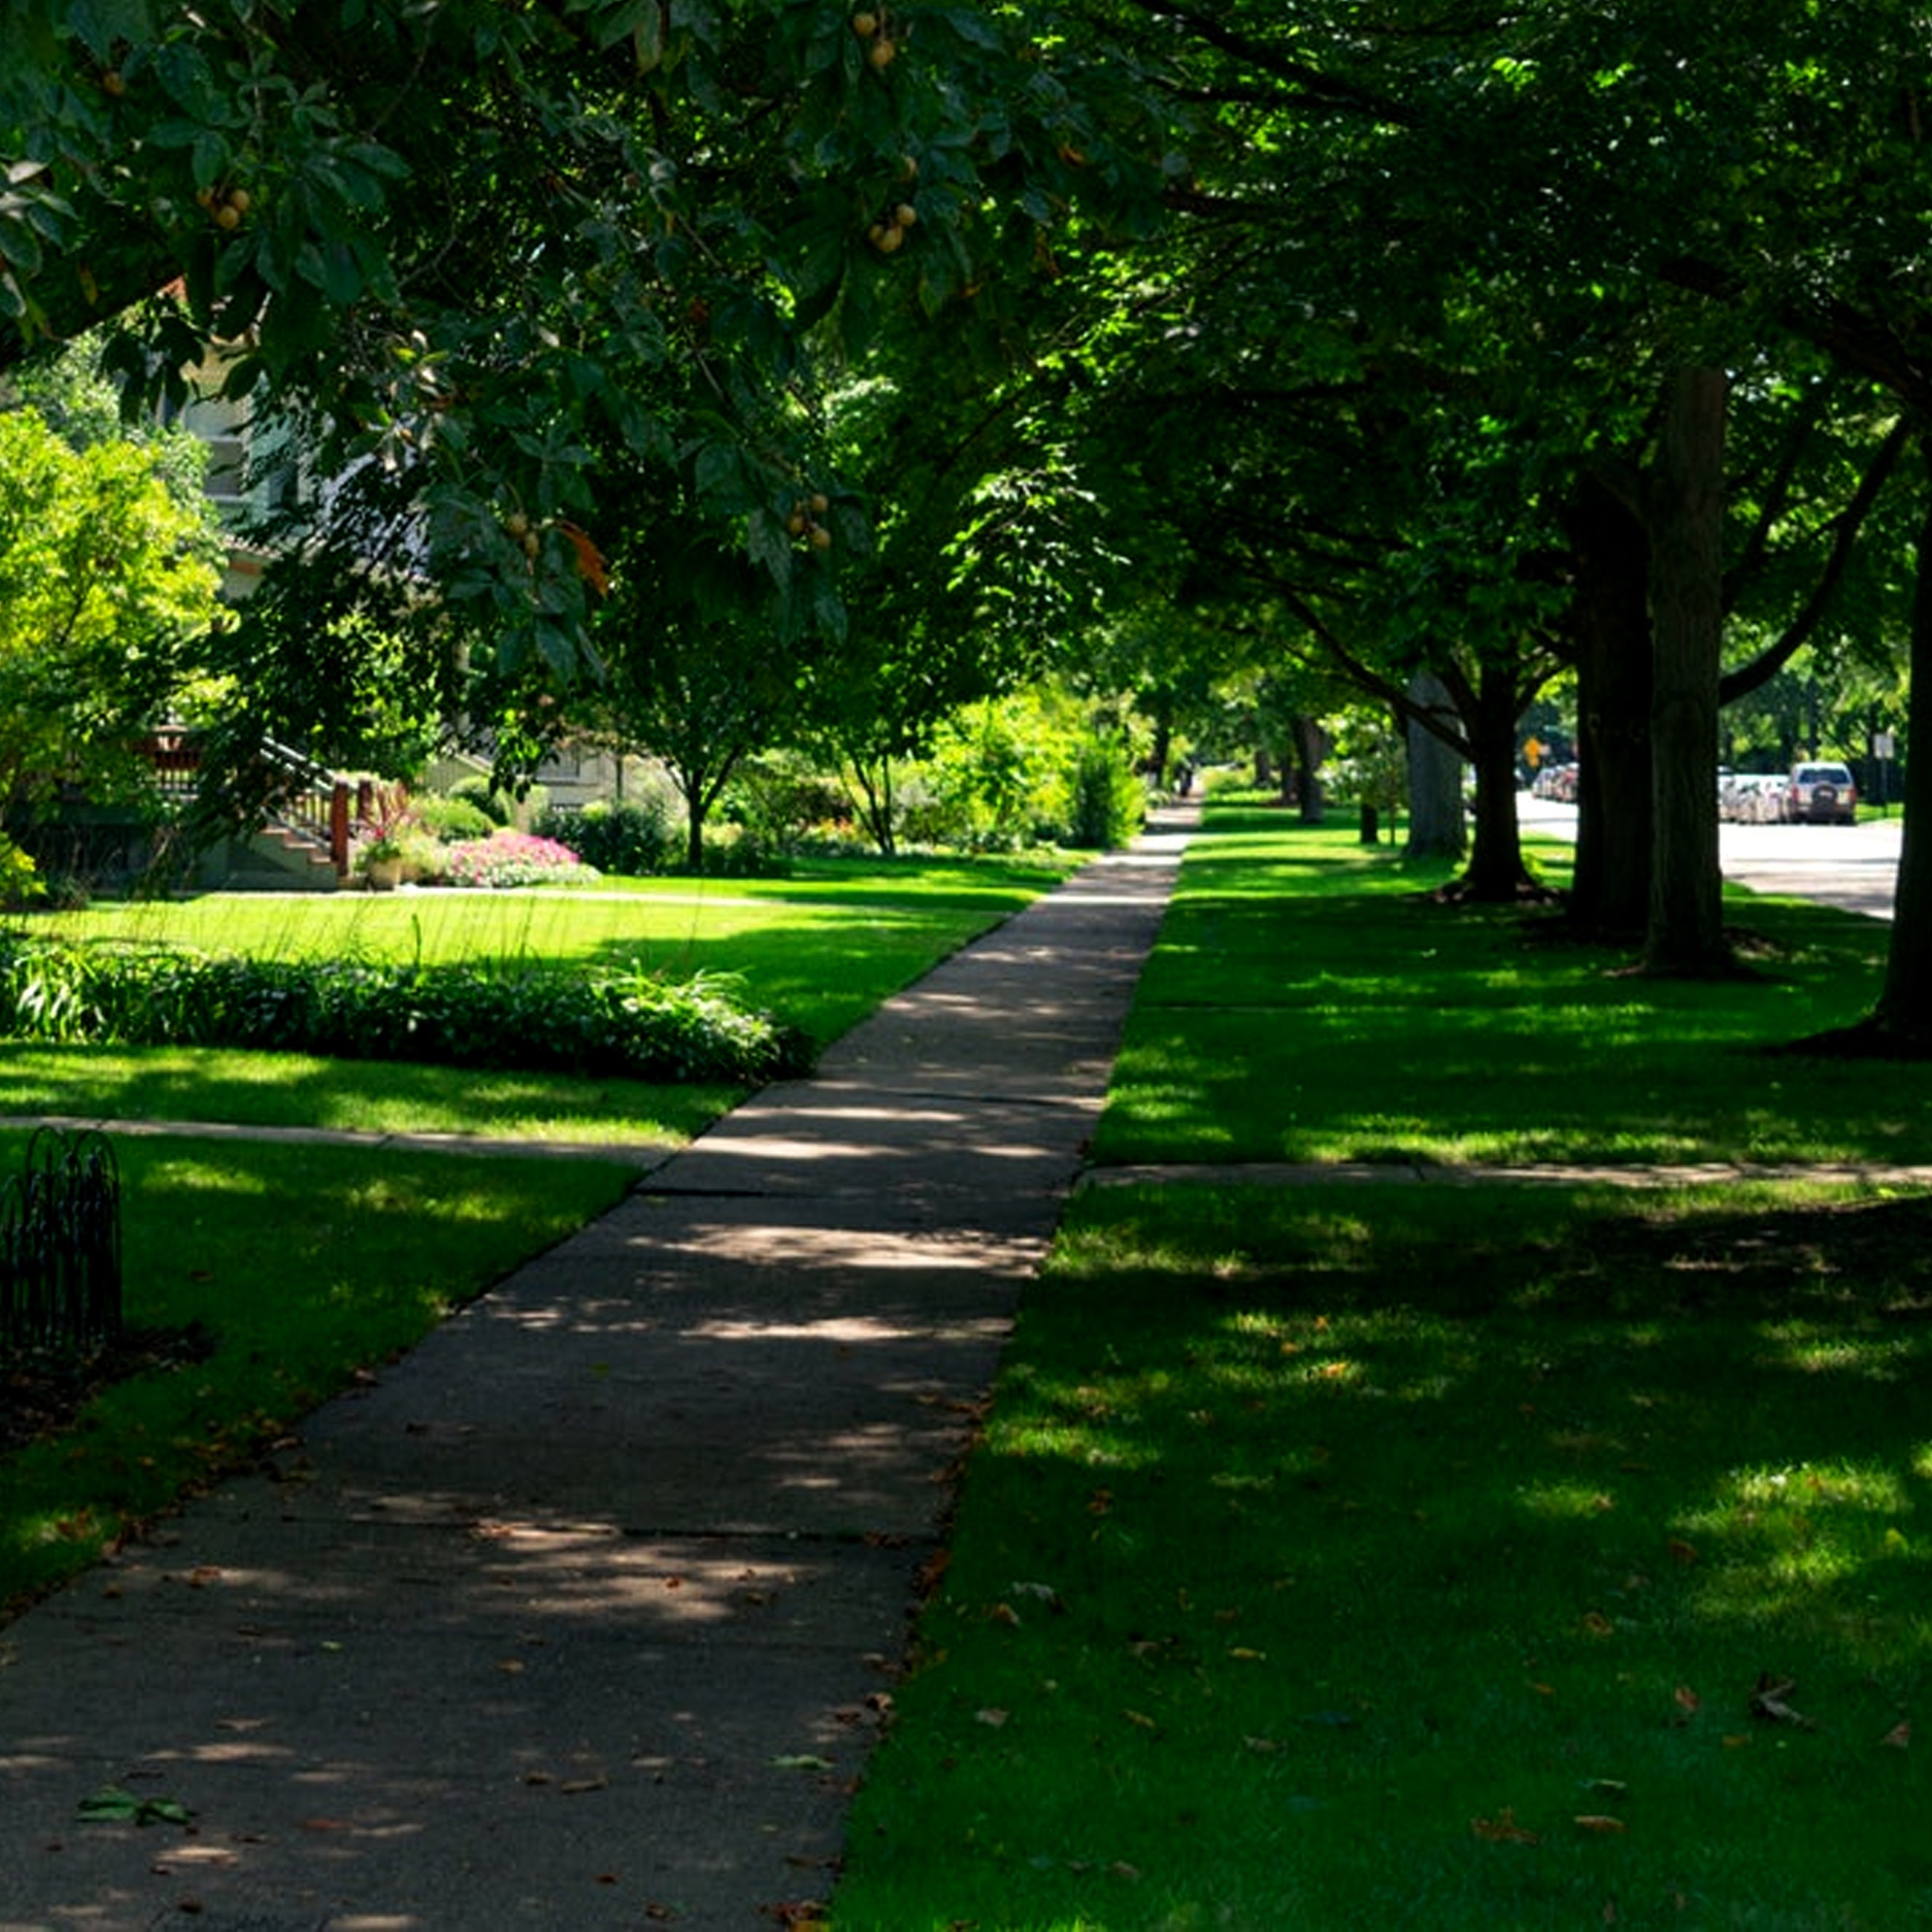
Ensure the light fixture is placed in direct sunlight for best results. Avoid placing directly under trees, buildings, eaves, or other light sources.
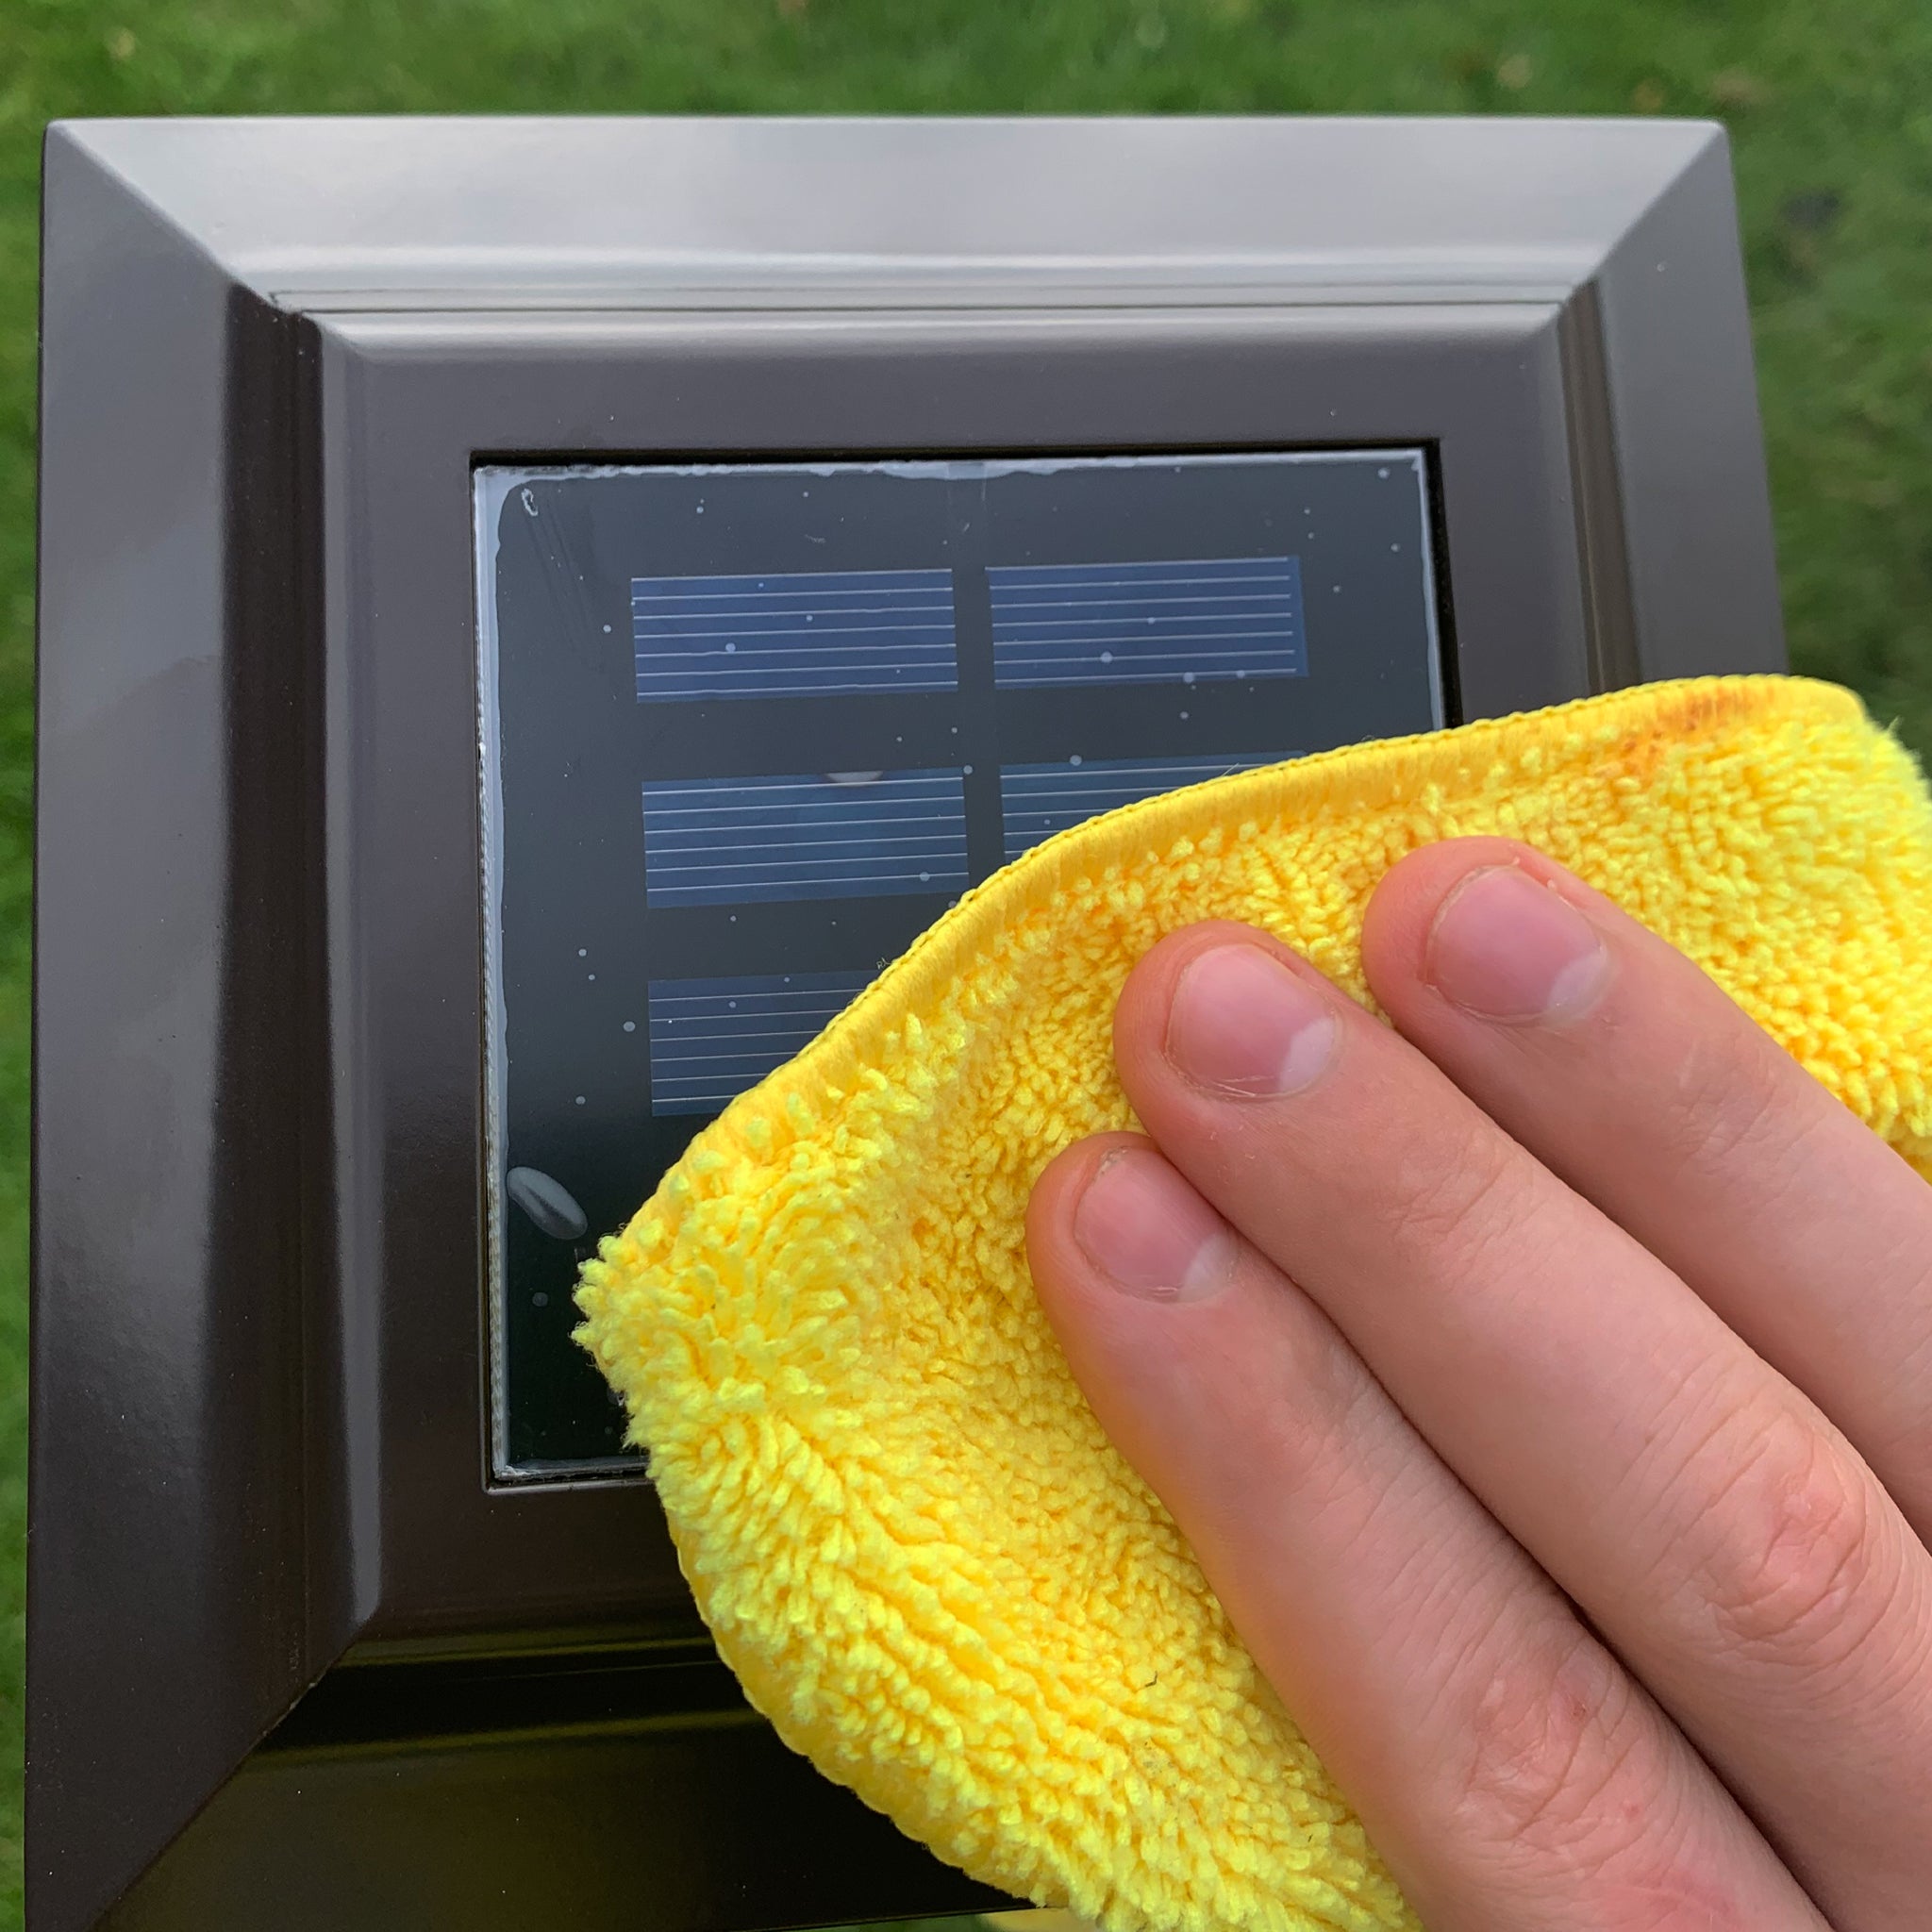
Dirty Solar Panel
Dirt or debris may be obstructing the solar panel from sunlight. Periodically clean the light fixture with a soft cloth and warm soapy water.
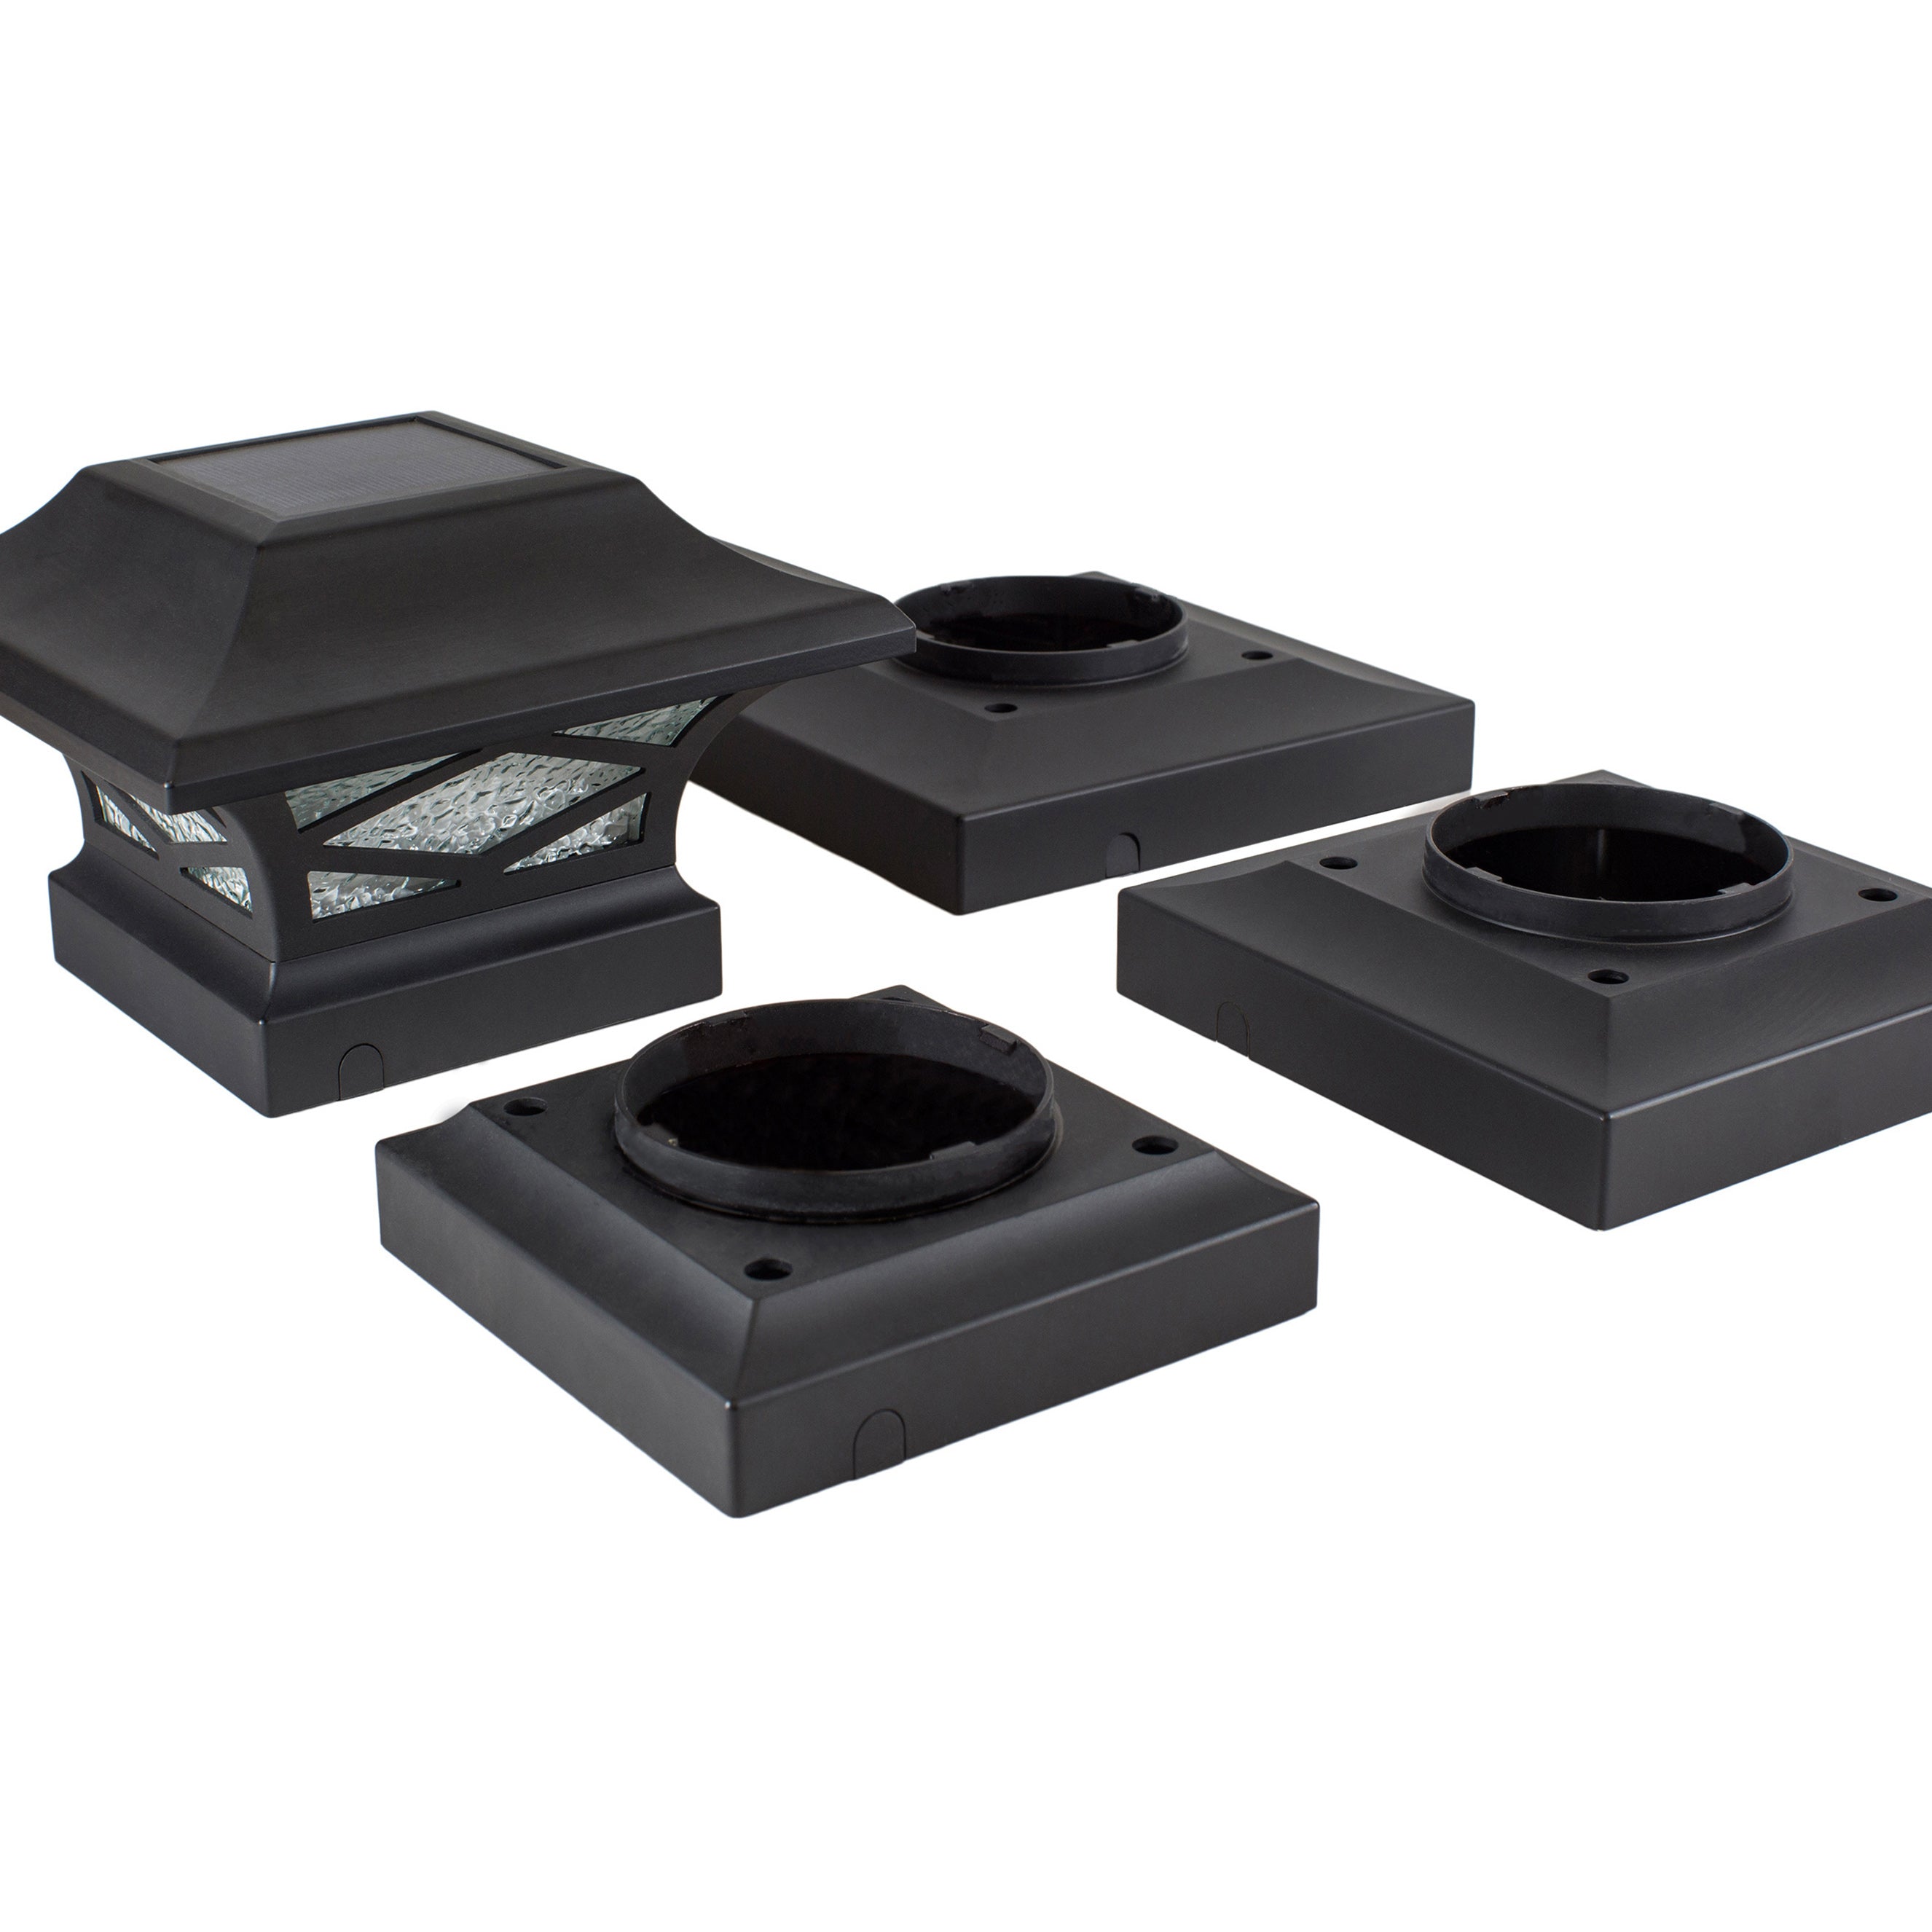
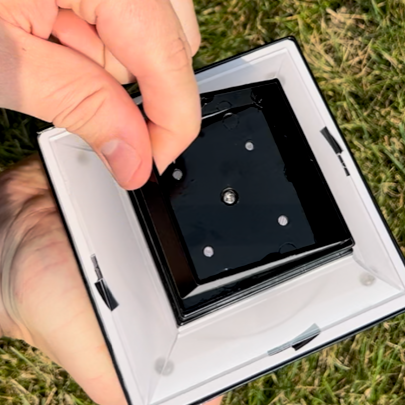
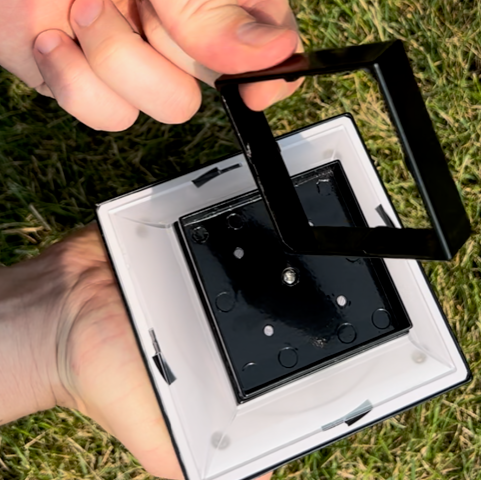
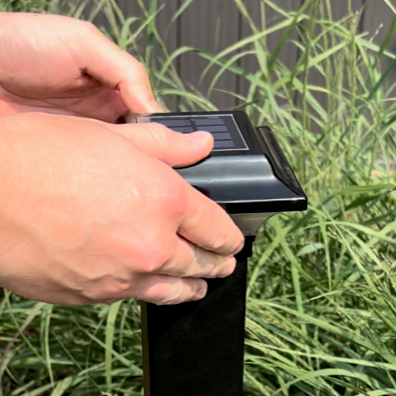
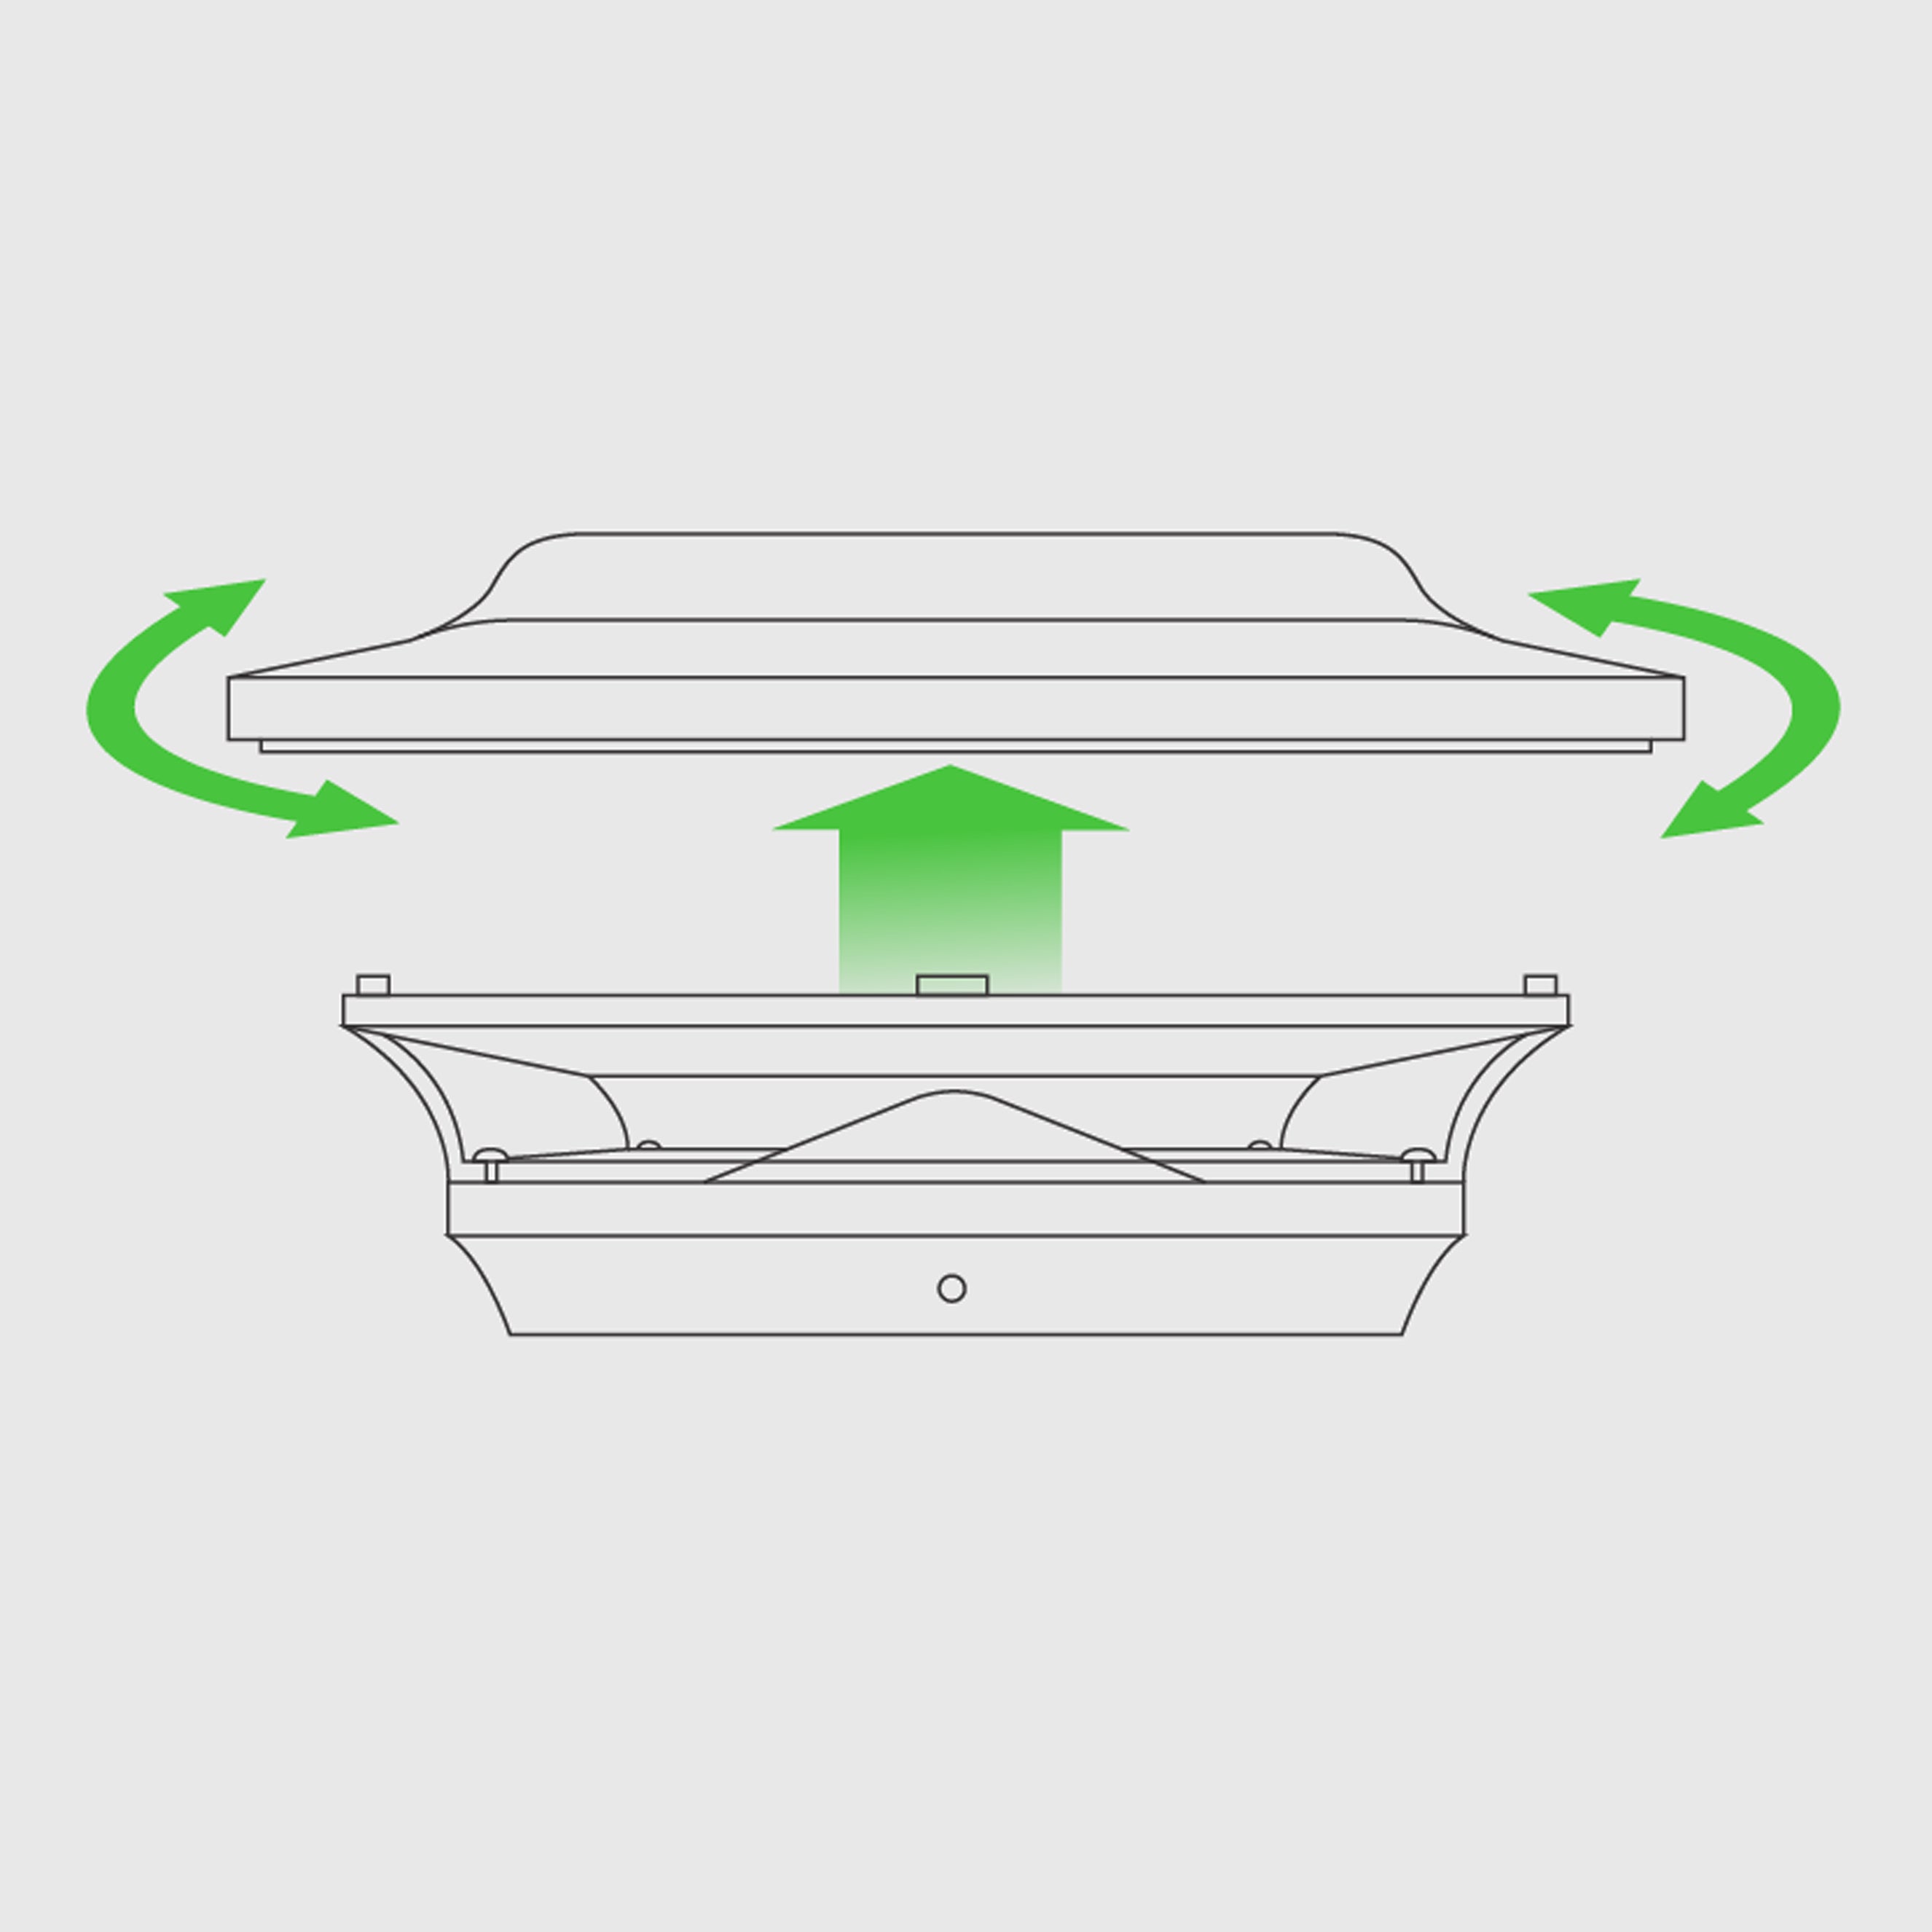
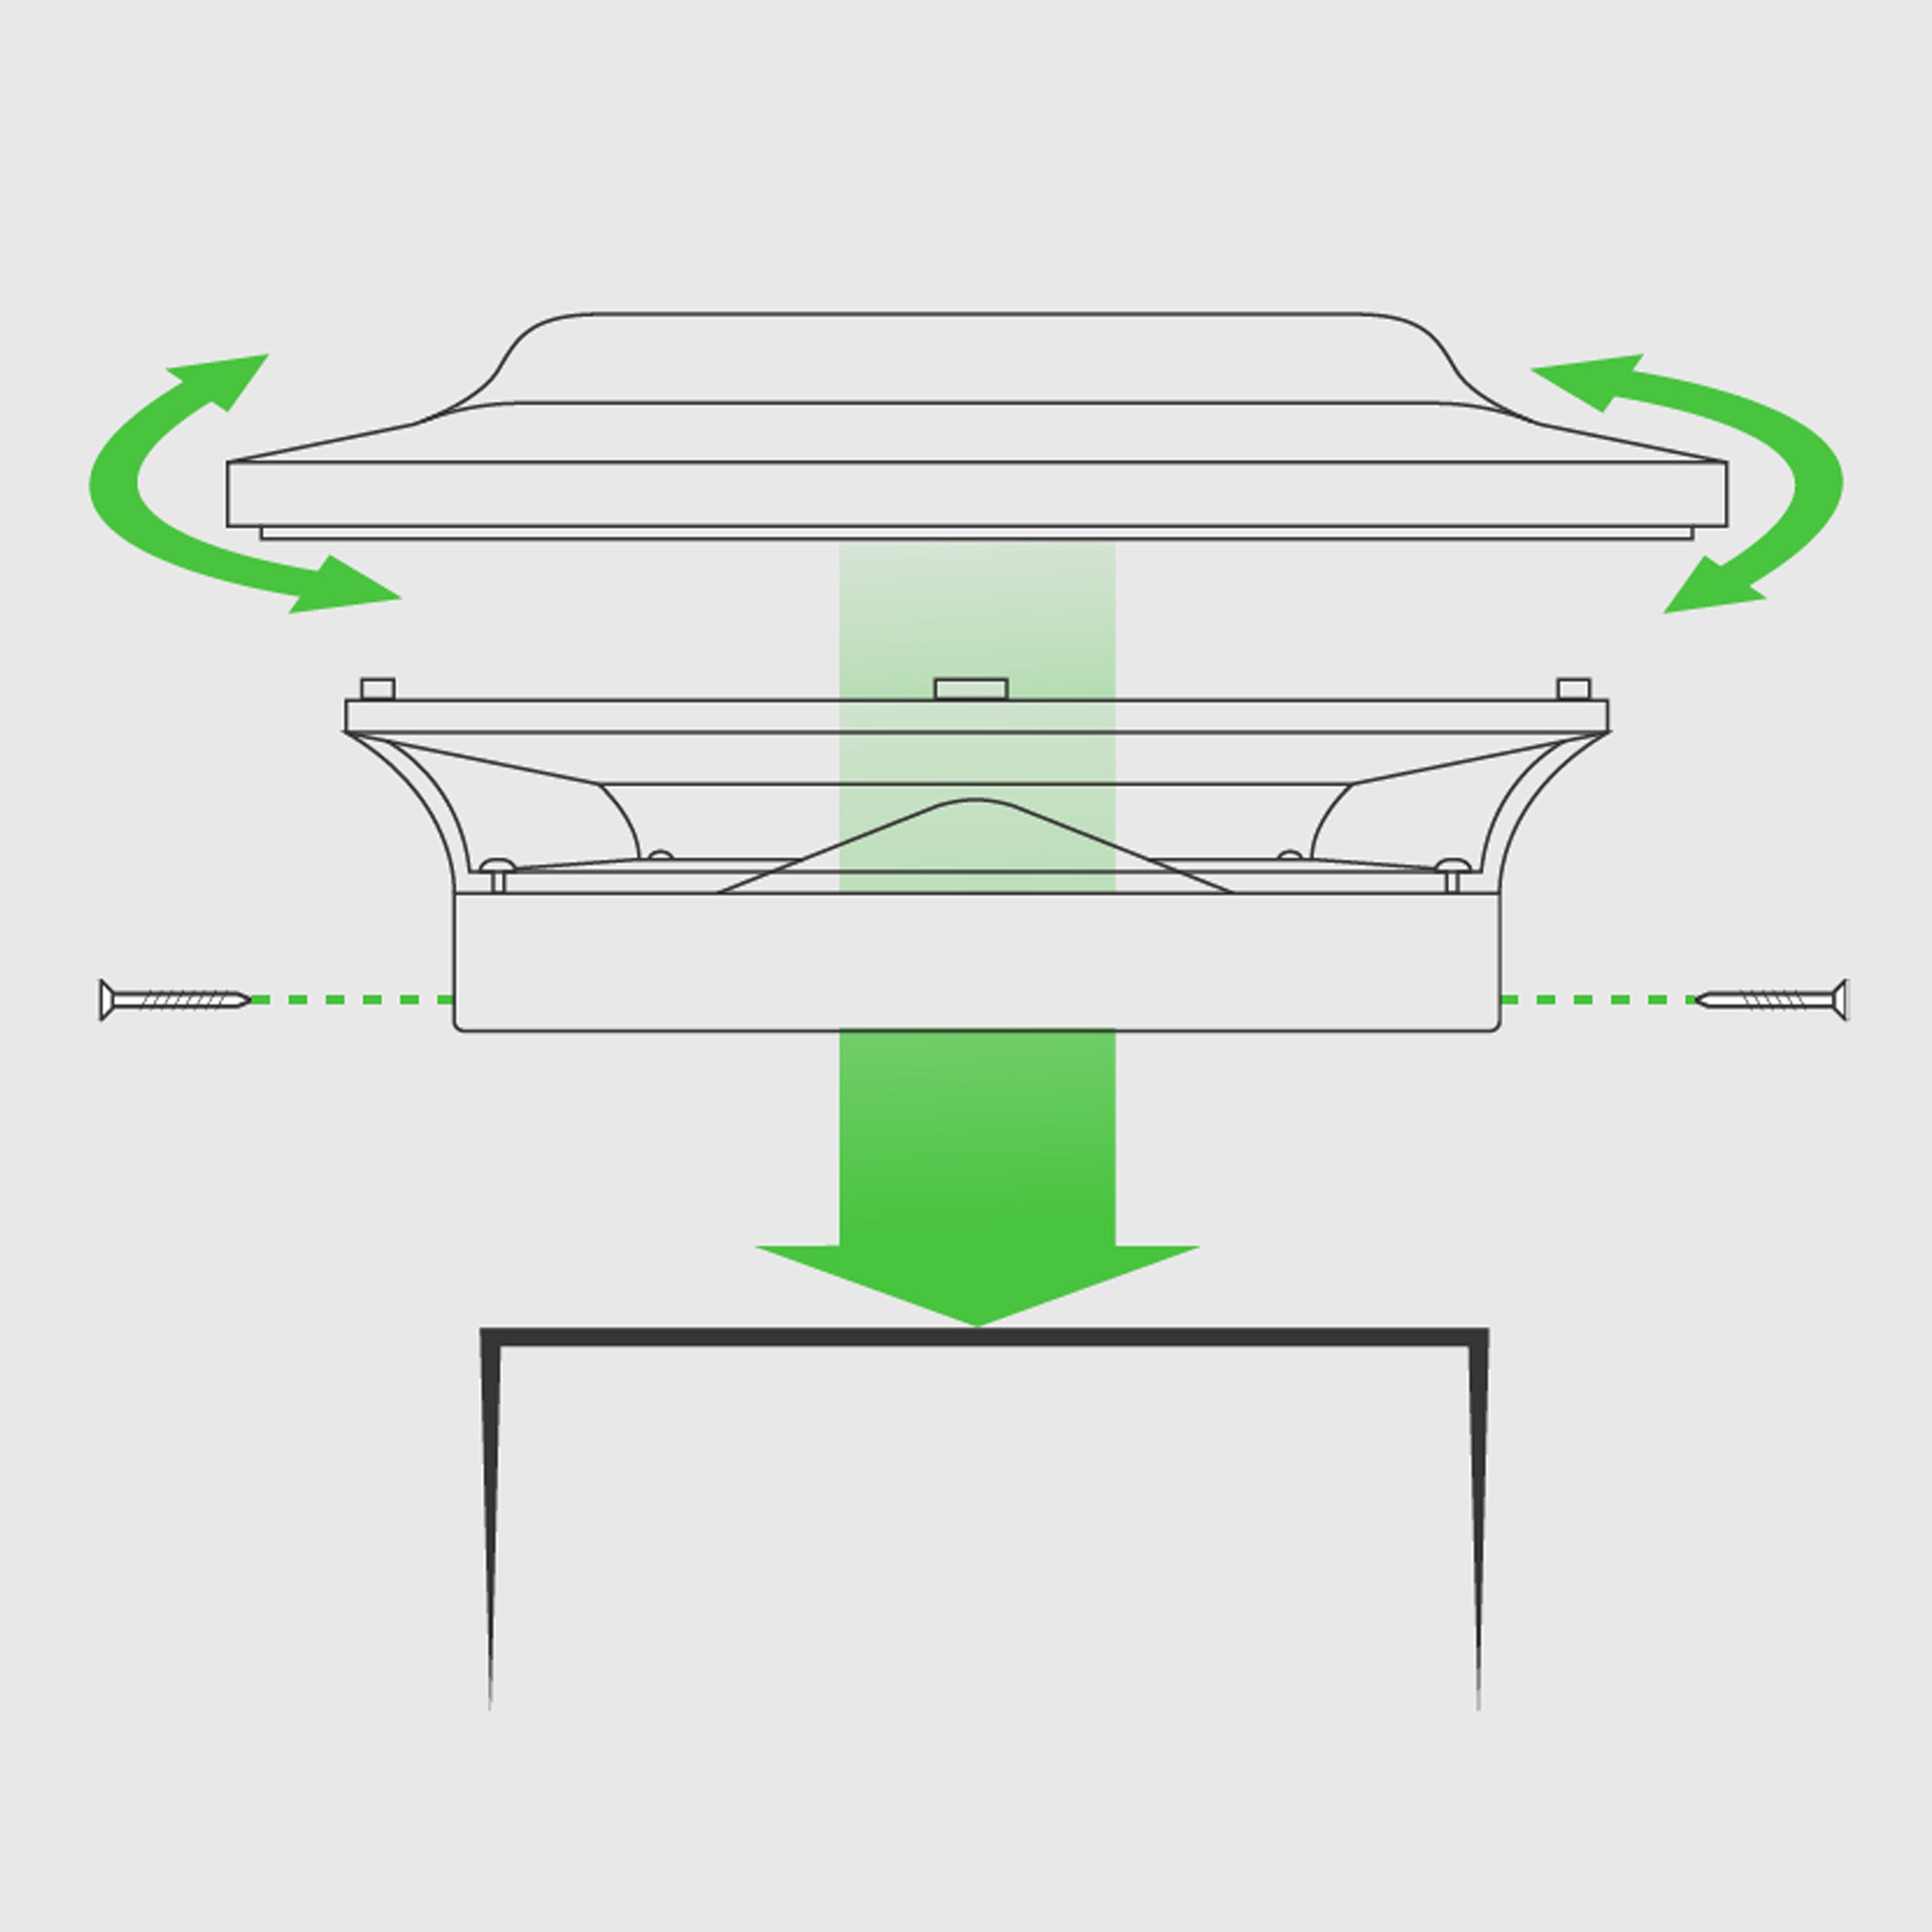
02.
How to Install Solar Post Caps
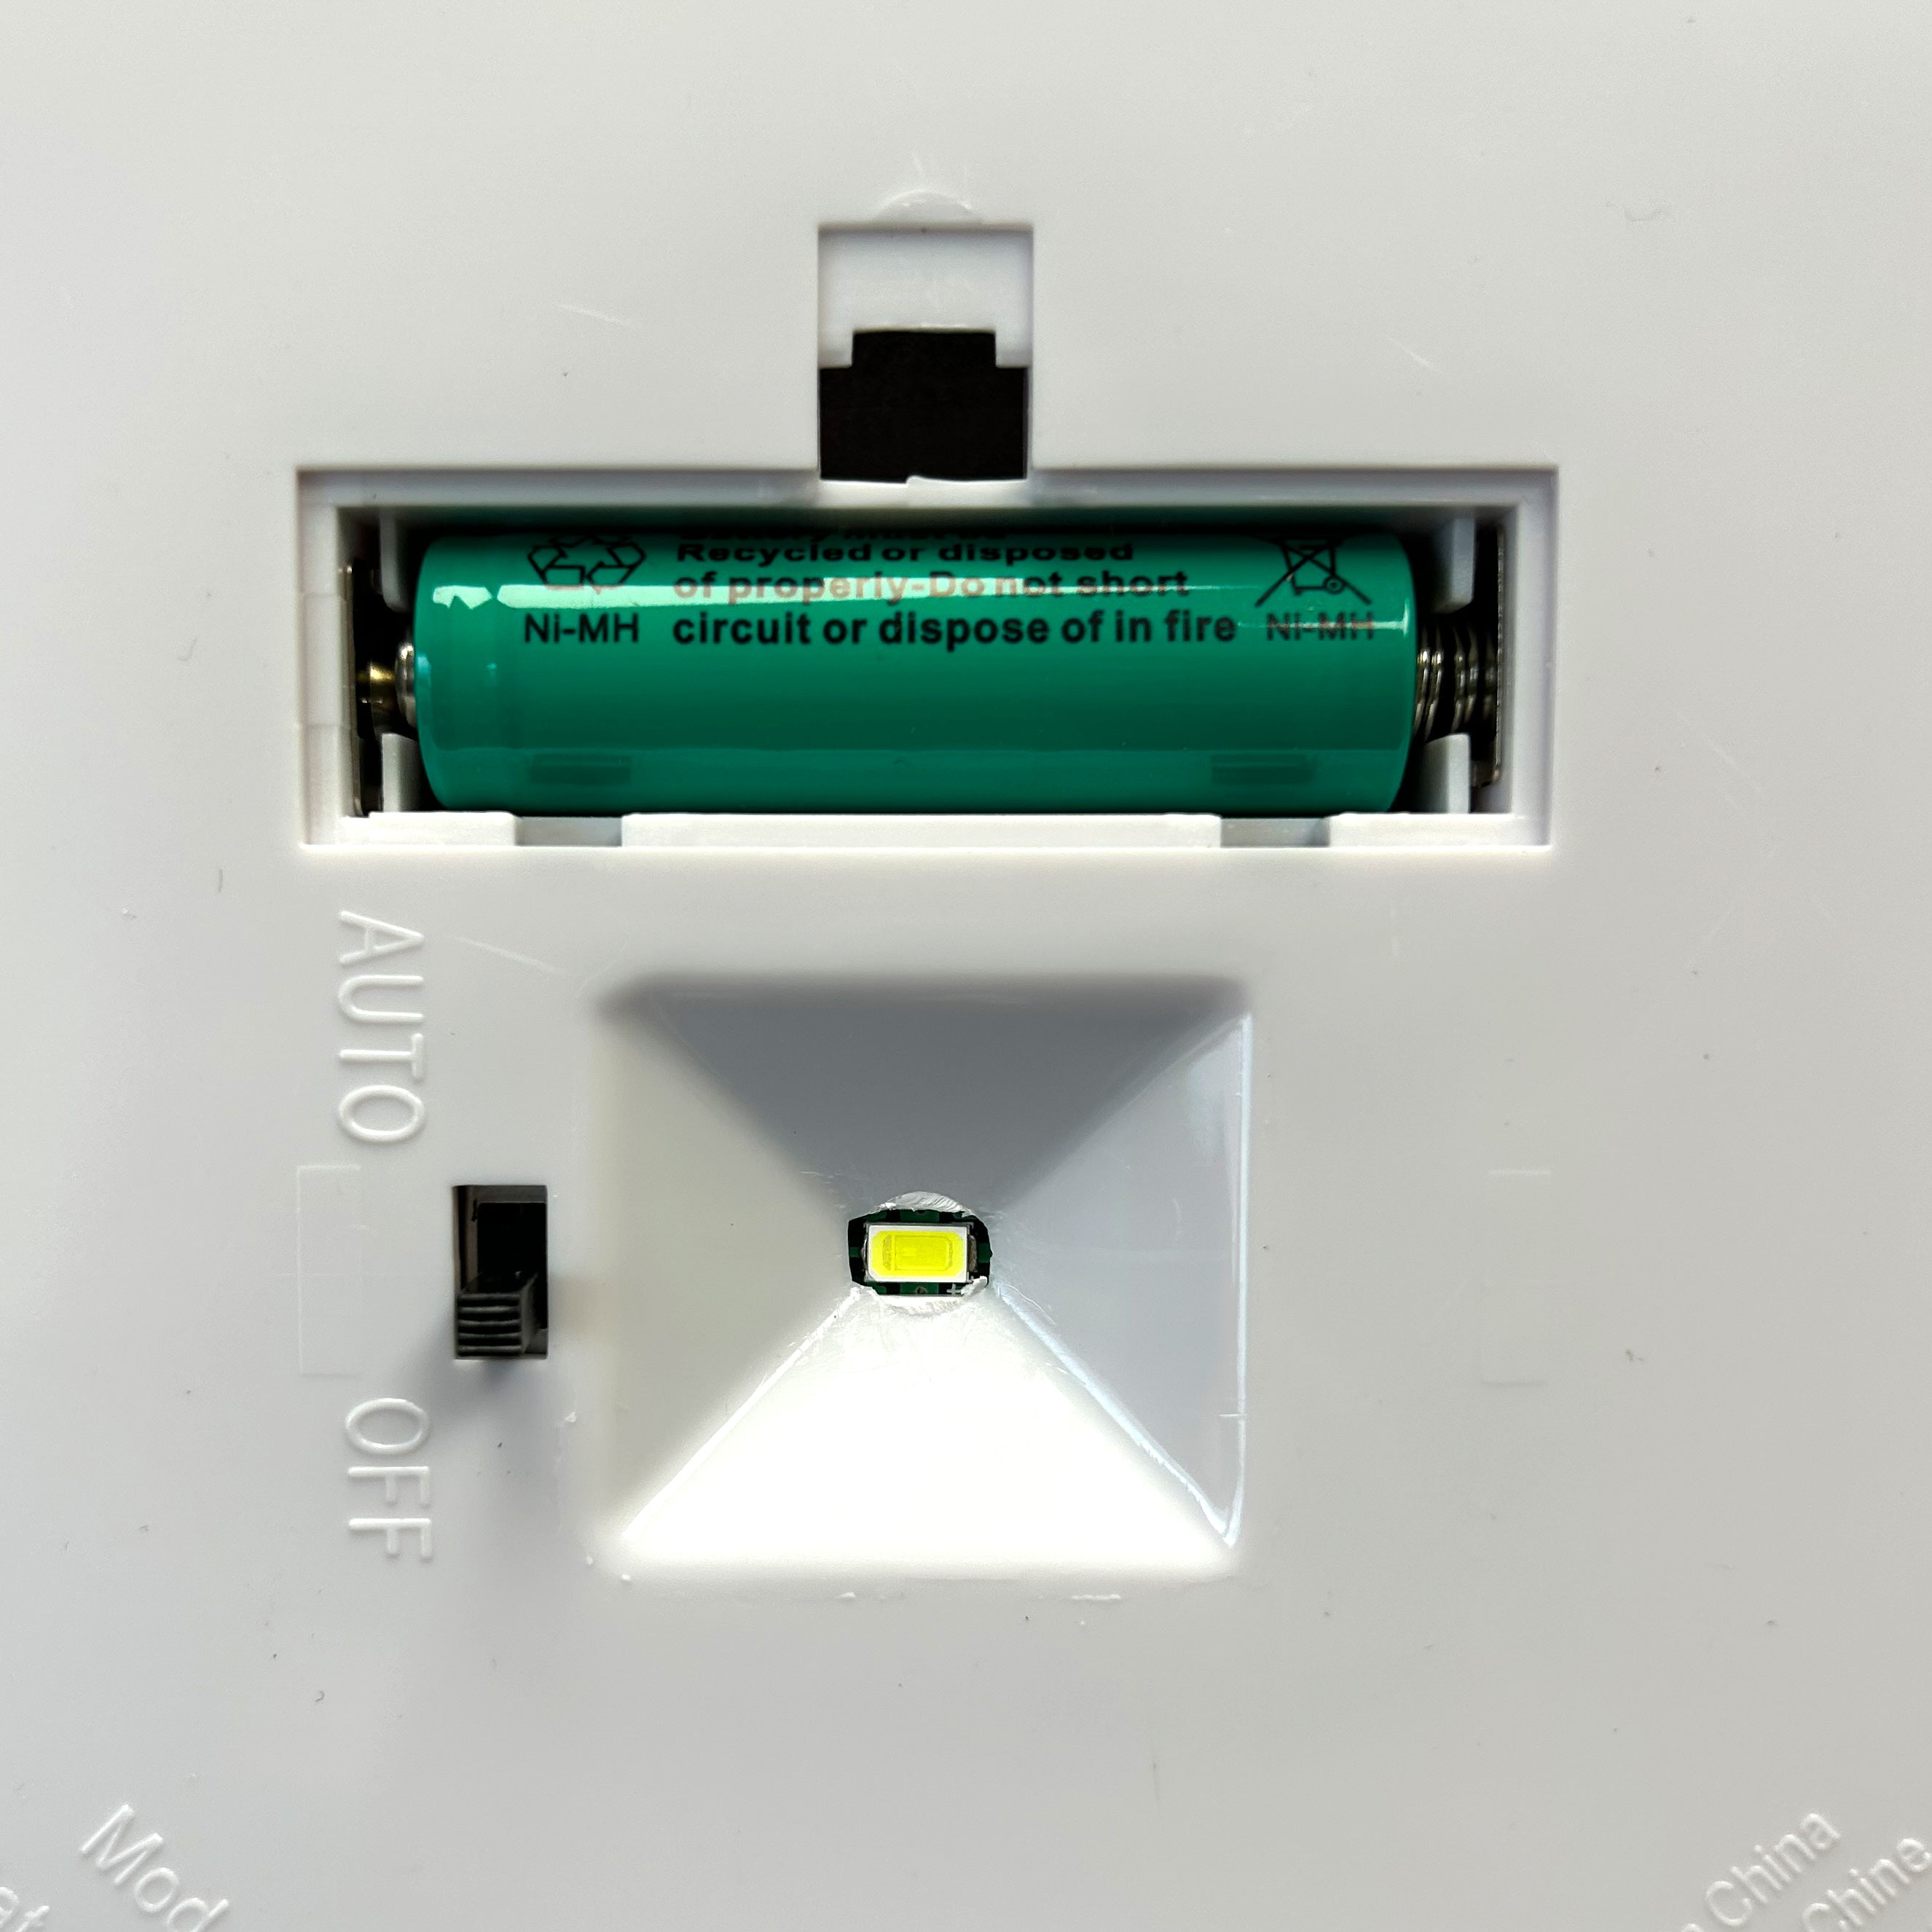
Insert Rechargeable Battery
Remove the lid from the base and install provided batteries. (Some models have pre-installed batteries).
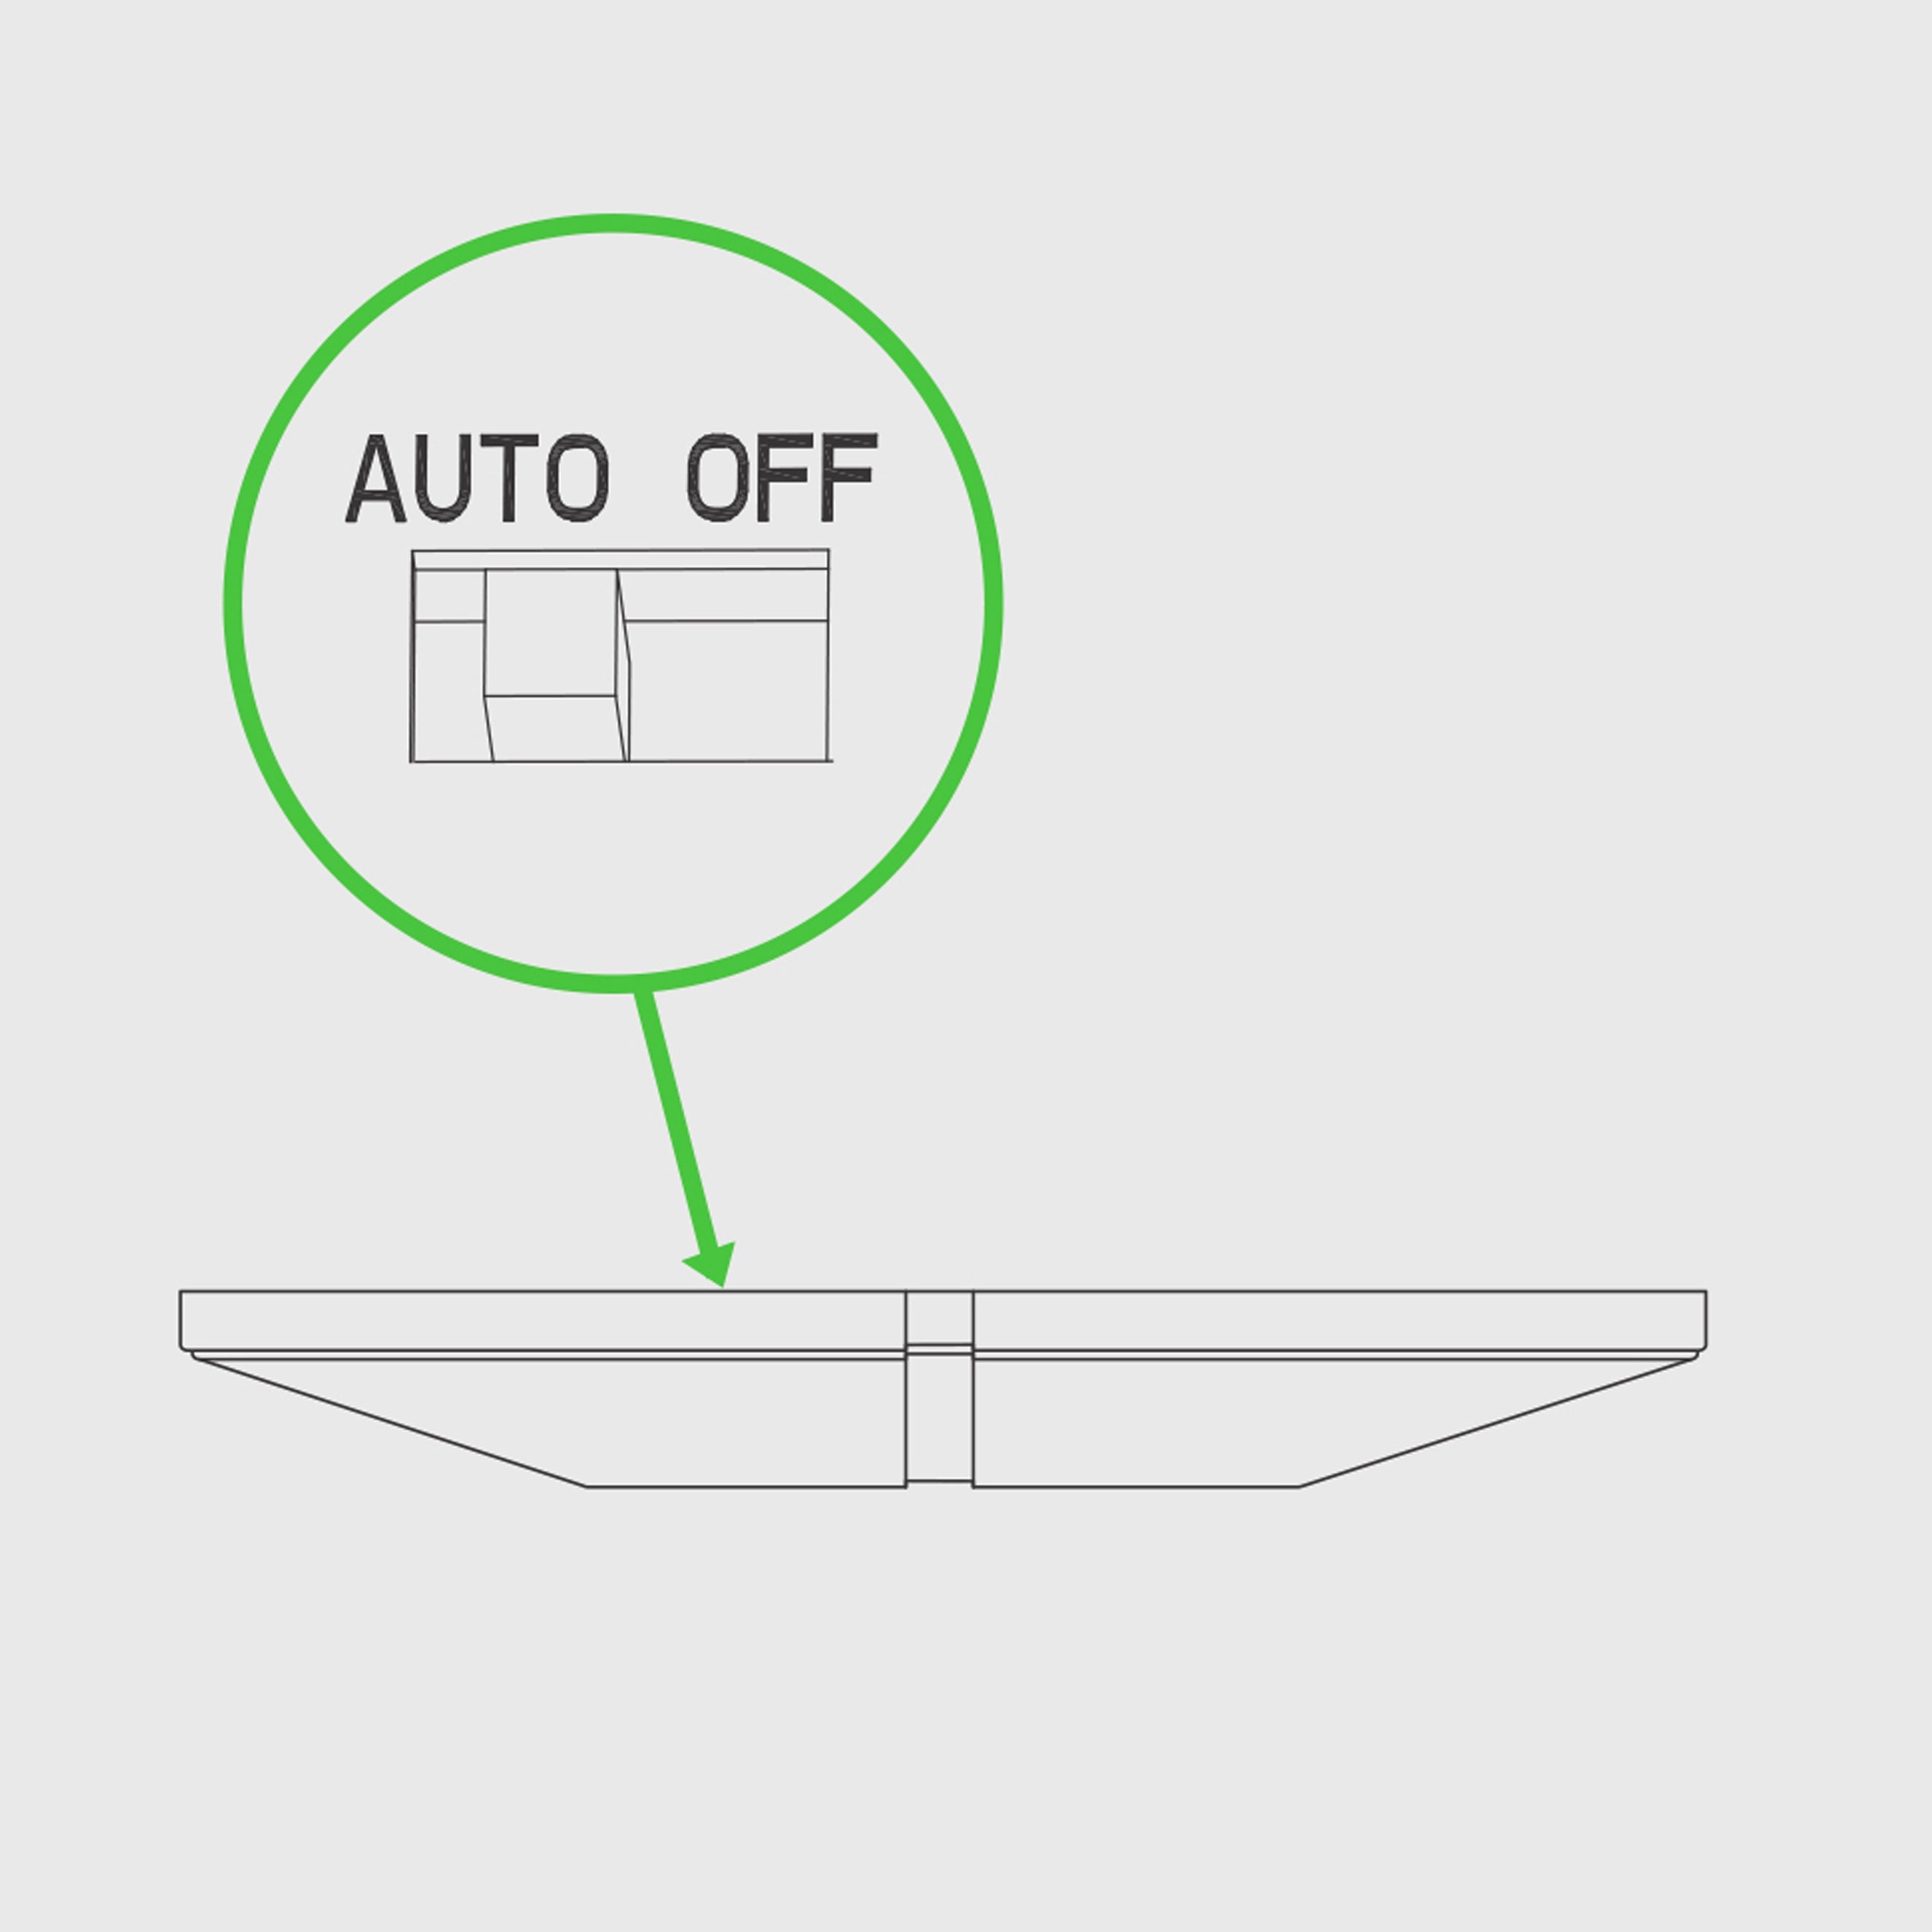
Turn AUTO/OFF Switch to AUTO
The AUTO/OFF switch is located underneath the lid. Ensure switch is set to AUTO.
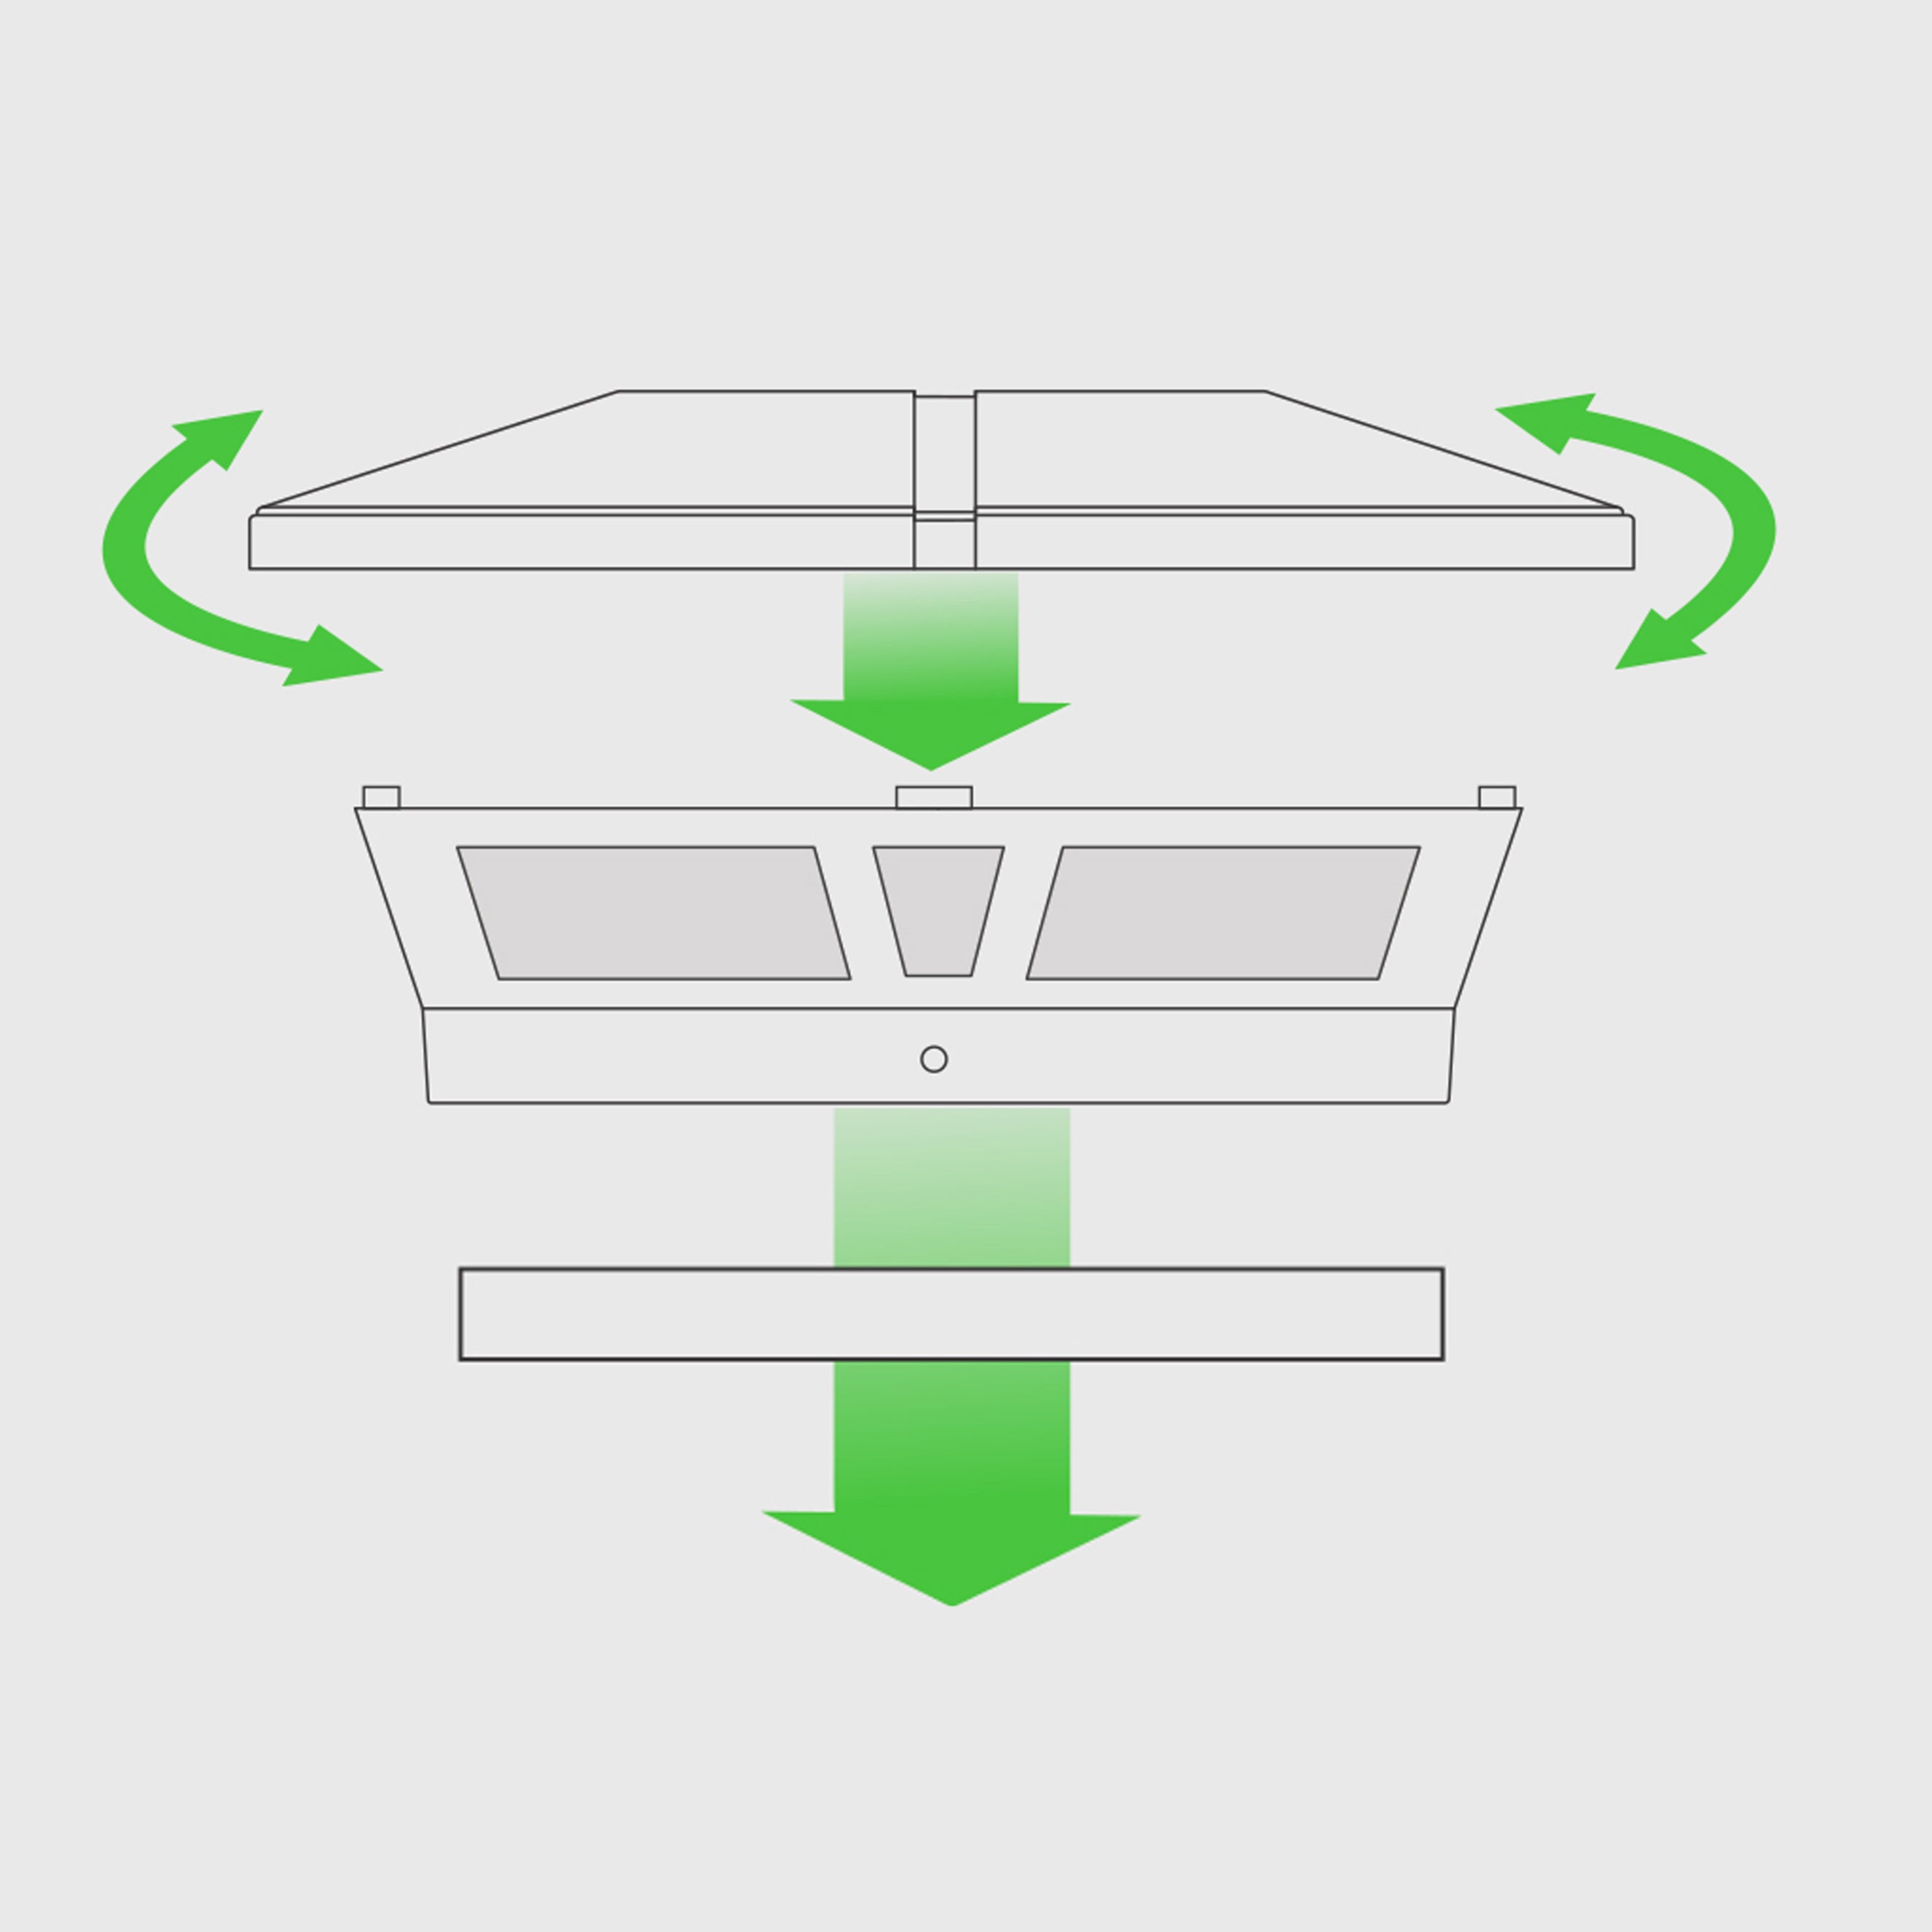
Assemble
Many of our Solar Post Caps are equipped with multiple post adapters for multiple sizes of posts. Attach the correct sized adapter for your posts. Re-attach lid.
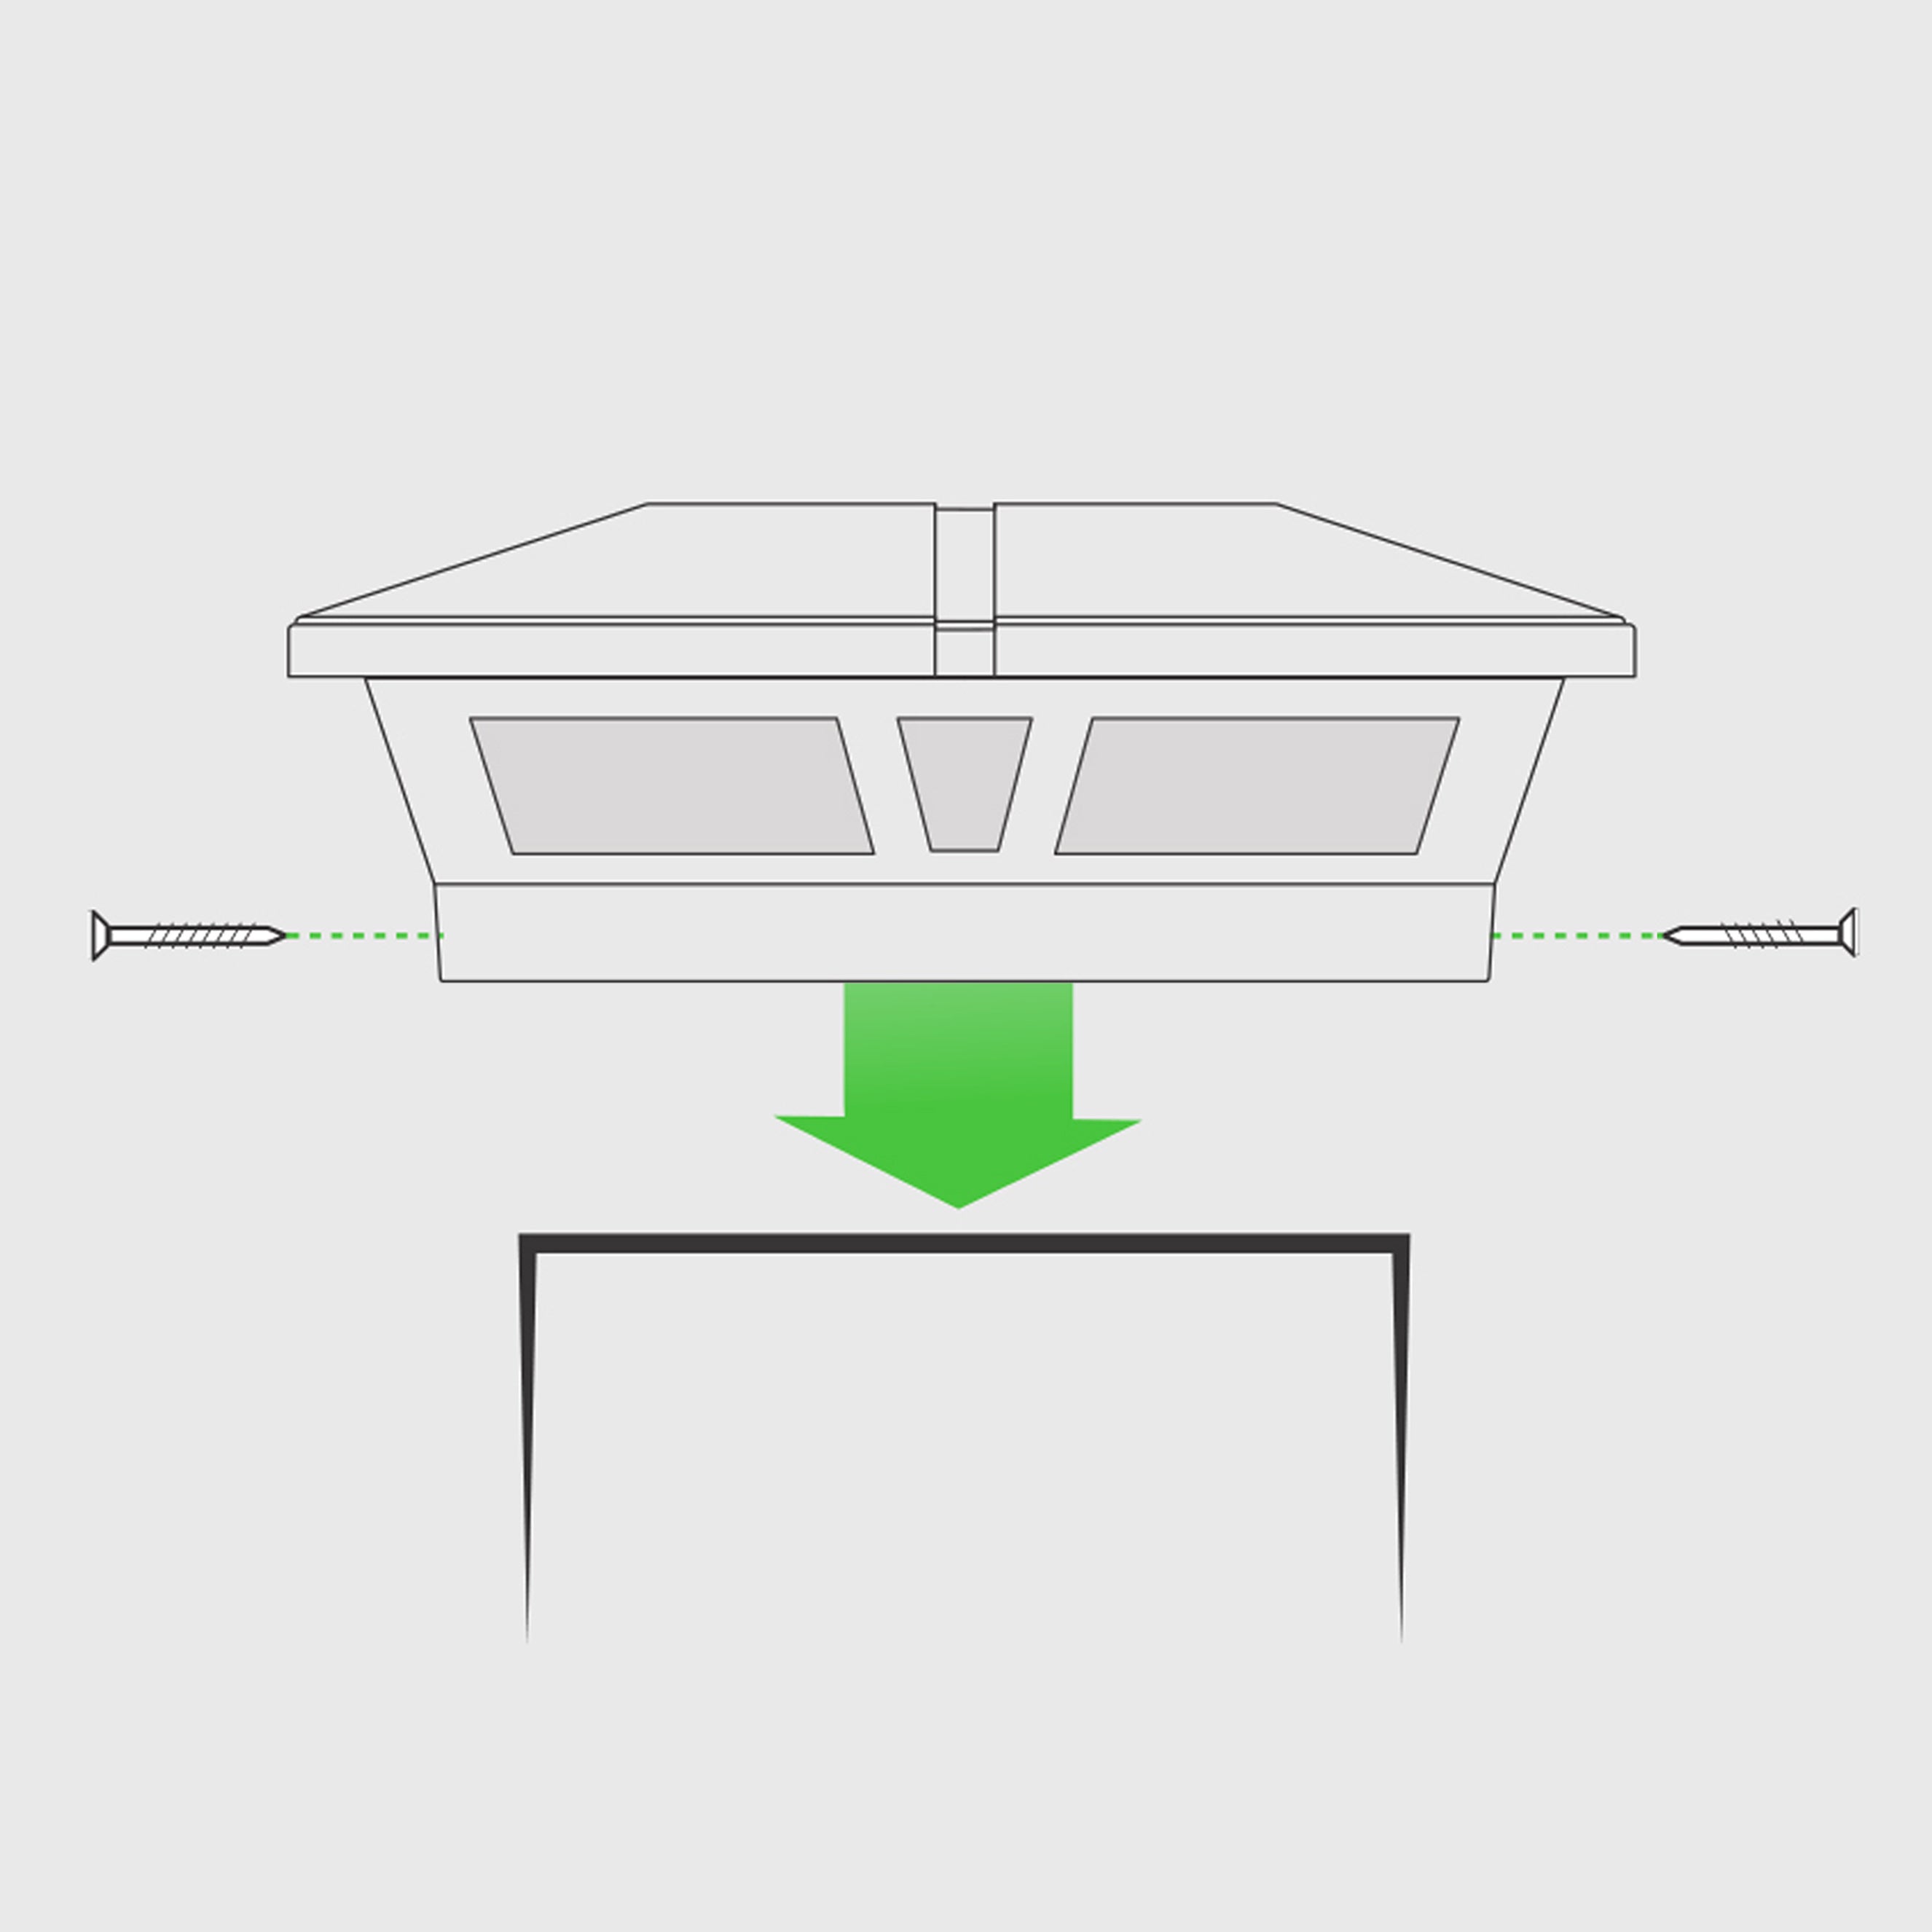
Mount Fixture To Post
Secure to post using the mounting hardware provided.
03.
Why Does My Solar Post Cap Not Fit On My Post?
Proper Adapter
Many of our Solar Post Caps are equipped with multiple post adapters. Ensure that you have selected the appropriate adapter for your post.
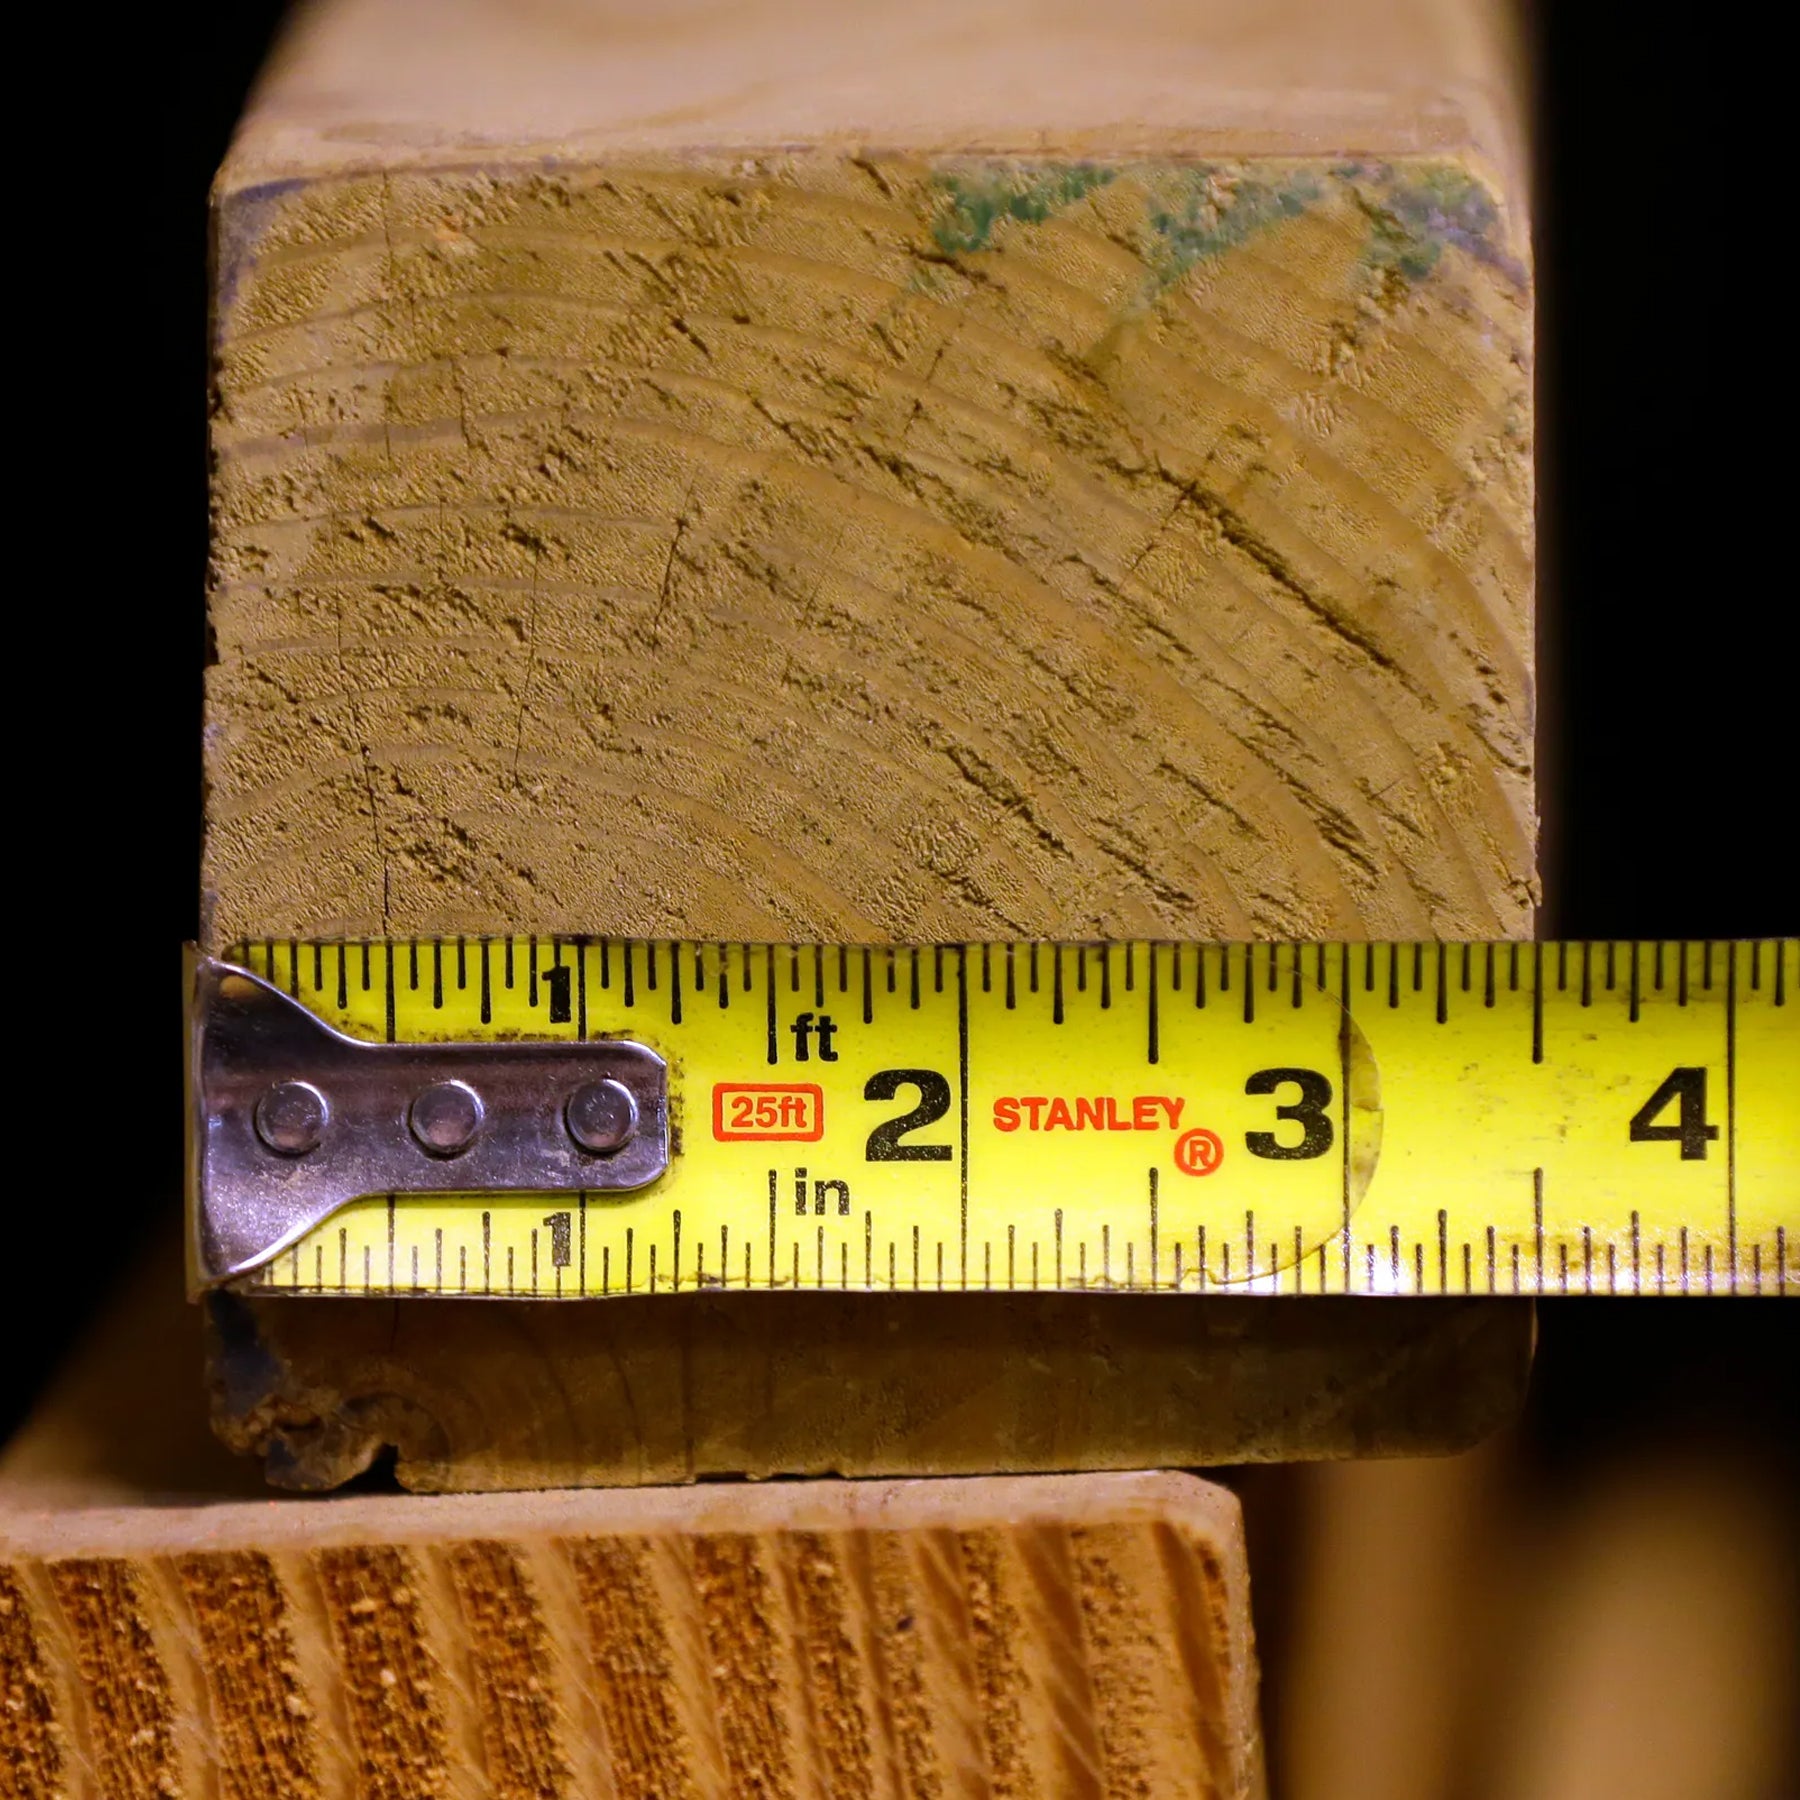
Post Measurement
Remeasure your posts. Did you know a wood 4-by-4 is most-commonly only 3.5 inches by 3.5 inches?
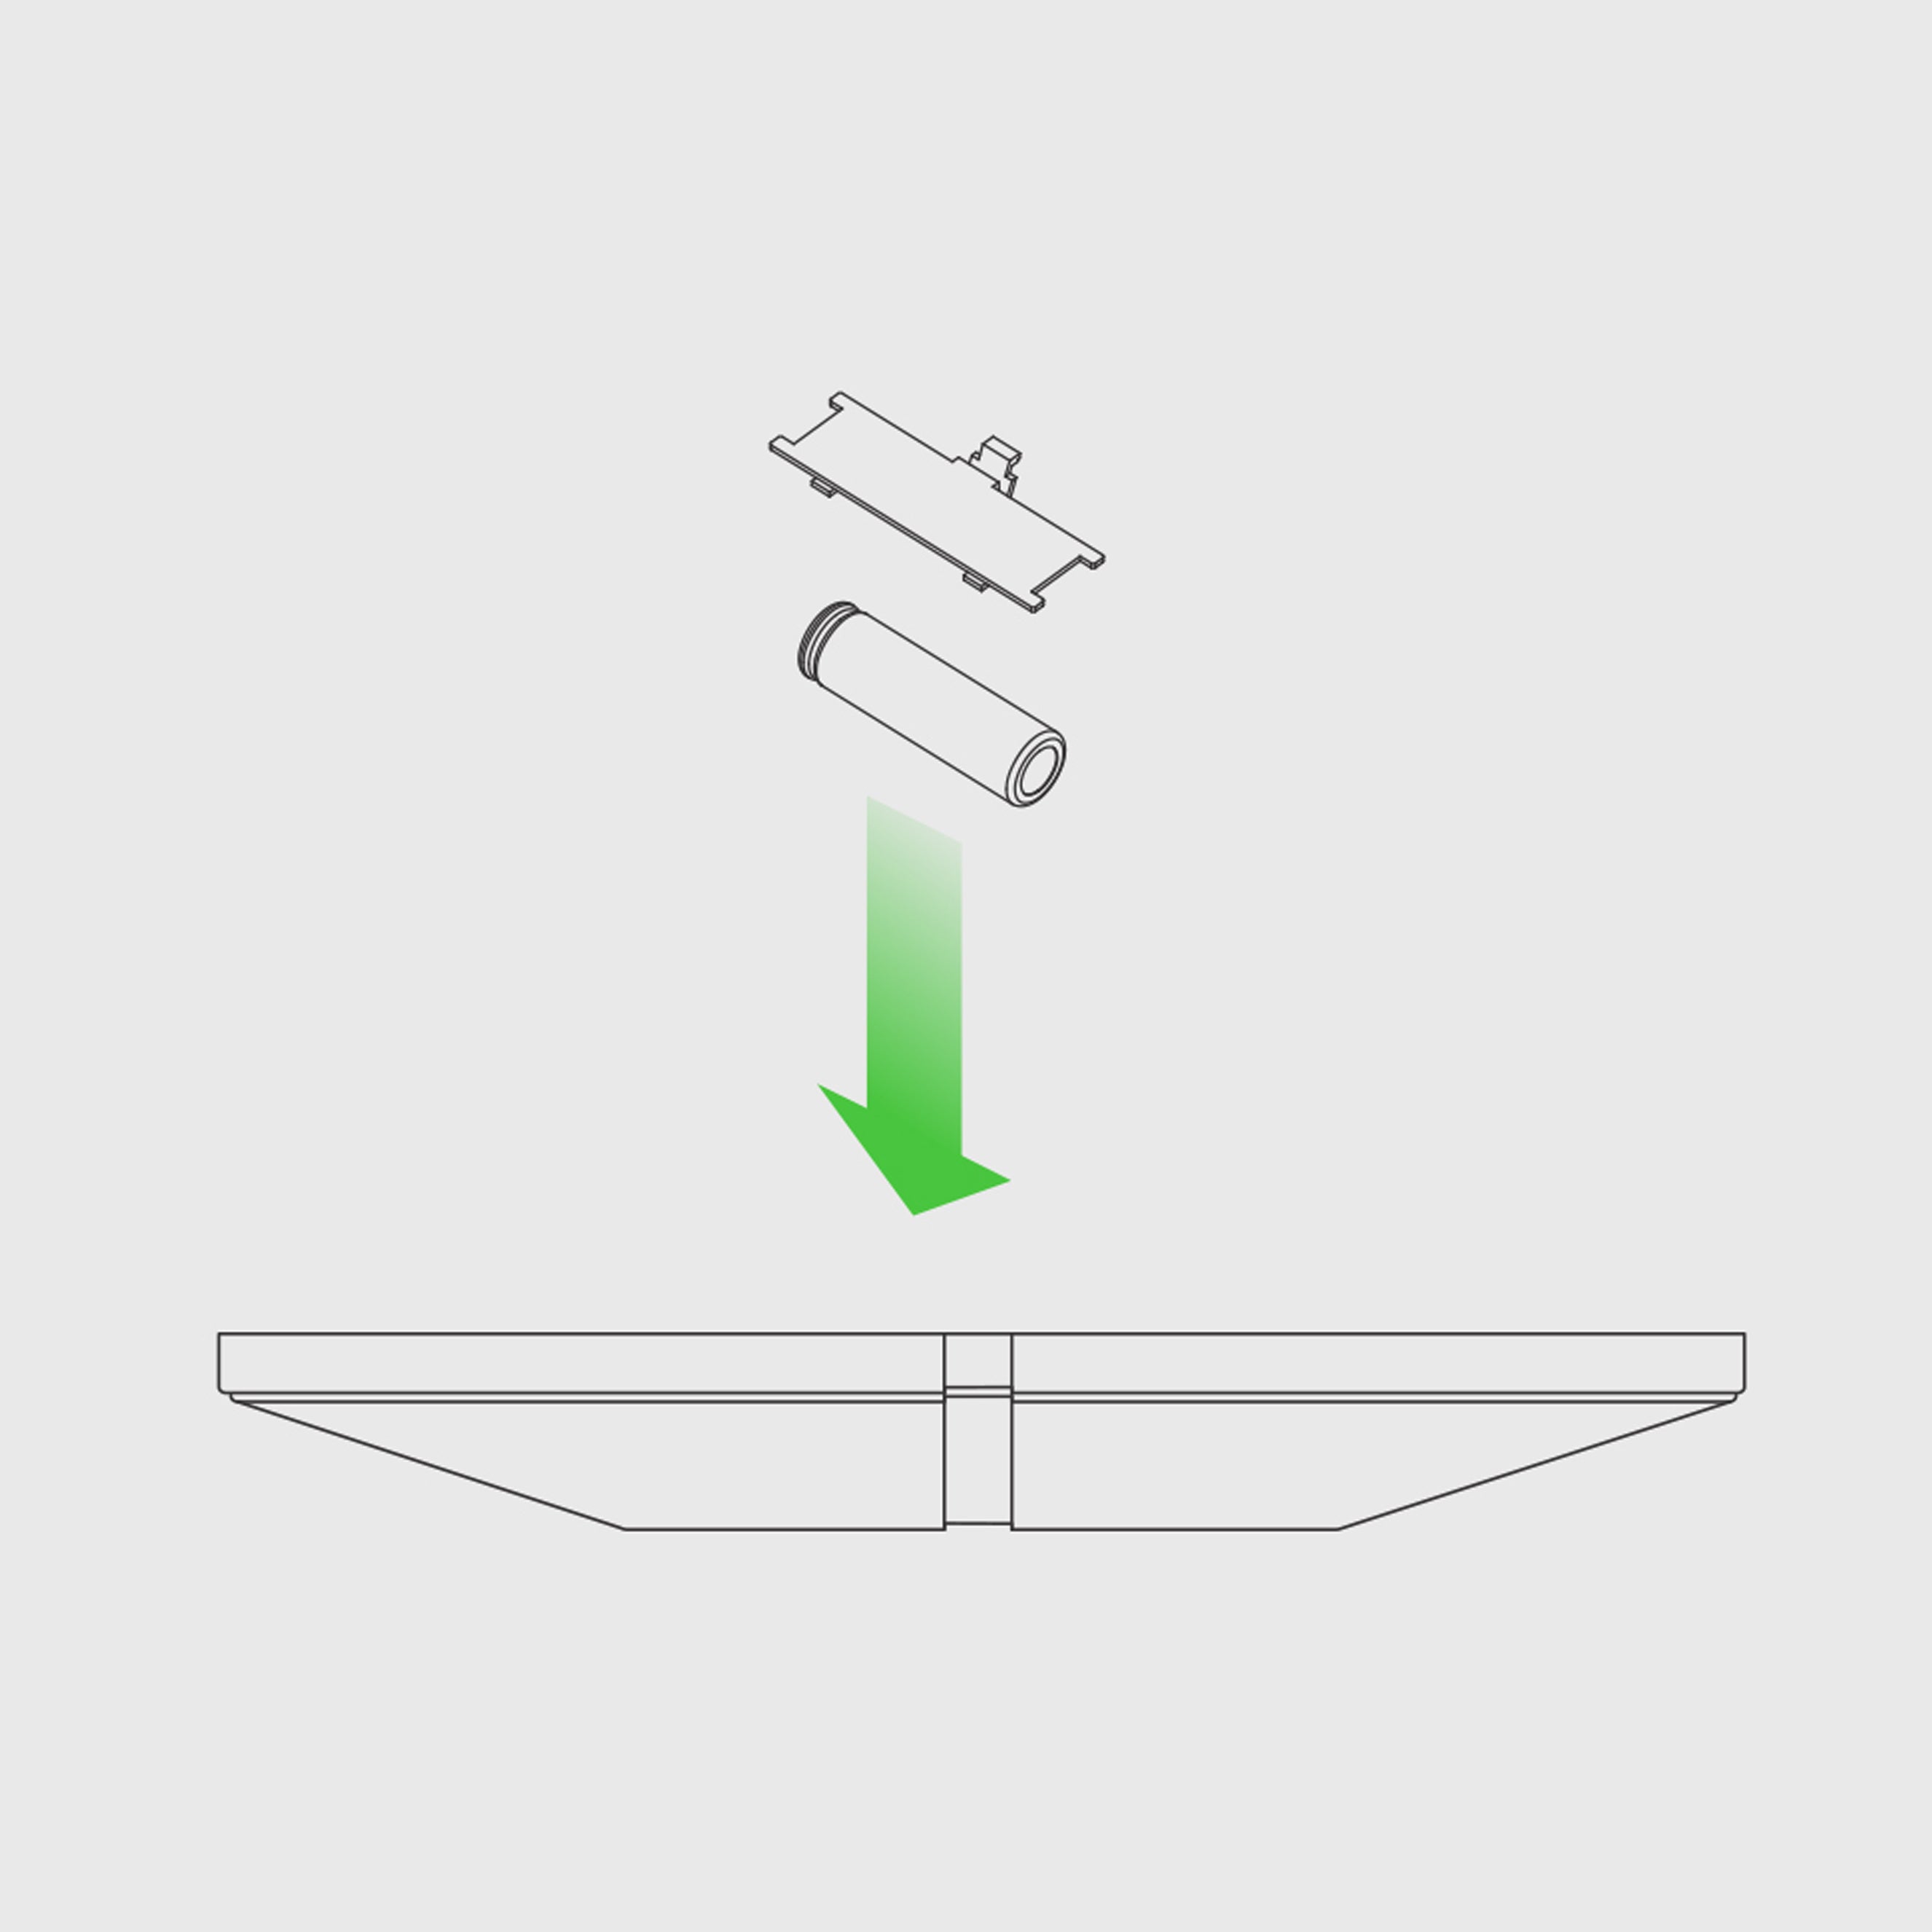
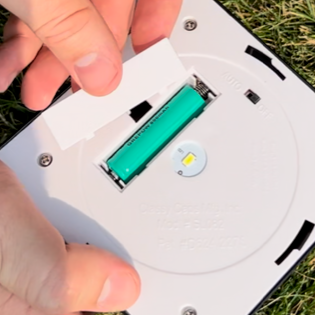
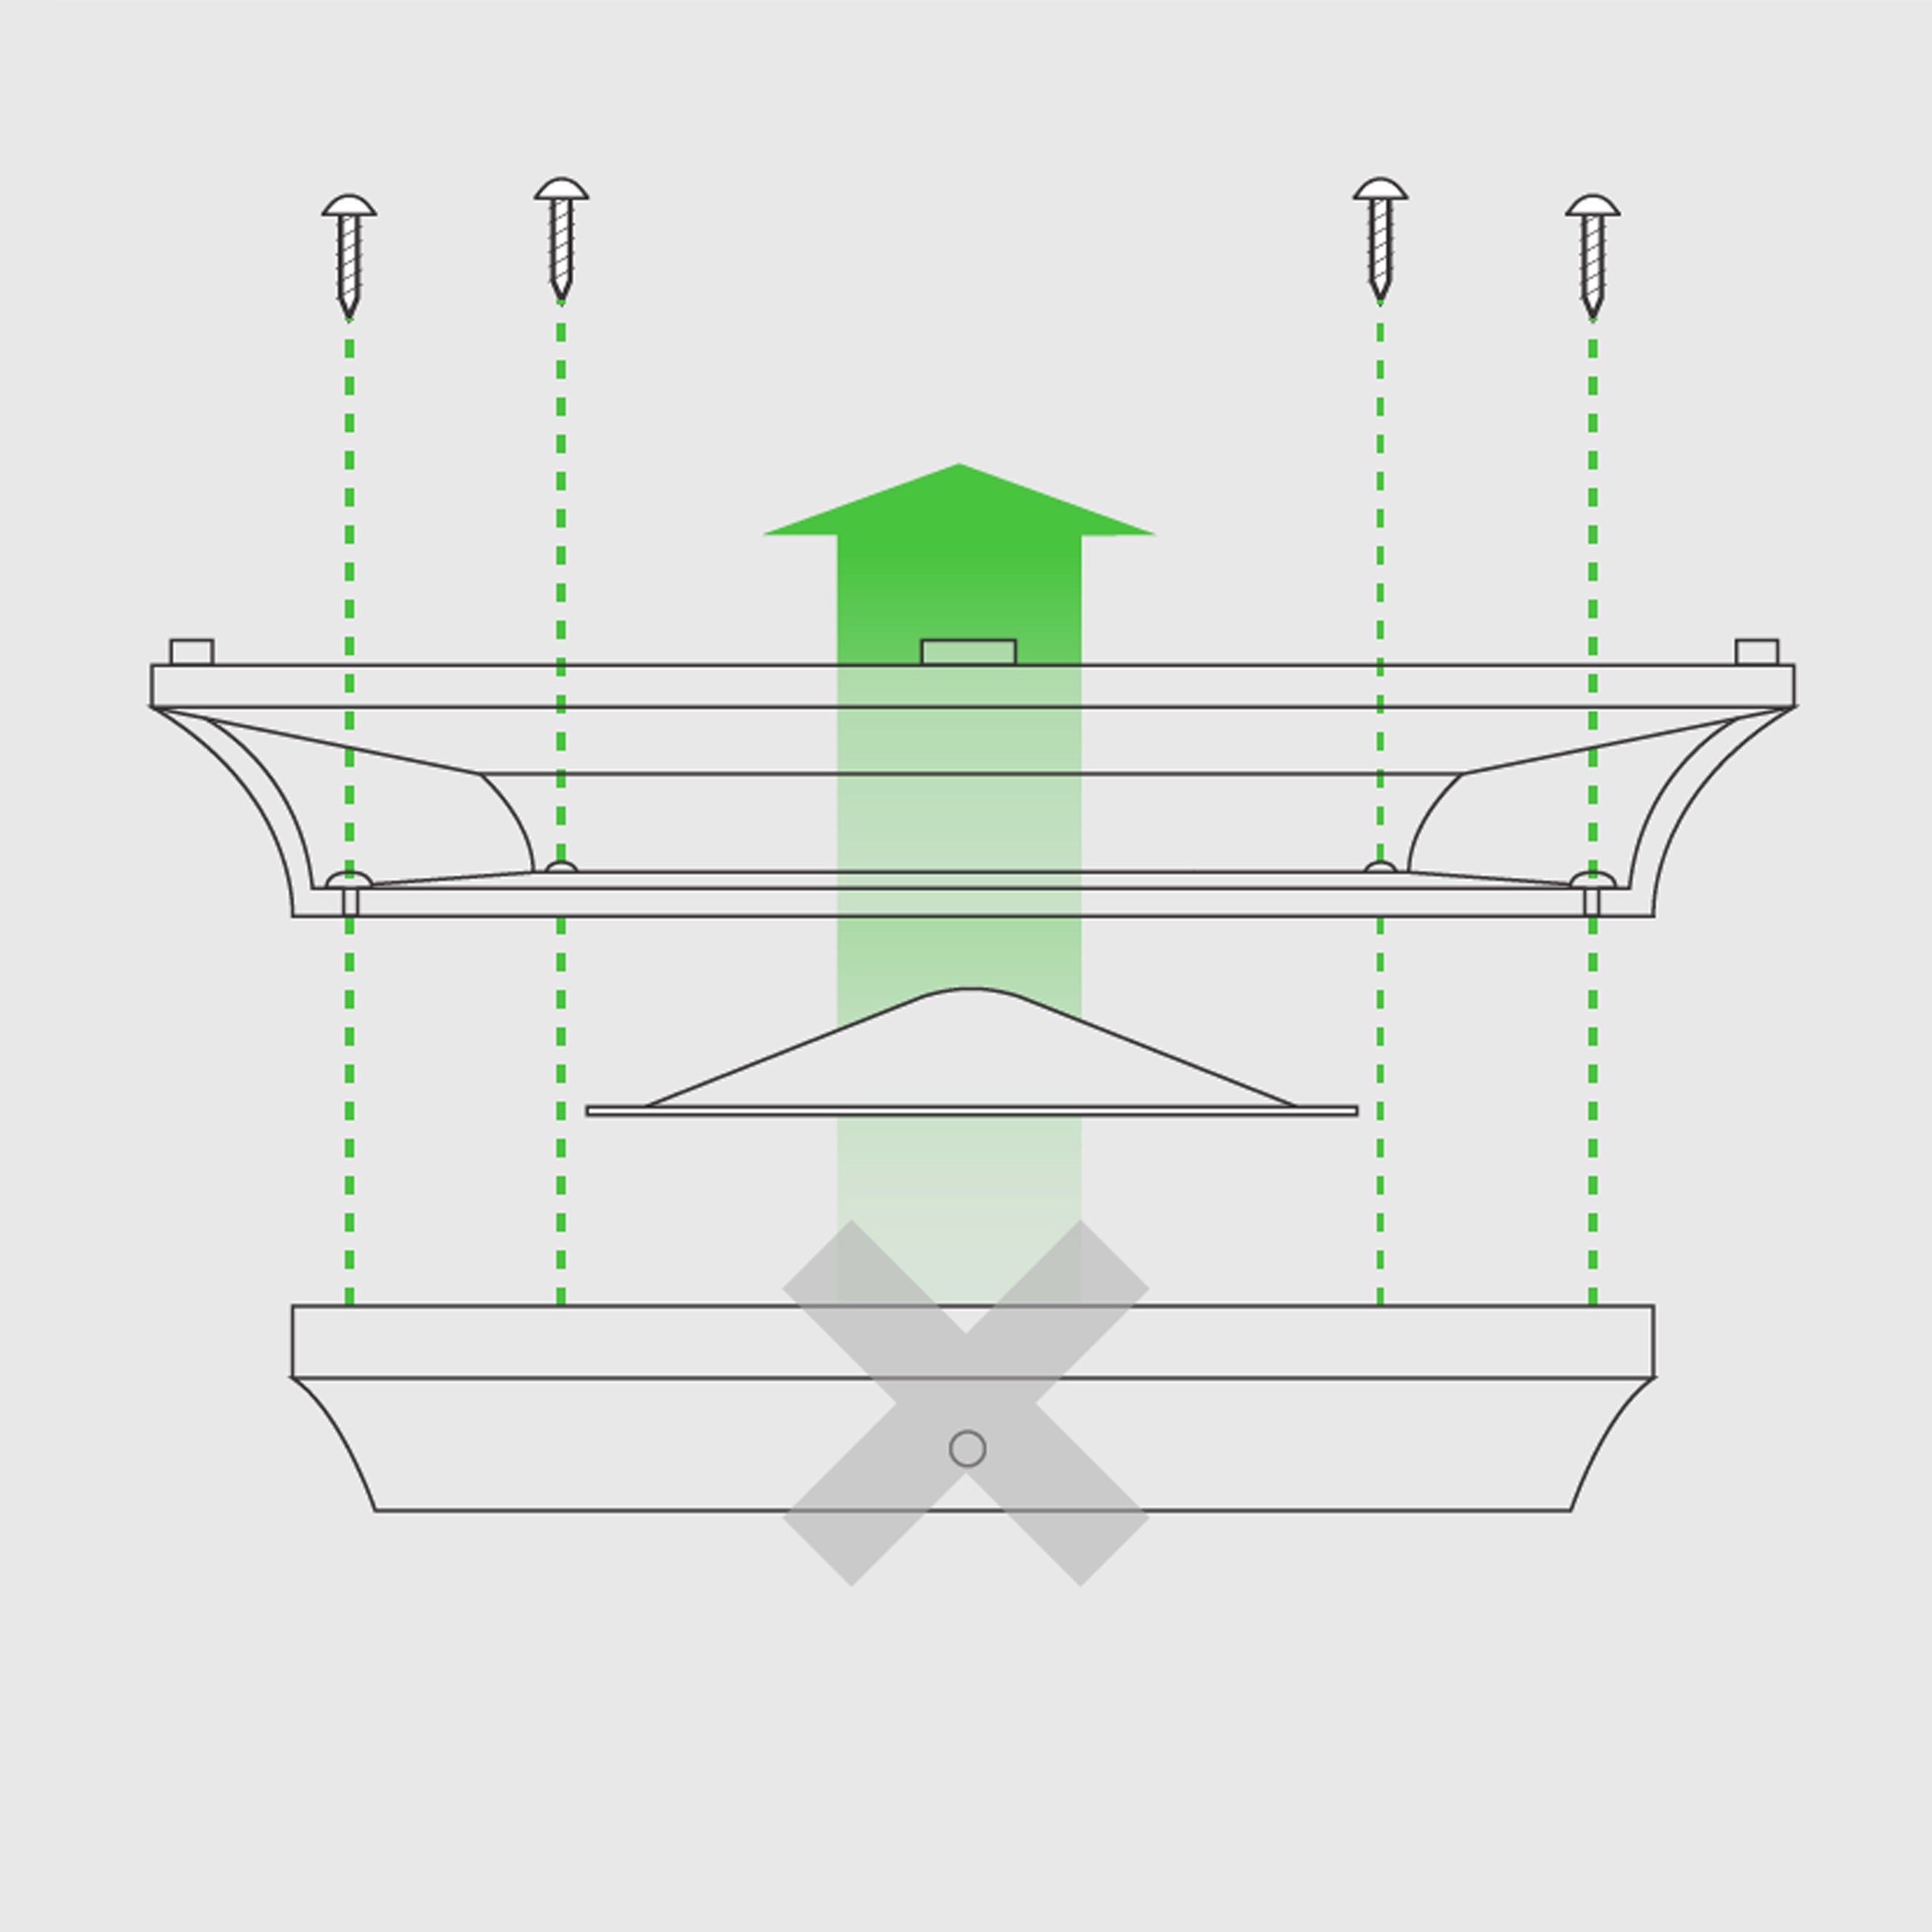
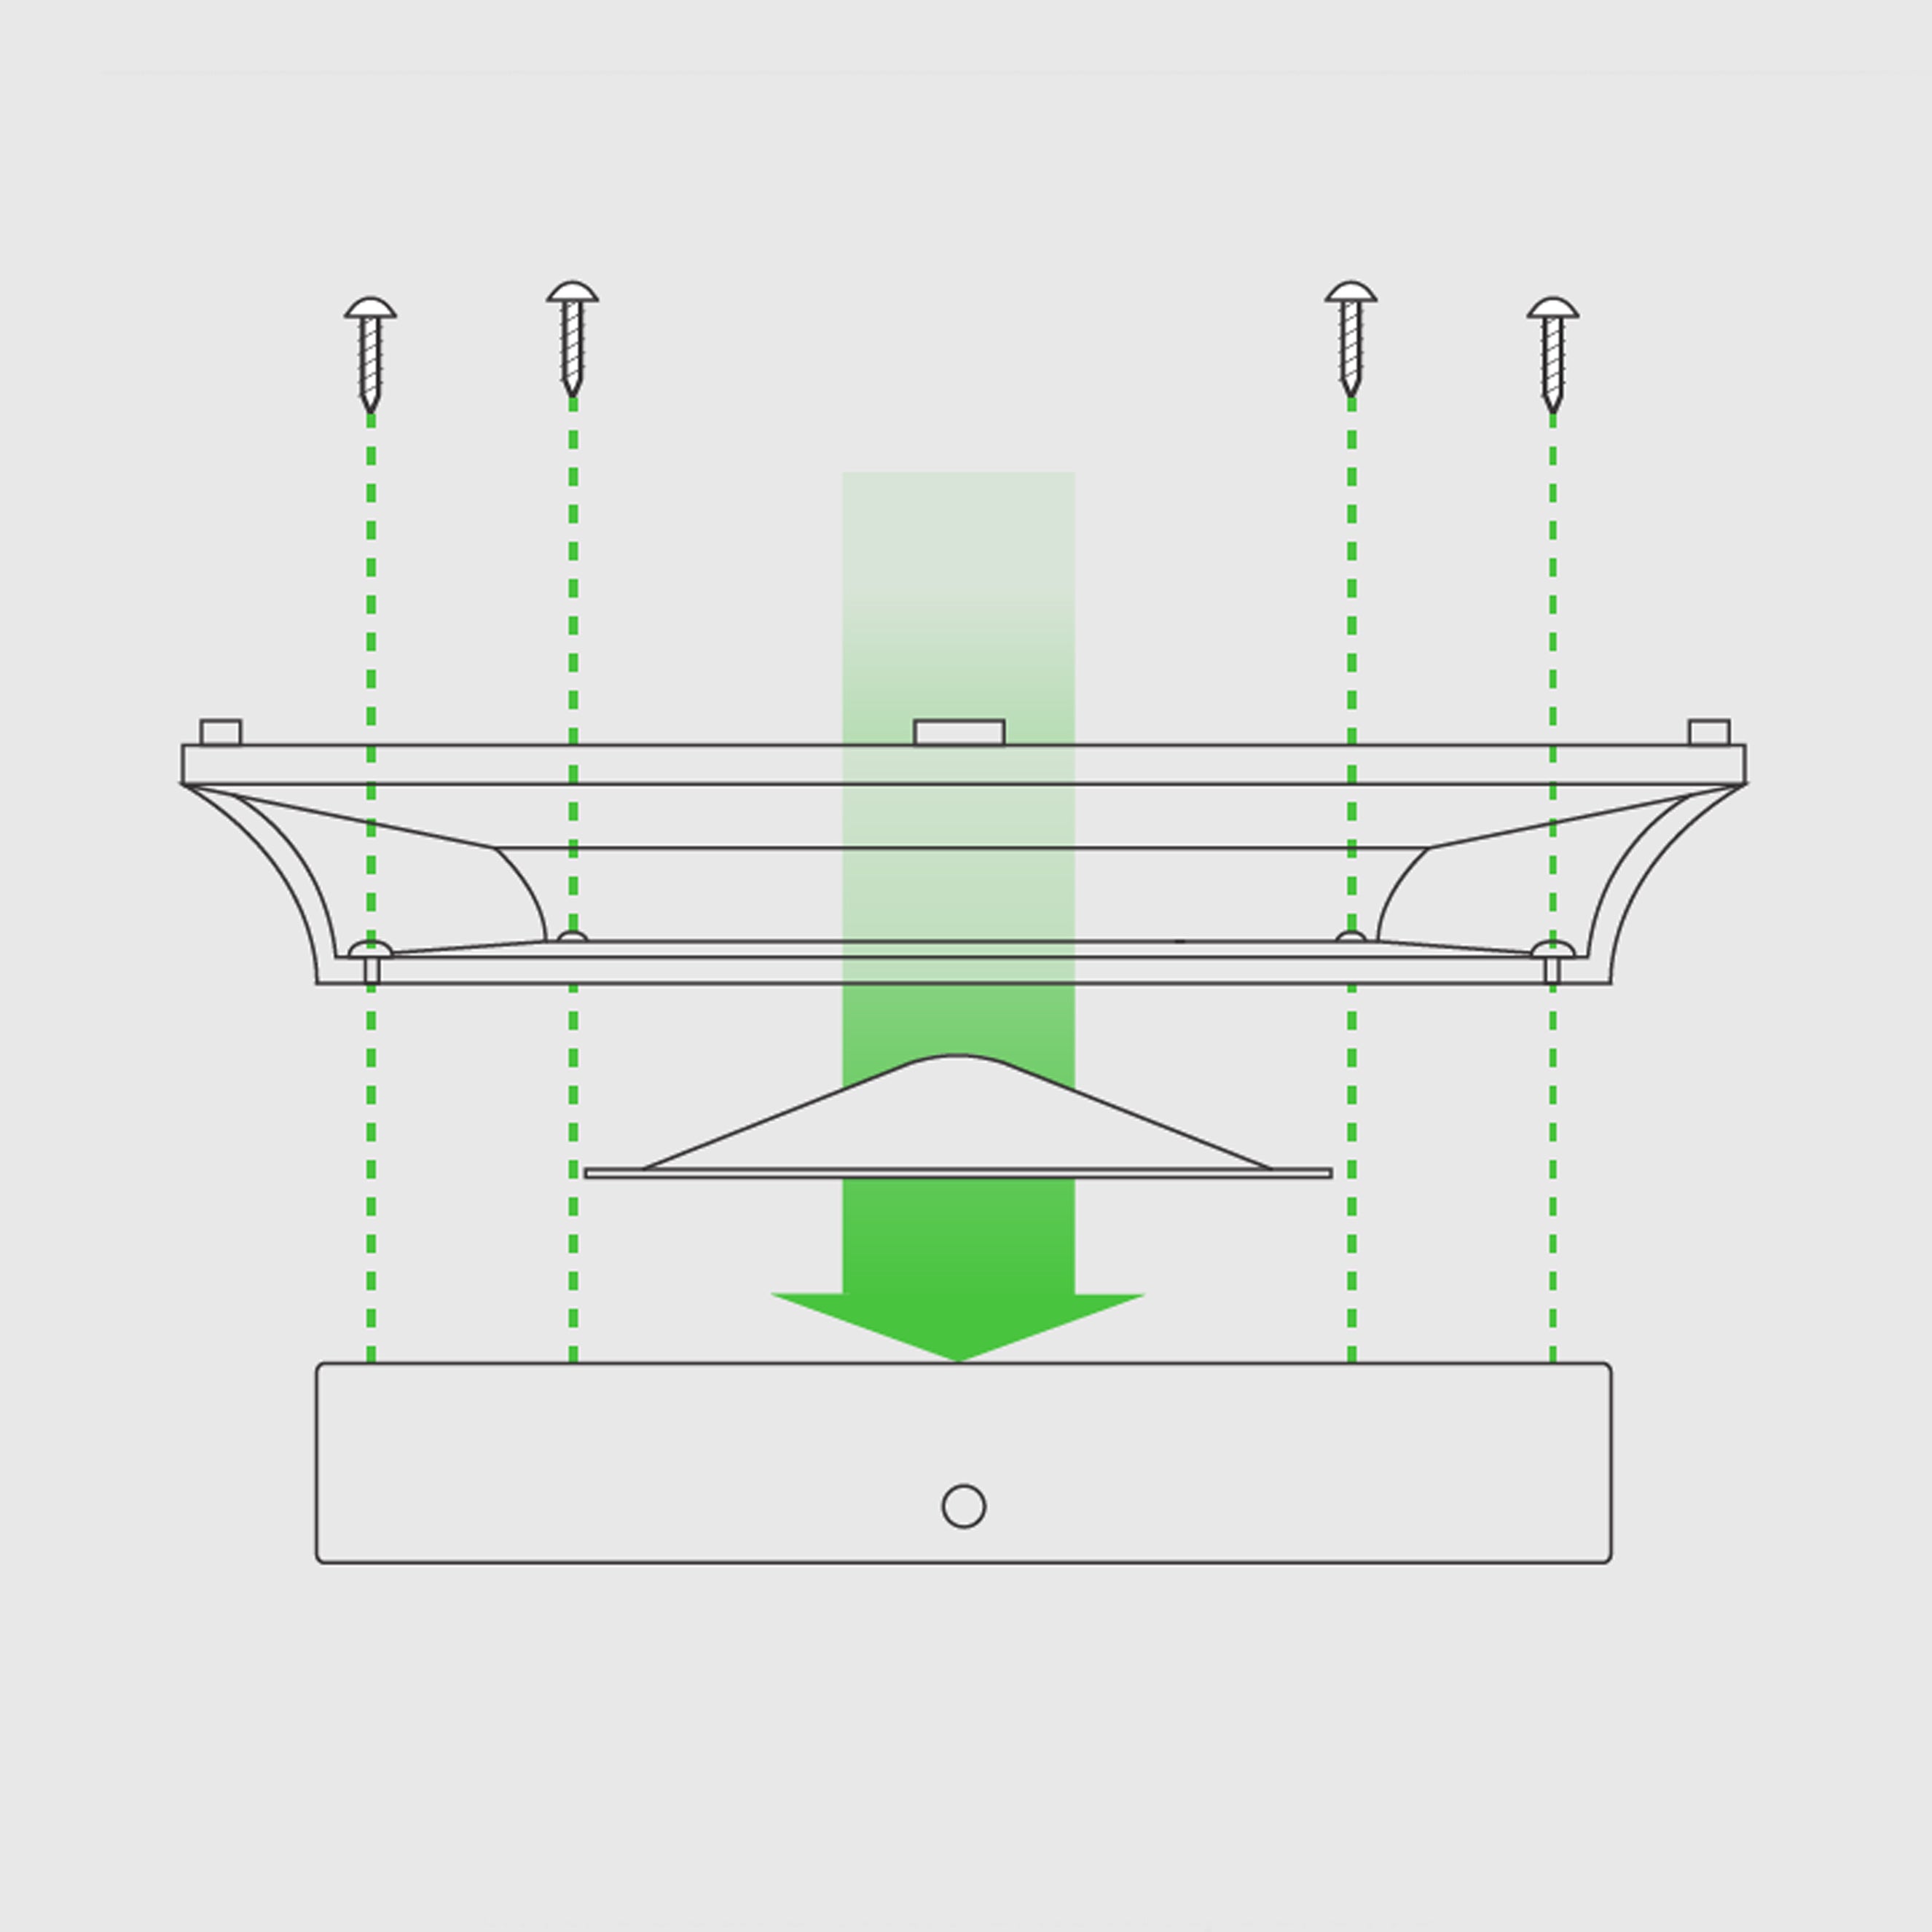
04.
How To Replace Battery
Locate The Battery
Locate the battery compartment (usually located on the underside of the light fixture). Re
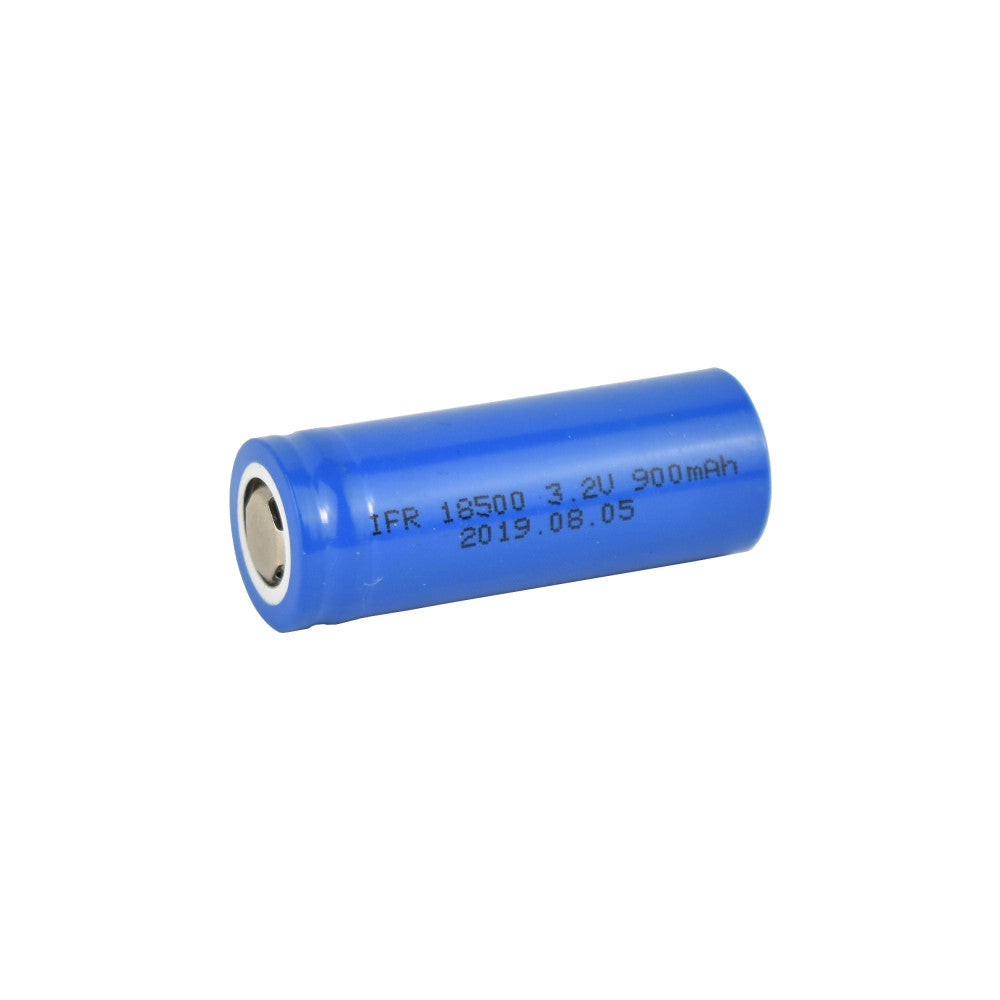
Remove Battery and Replace
New rechargeable batteries can be purchased at your local hardware store or online retailer. Replace battery every 1-3 years.
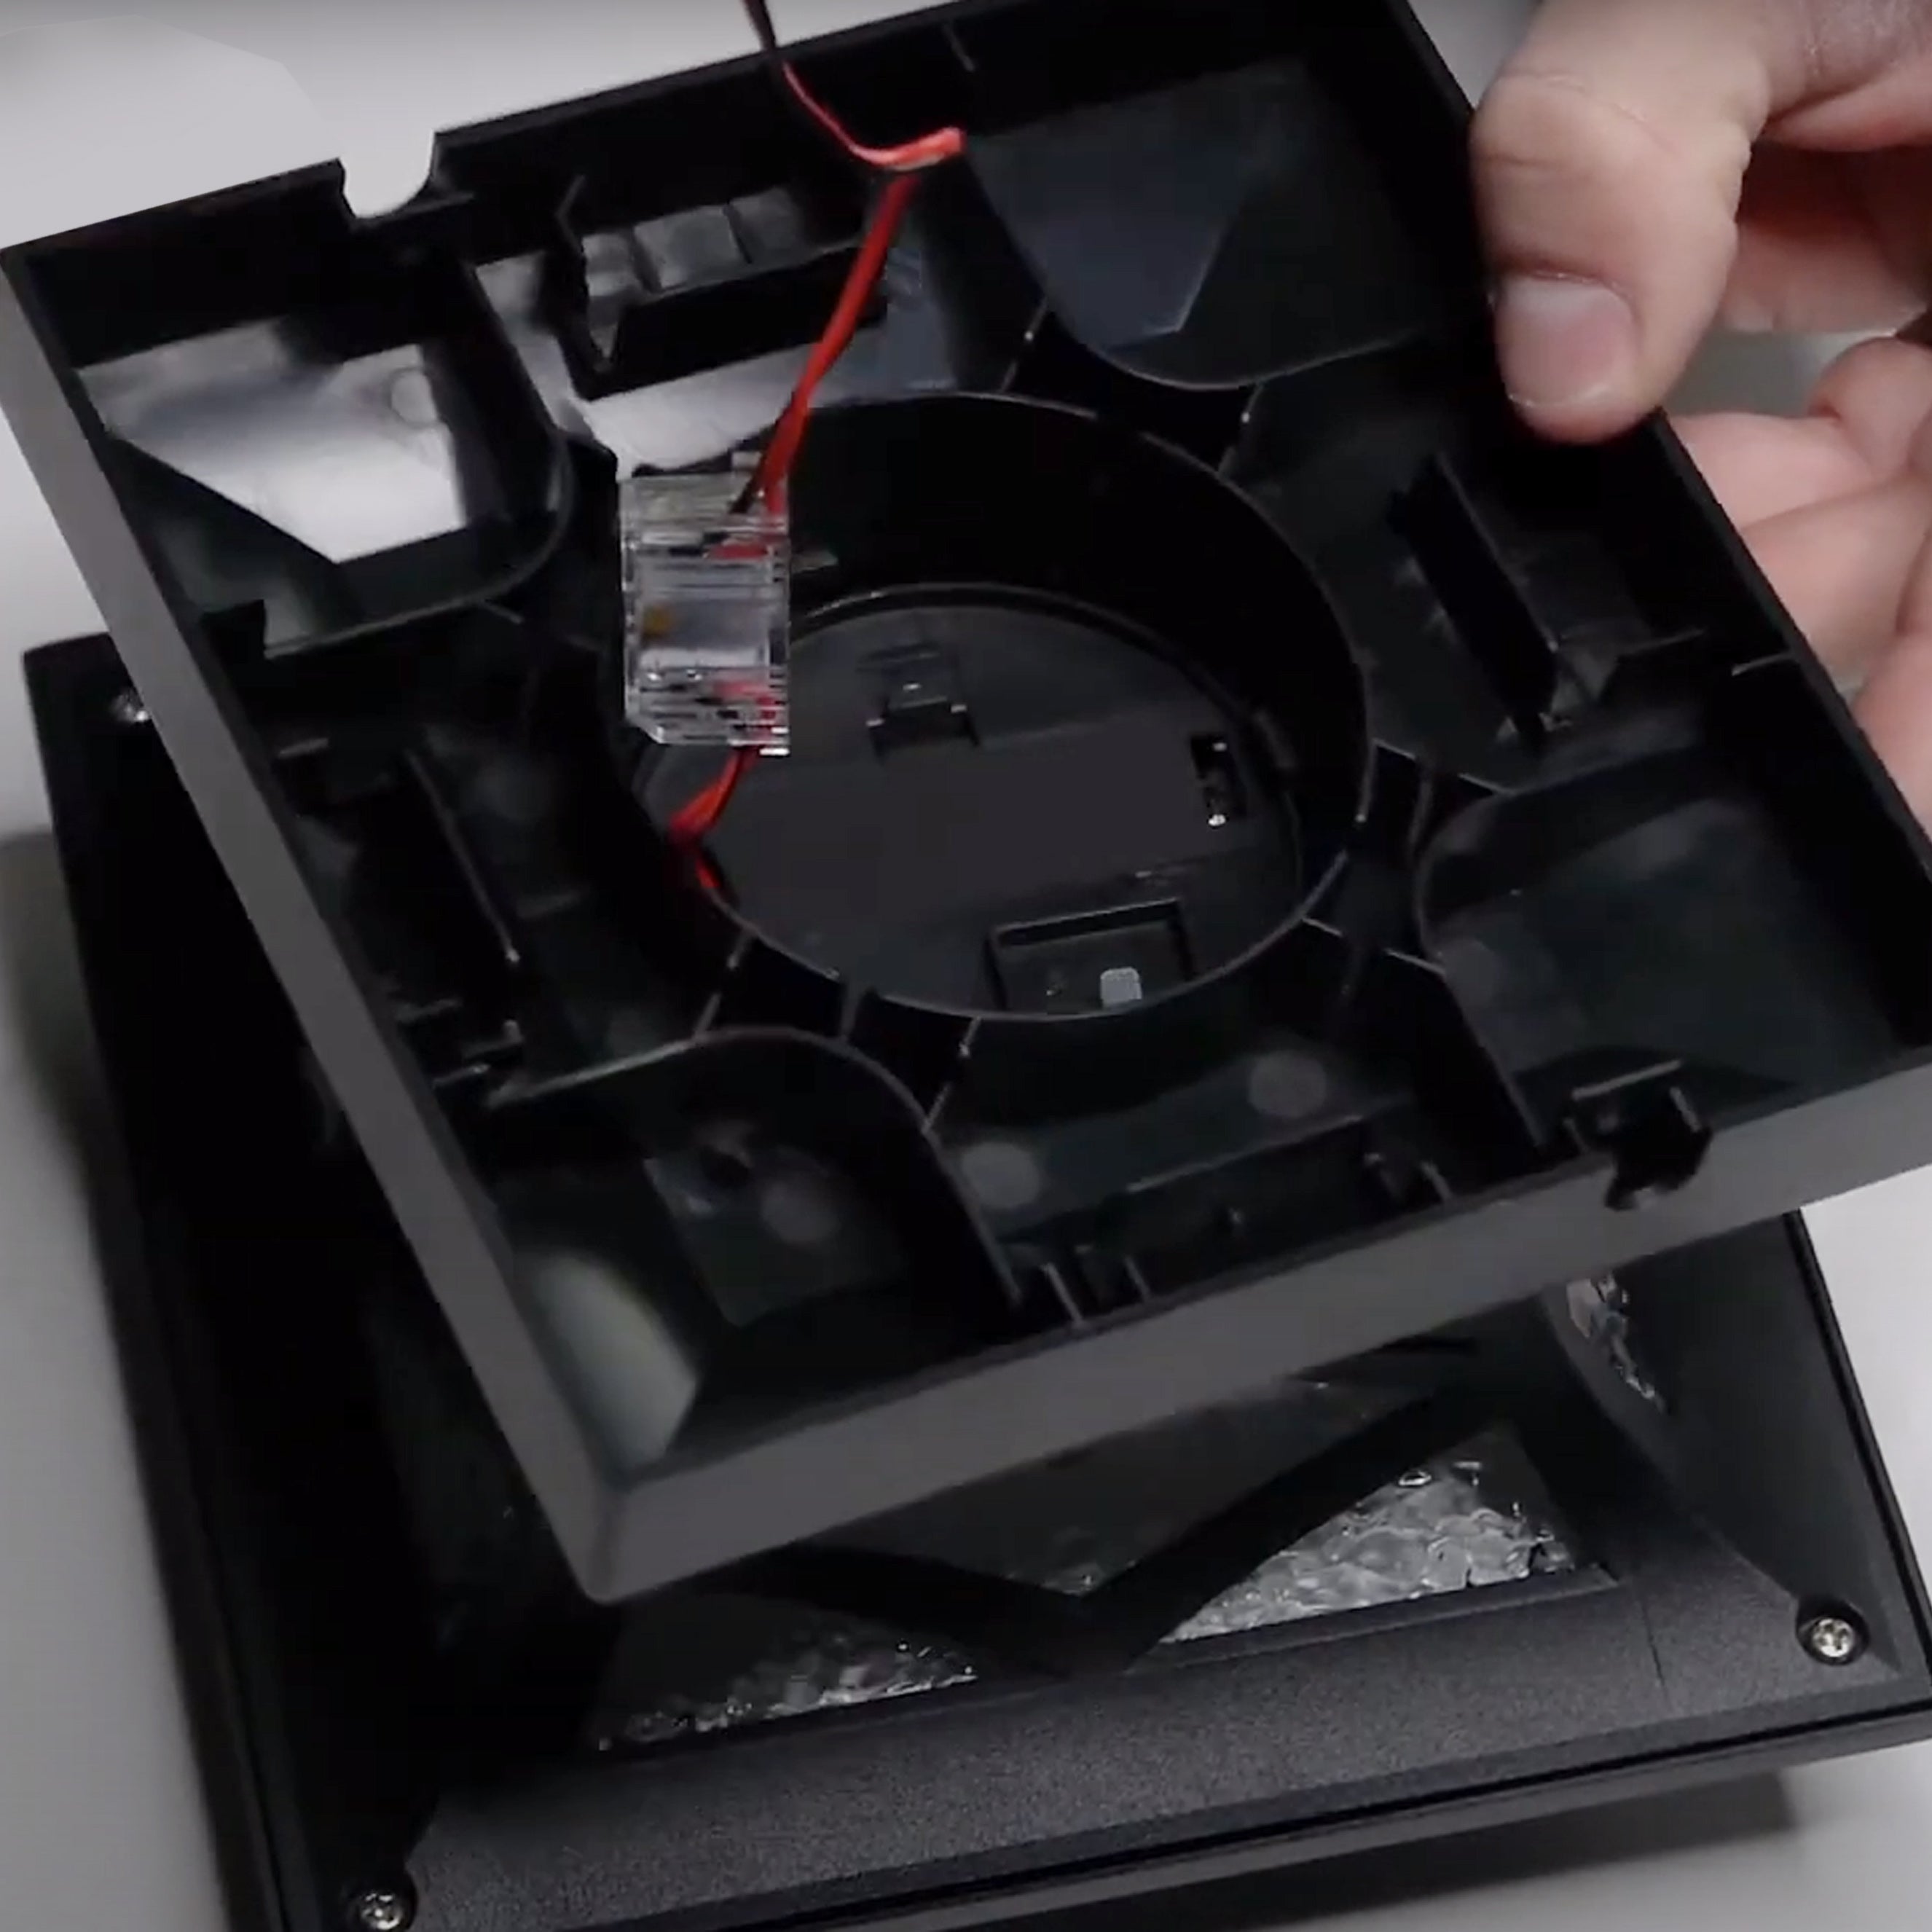
05.
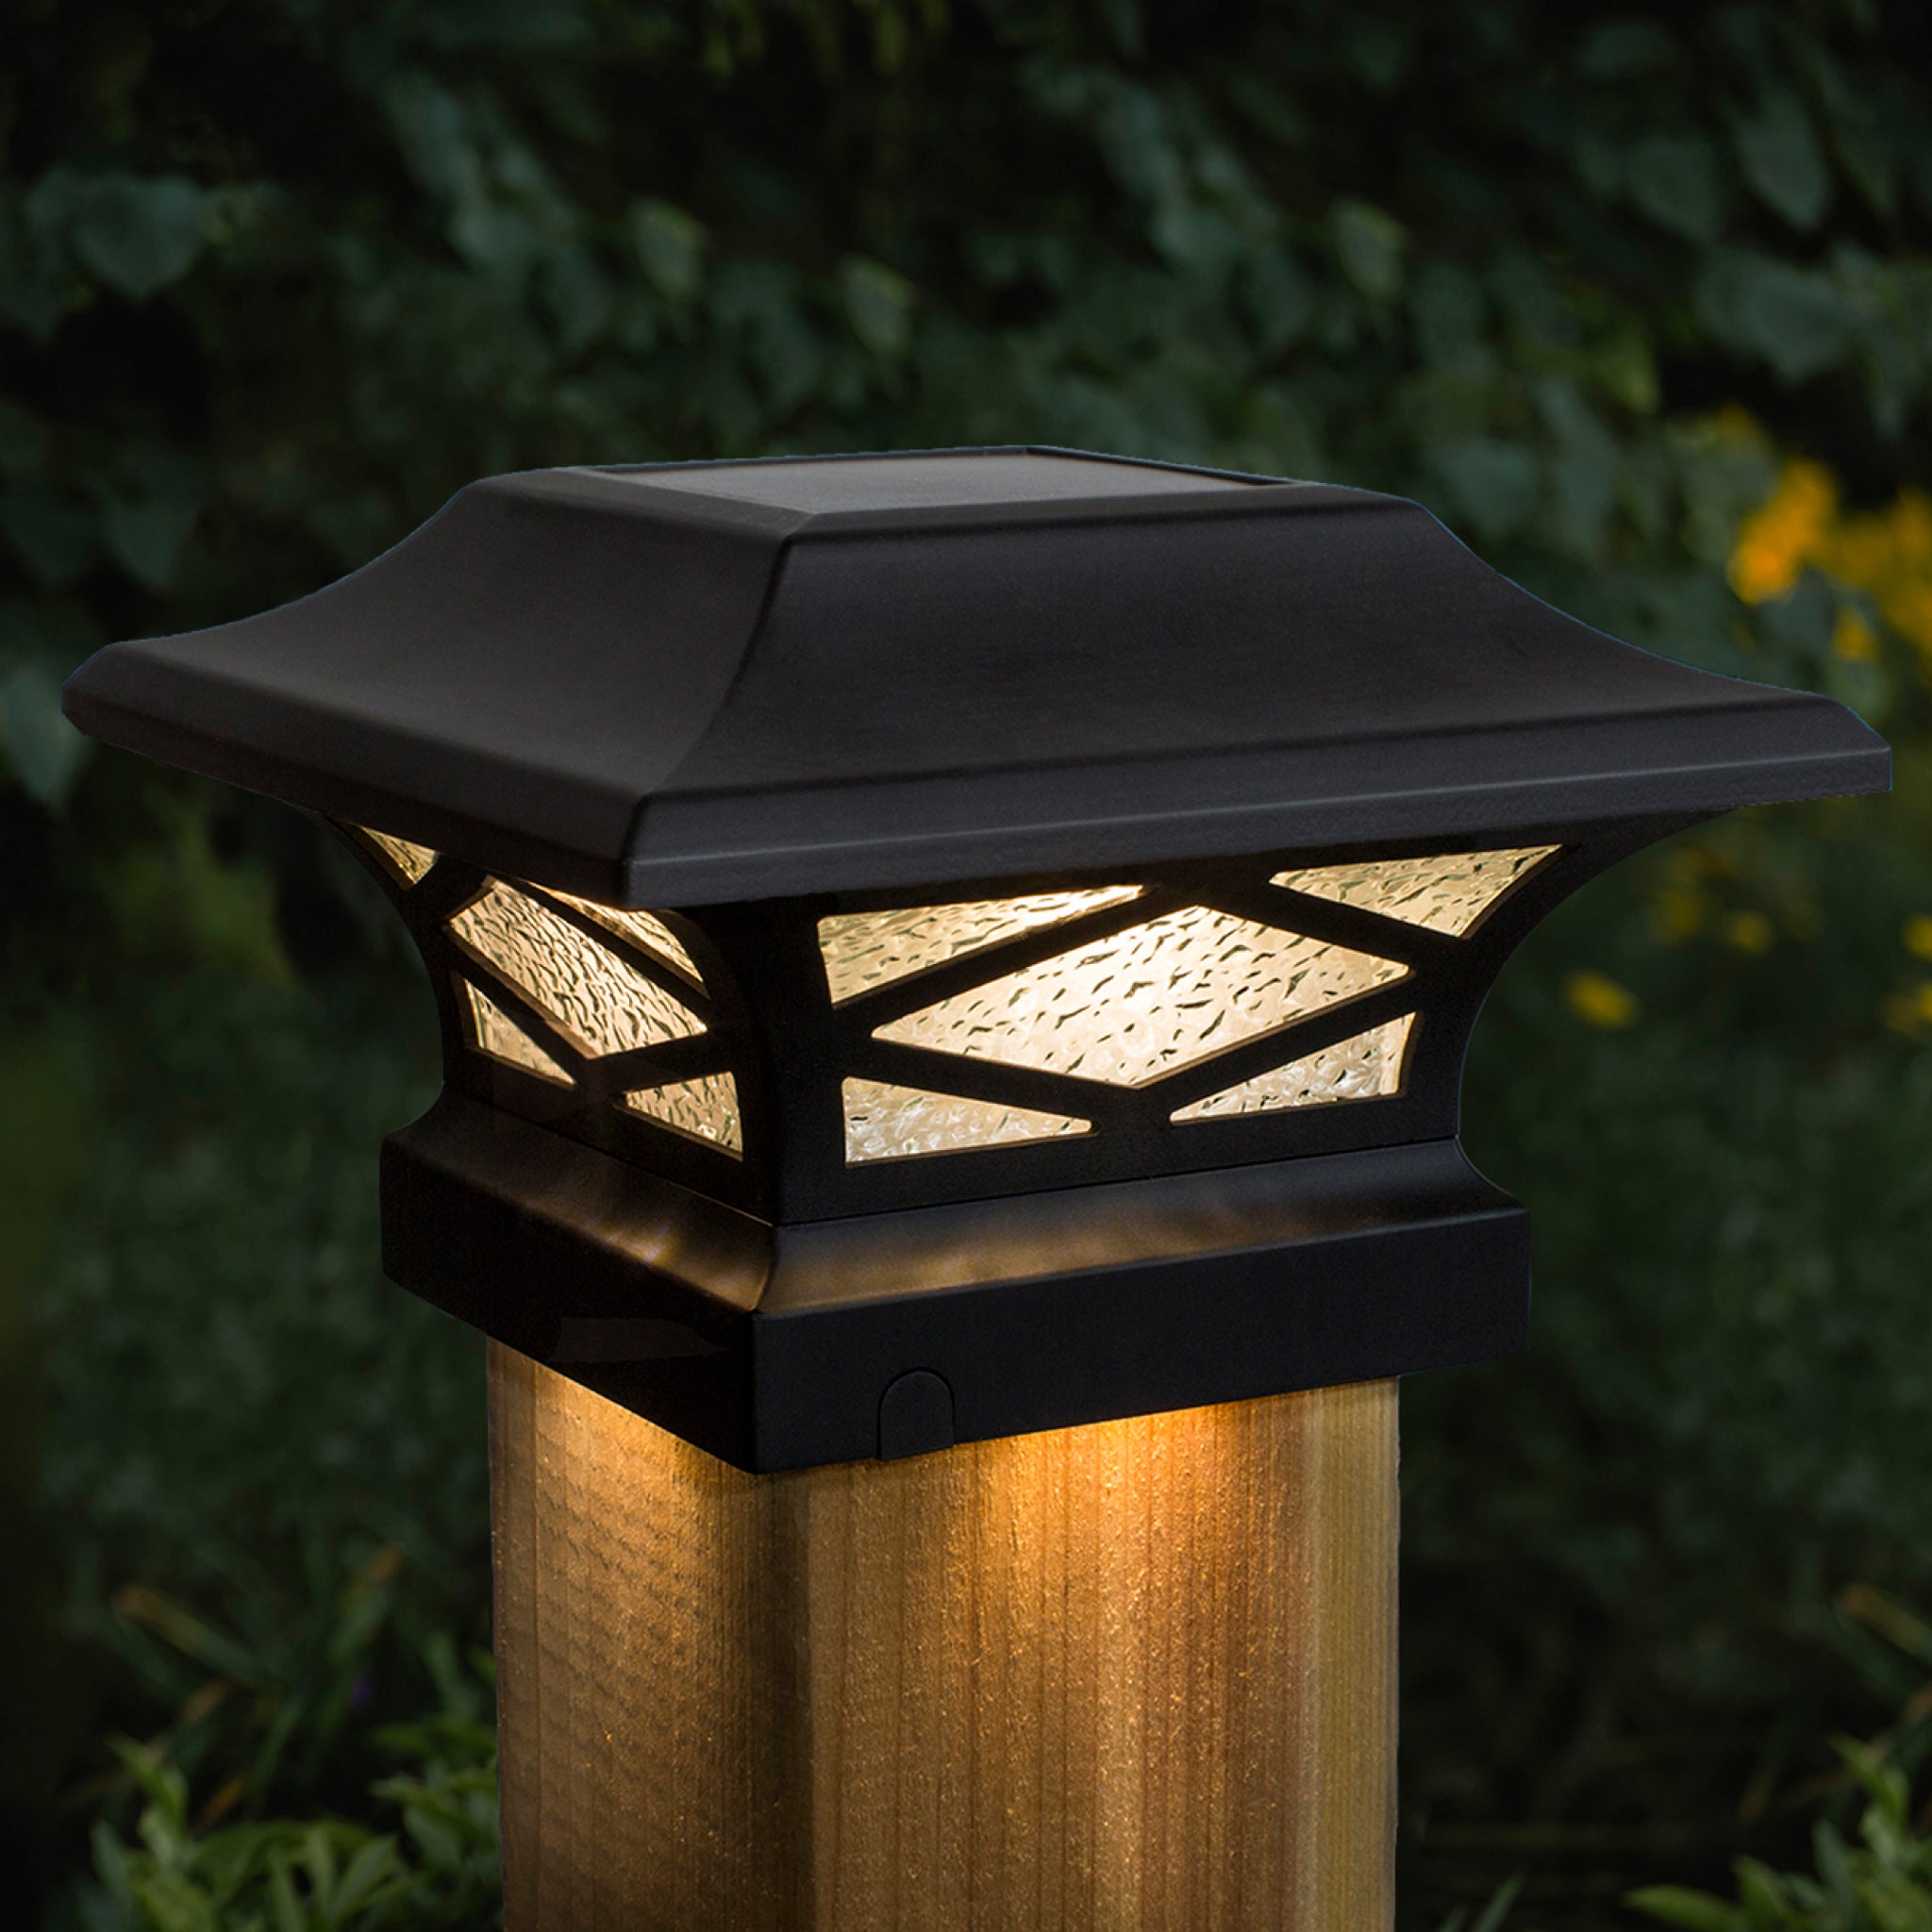
How to Install Kingsbridge Solar Post Cap
Select Base Adapter
The 3.5" x 3.5" (4x4 Nominal) base adapter comes pre-assembled. To switch the base adapter, continue with the next steps.
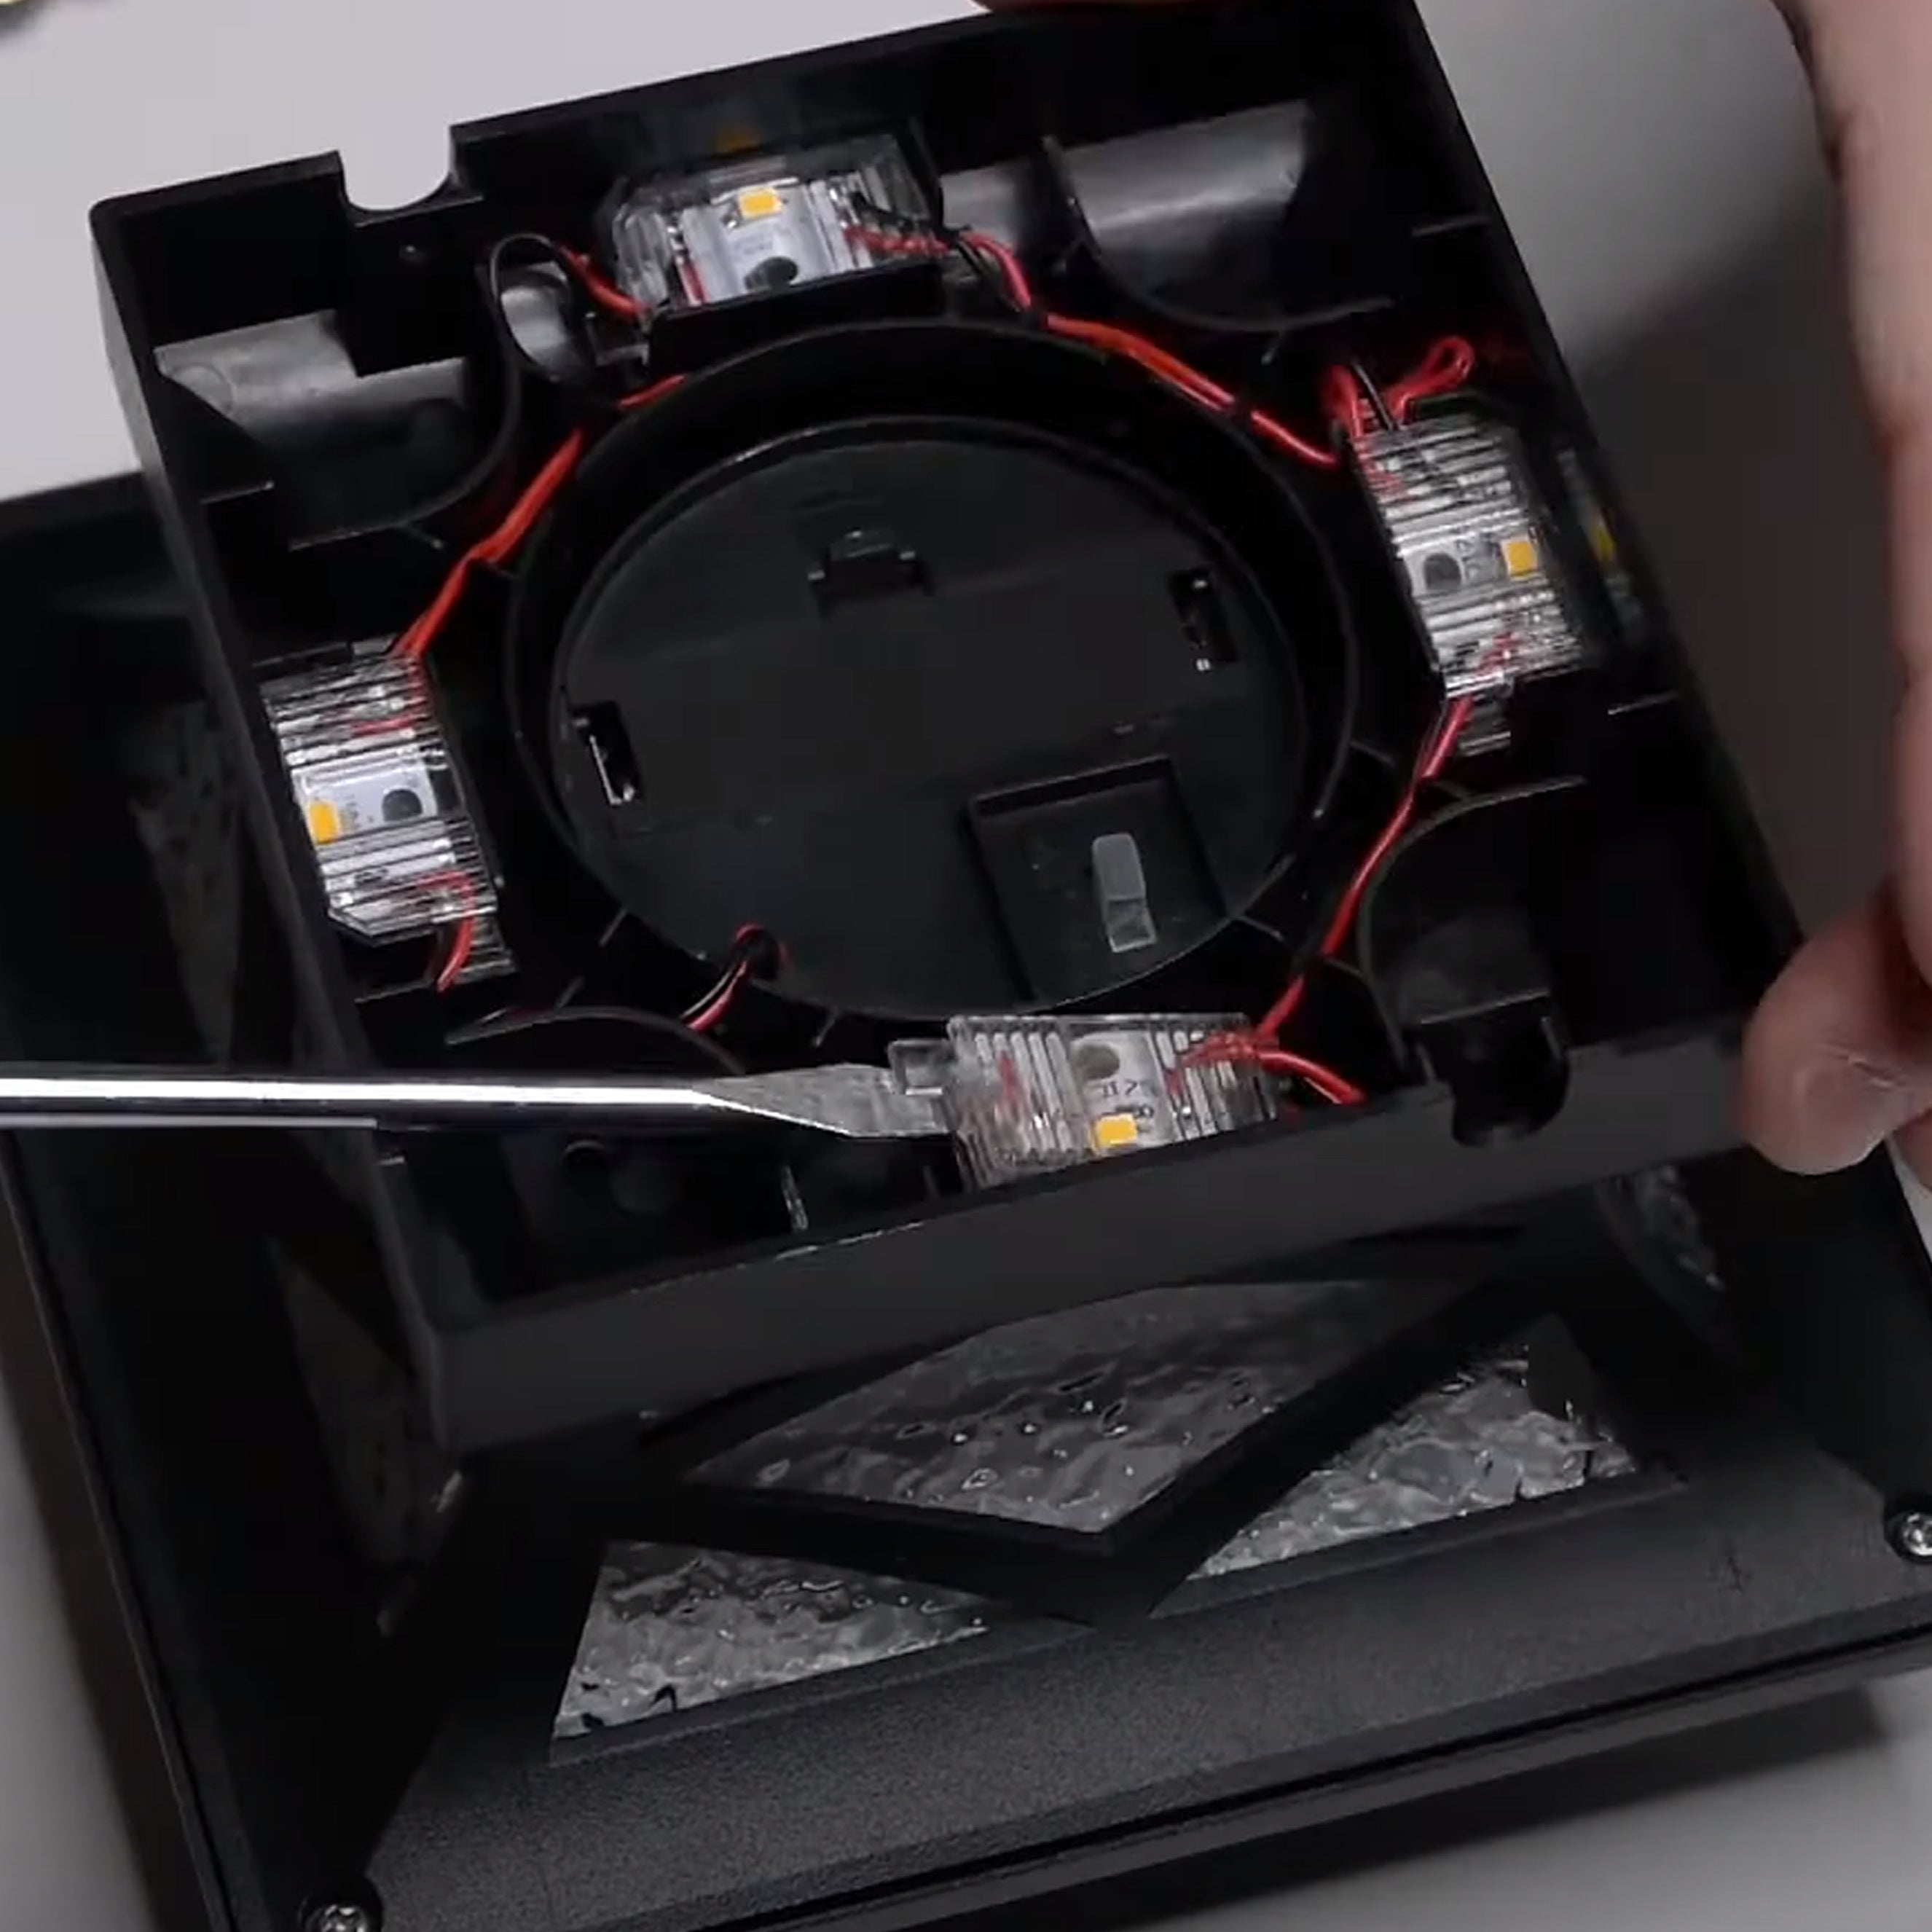
Remove the LED’s / Wire
Carefully Remove the 4 LED's from the base using a small straight edge screwdriver - pry upwards on the side tabs of the LED's that are attached to the wire.

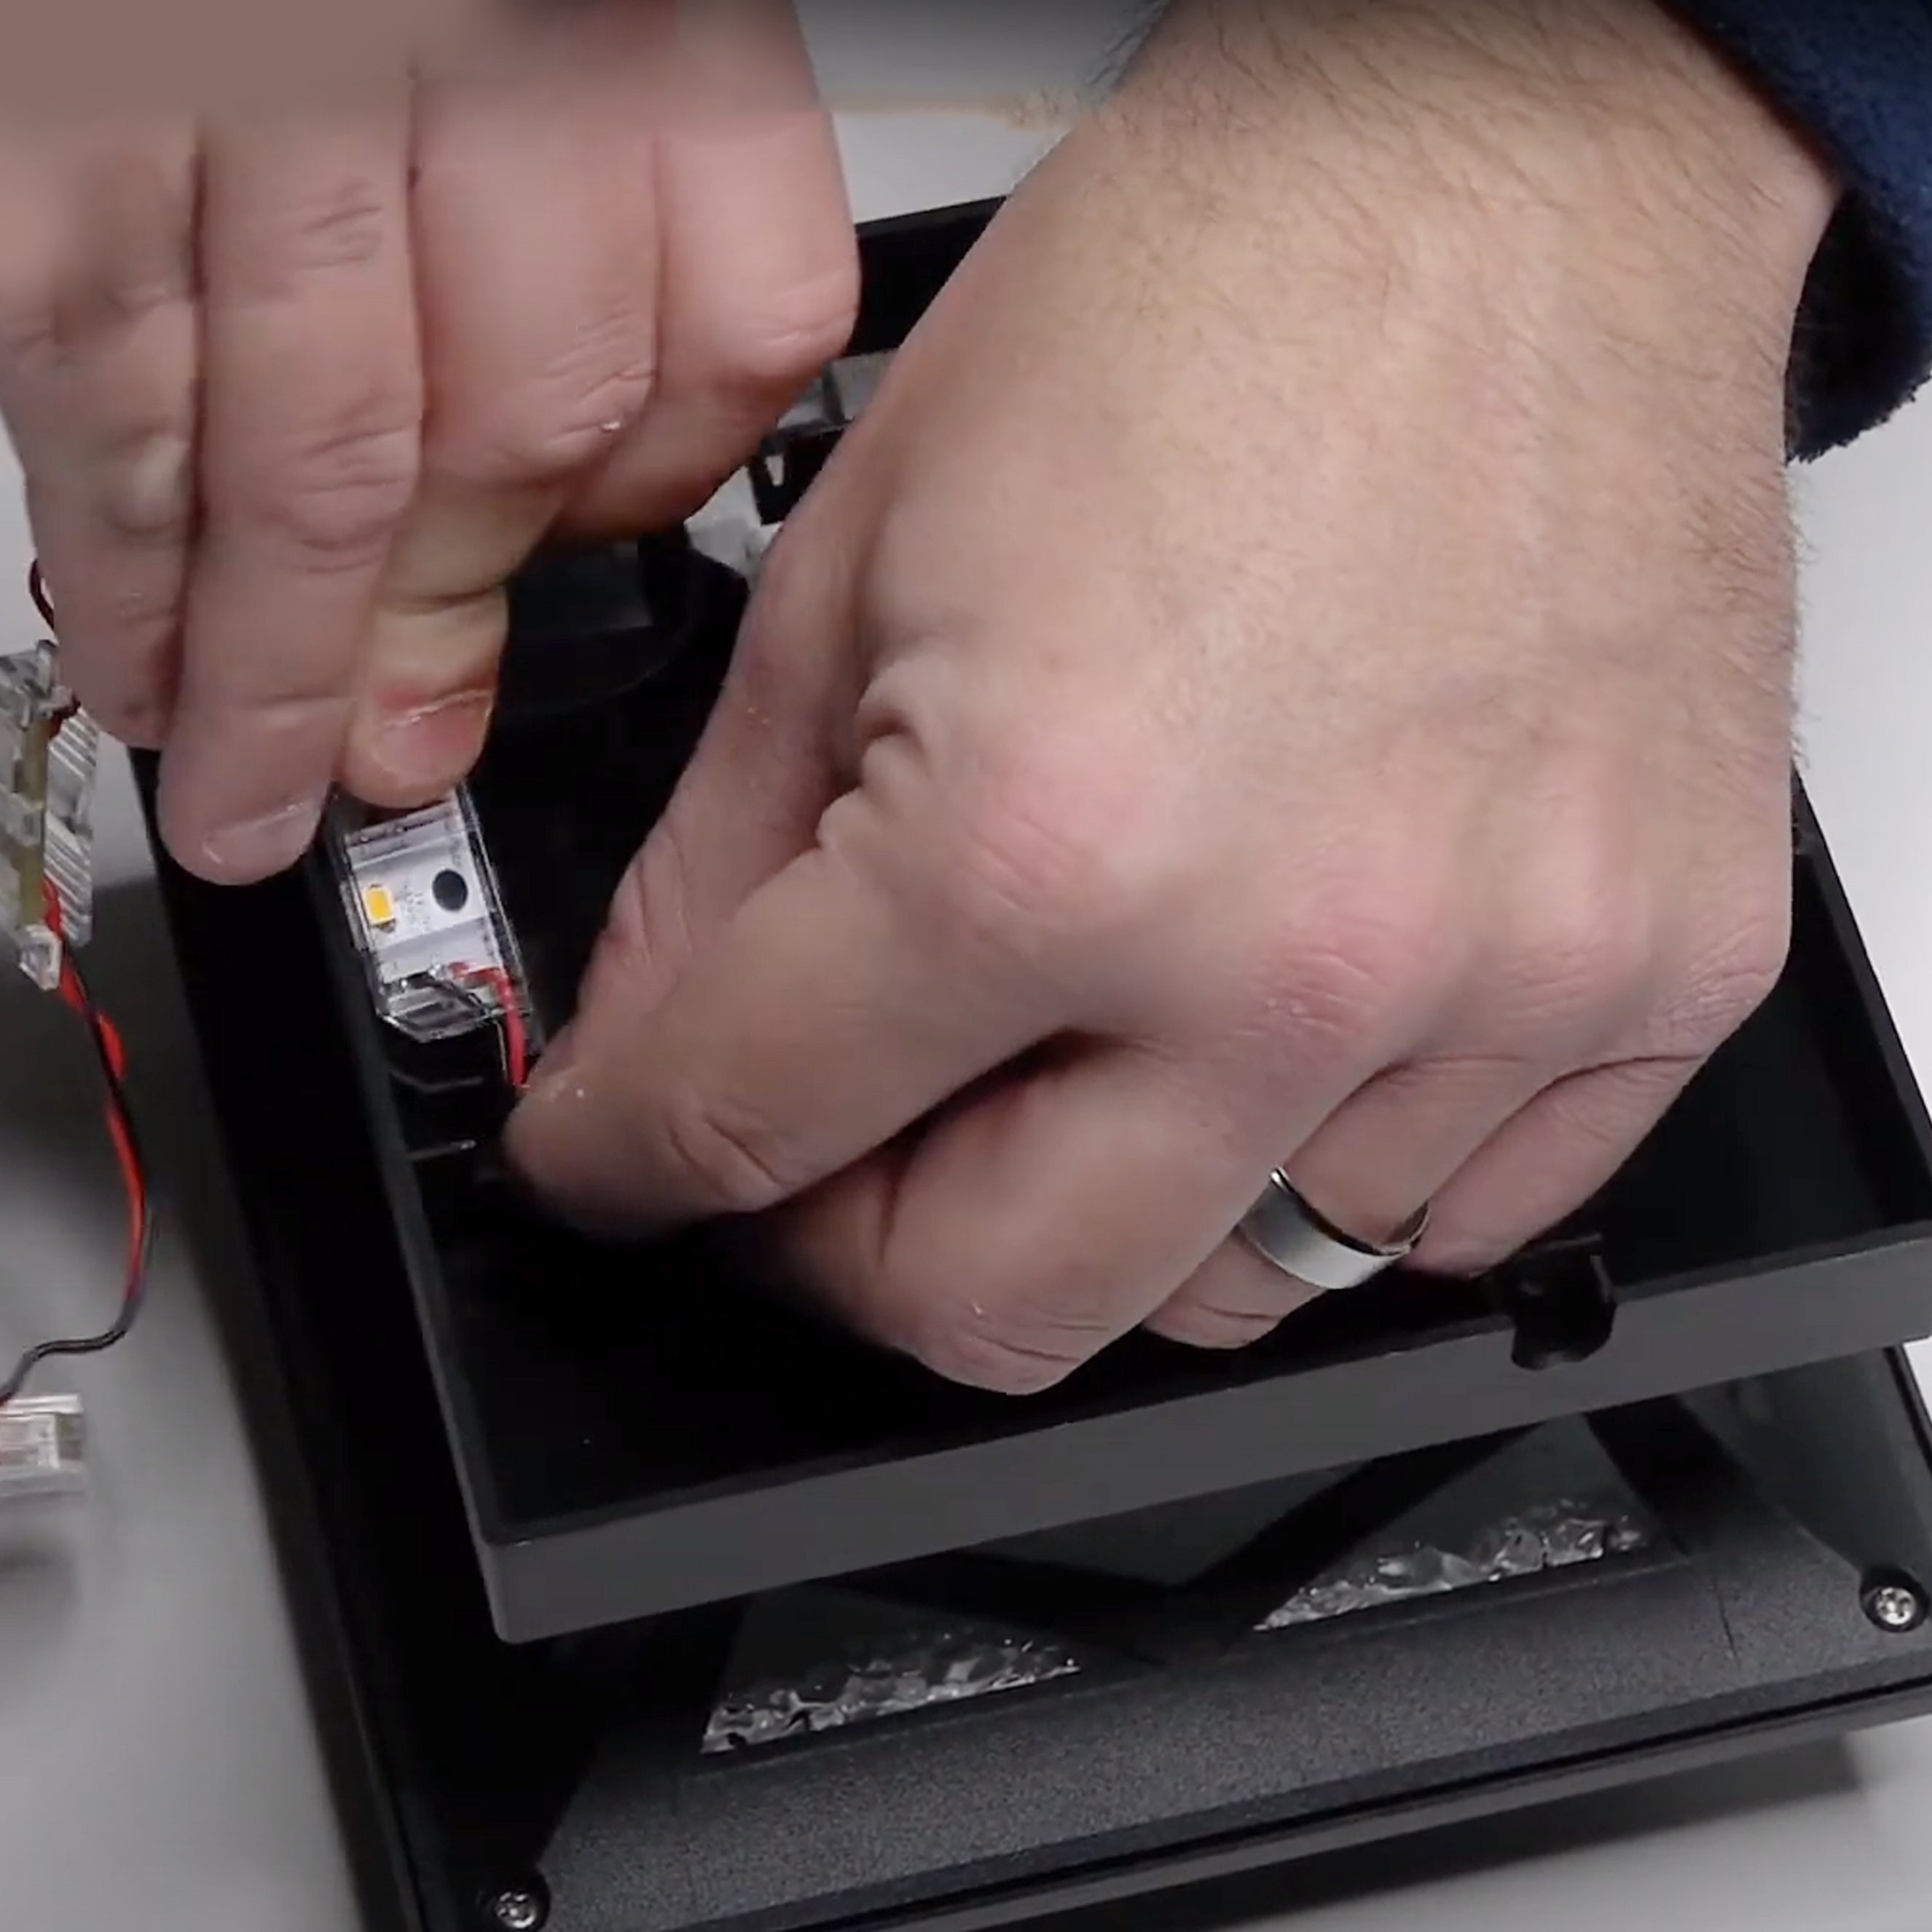
Twist to Remove Base Adaptor
Twist the adapter clockwise to remove.
Feed the LED’s / Wire Through
Feed the LED's / wire through the base for your size post and twist base clockwise to secure the solar top.
Snap The LED’s Back Into Place
Snap the 4 LED's back into place - clockwise direction.
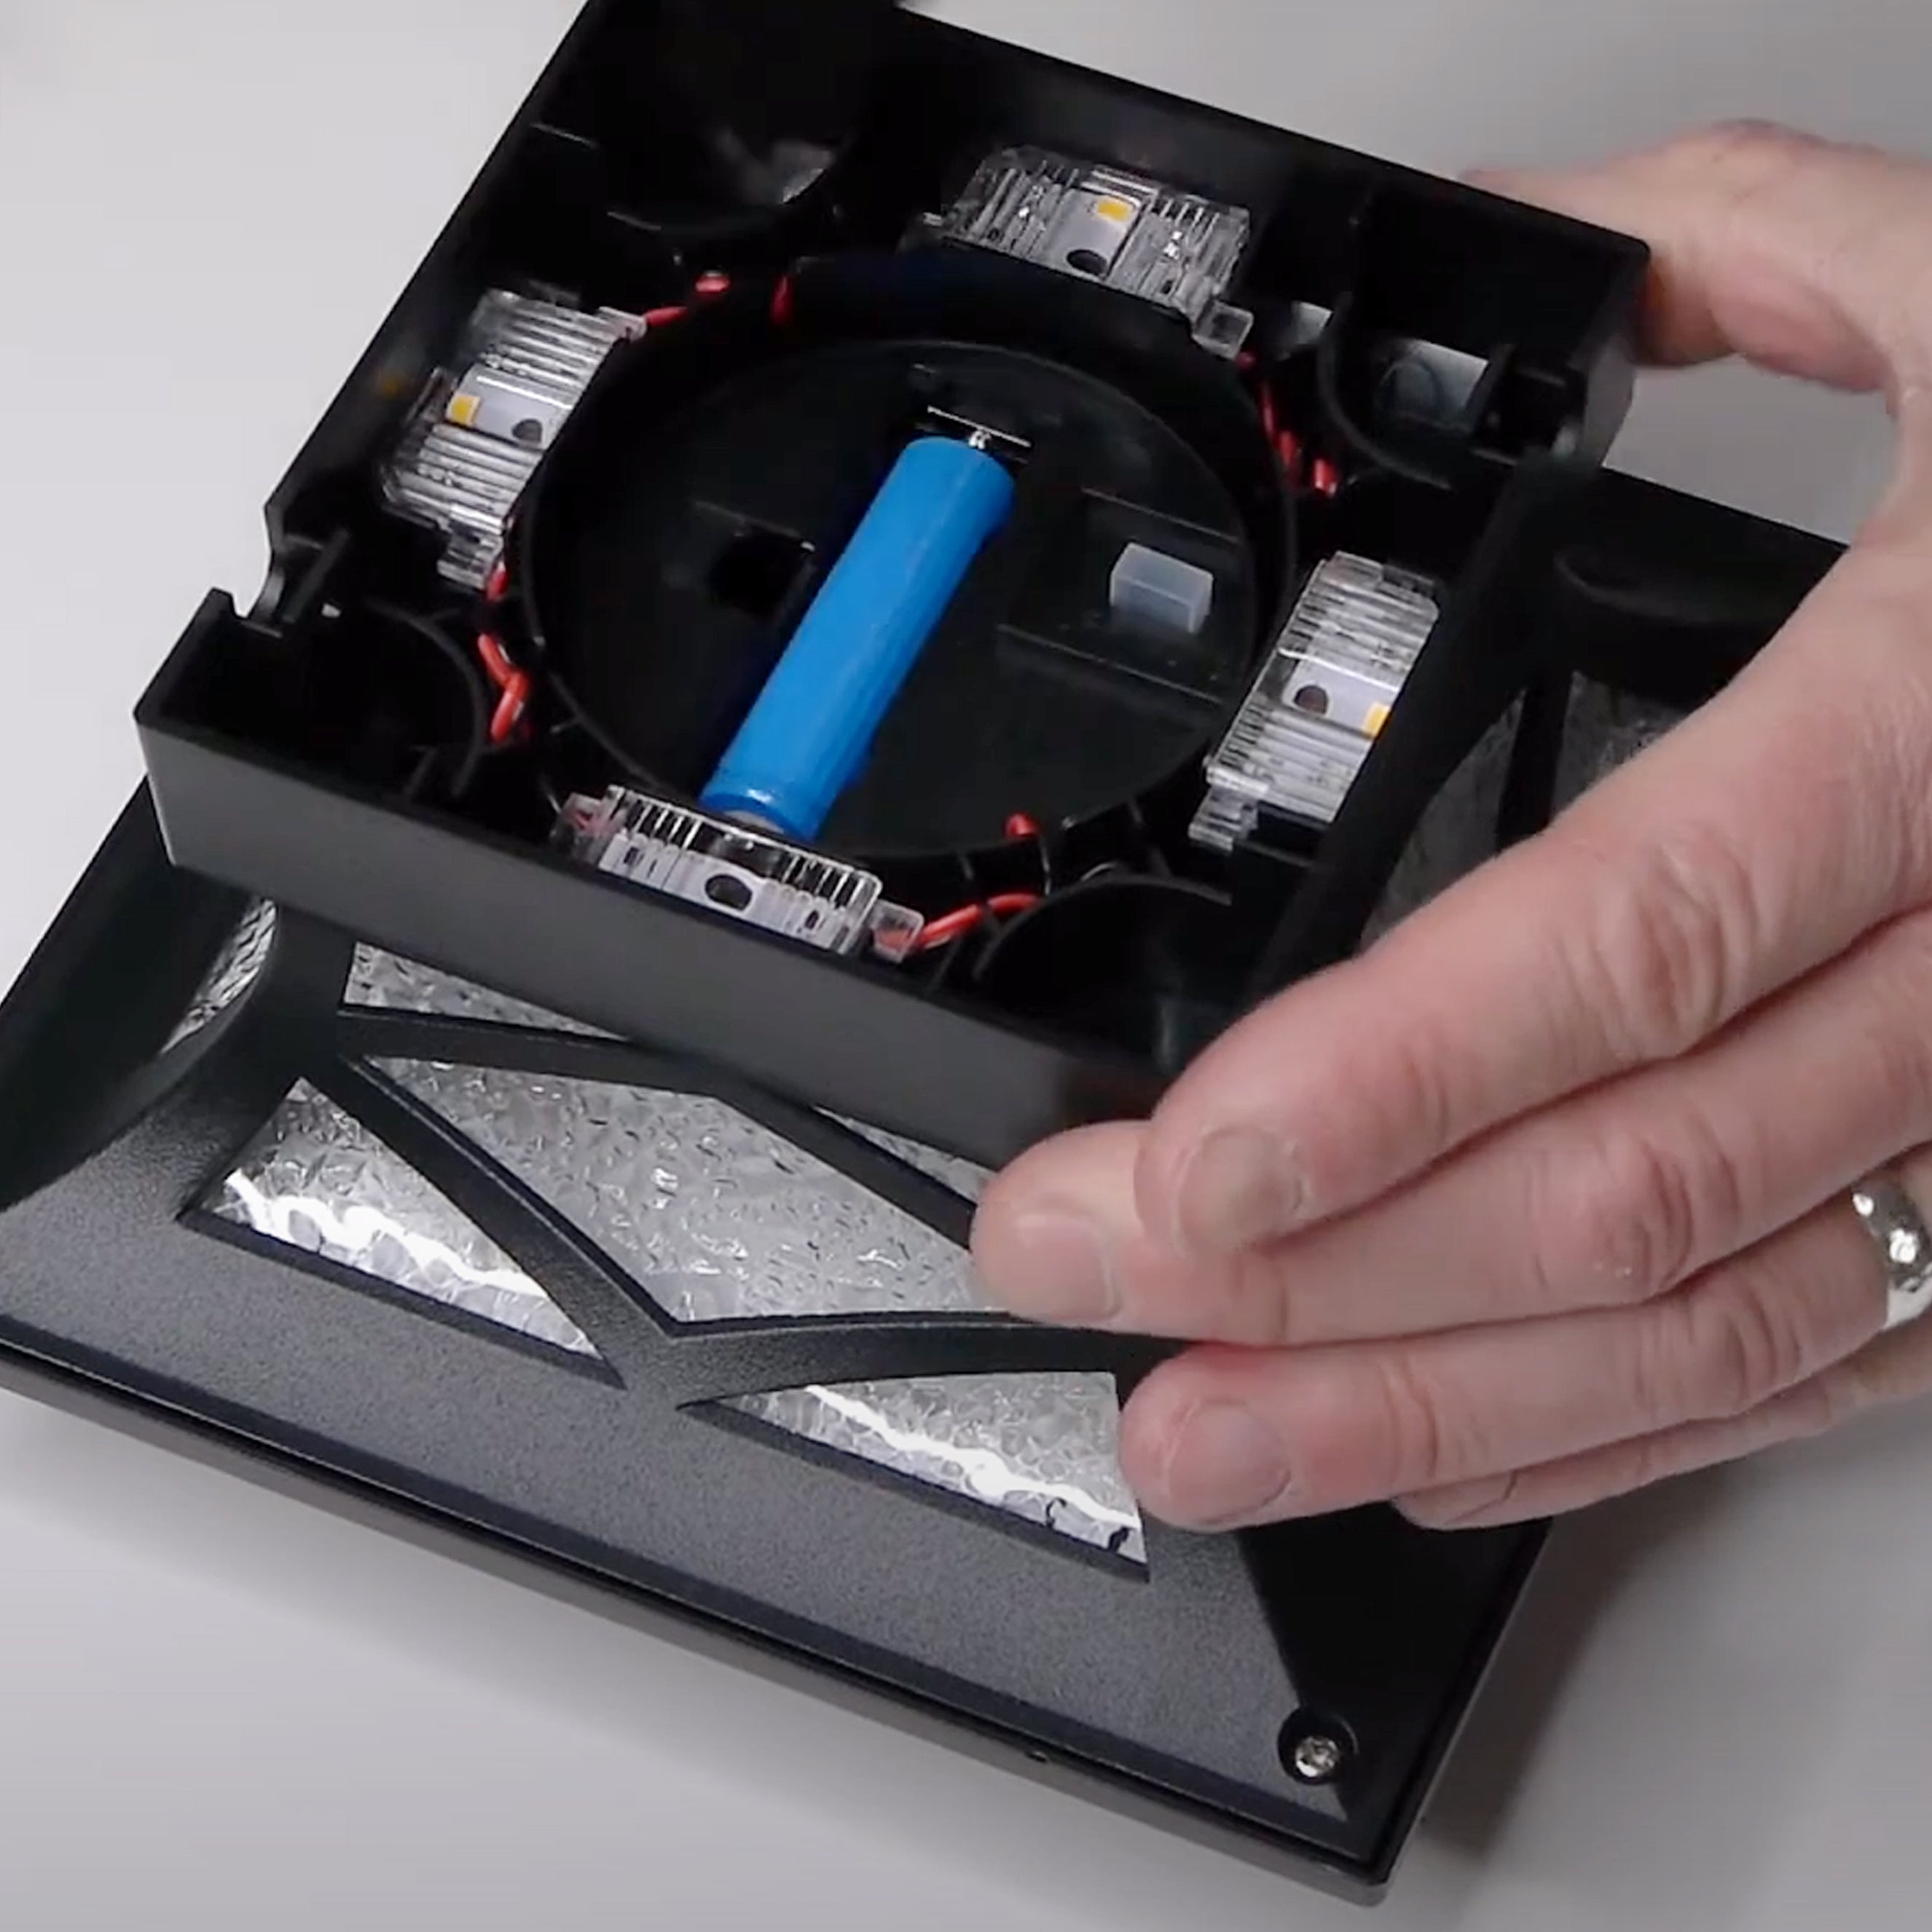
Insert Battery and Turn To AUTO
On the bottom of the light fixture, insert provided battery and turn the AUTO/OFF switch to AUTO.
Mount to Post
Secure to post with provided hardware. Attach screw covers to hide unsightly screw holes.
06.
How to Install #SLO82 Imperial Solar Post Cap
Install Battery & Turn AUTO/OFF Switch to AUTO
Twist-off the removable lid from base, then turn AUTO/OFF switch to AUTO. Twist the lid back into place.
Remove the Pre-Installed 2" x 2" Base adapter
The 2" x 2" adapter comes pre-installed. To install a different adapter, the 2" x 2" adapter must first be removed. If you are mounting to a 2" x 2" post, leave the 2" x 2" adapter installed.
Select Appropriate Adapter
Insert the adapter that best accommodates your post.
Press Firmly Onto Post
Apply the fixture firmly onto the post. The compression fit design does not require screws or drilling. An exterior grade caulking can be applied if desired.
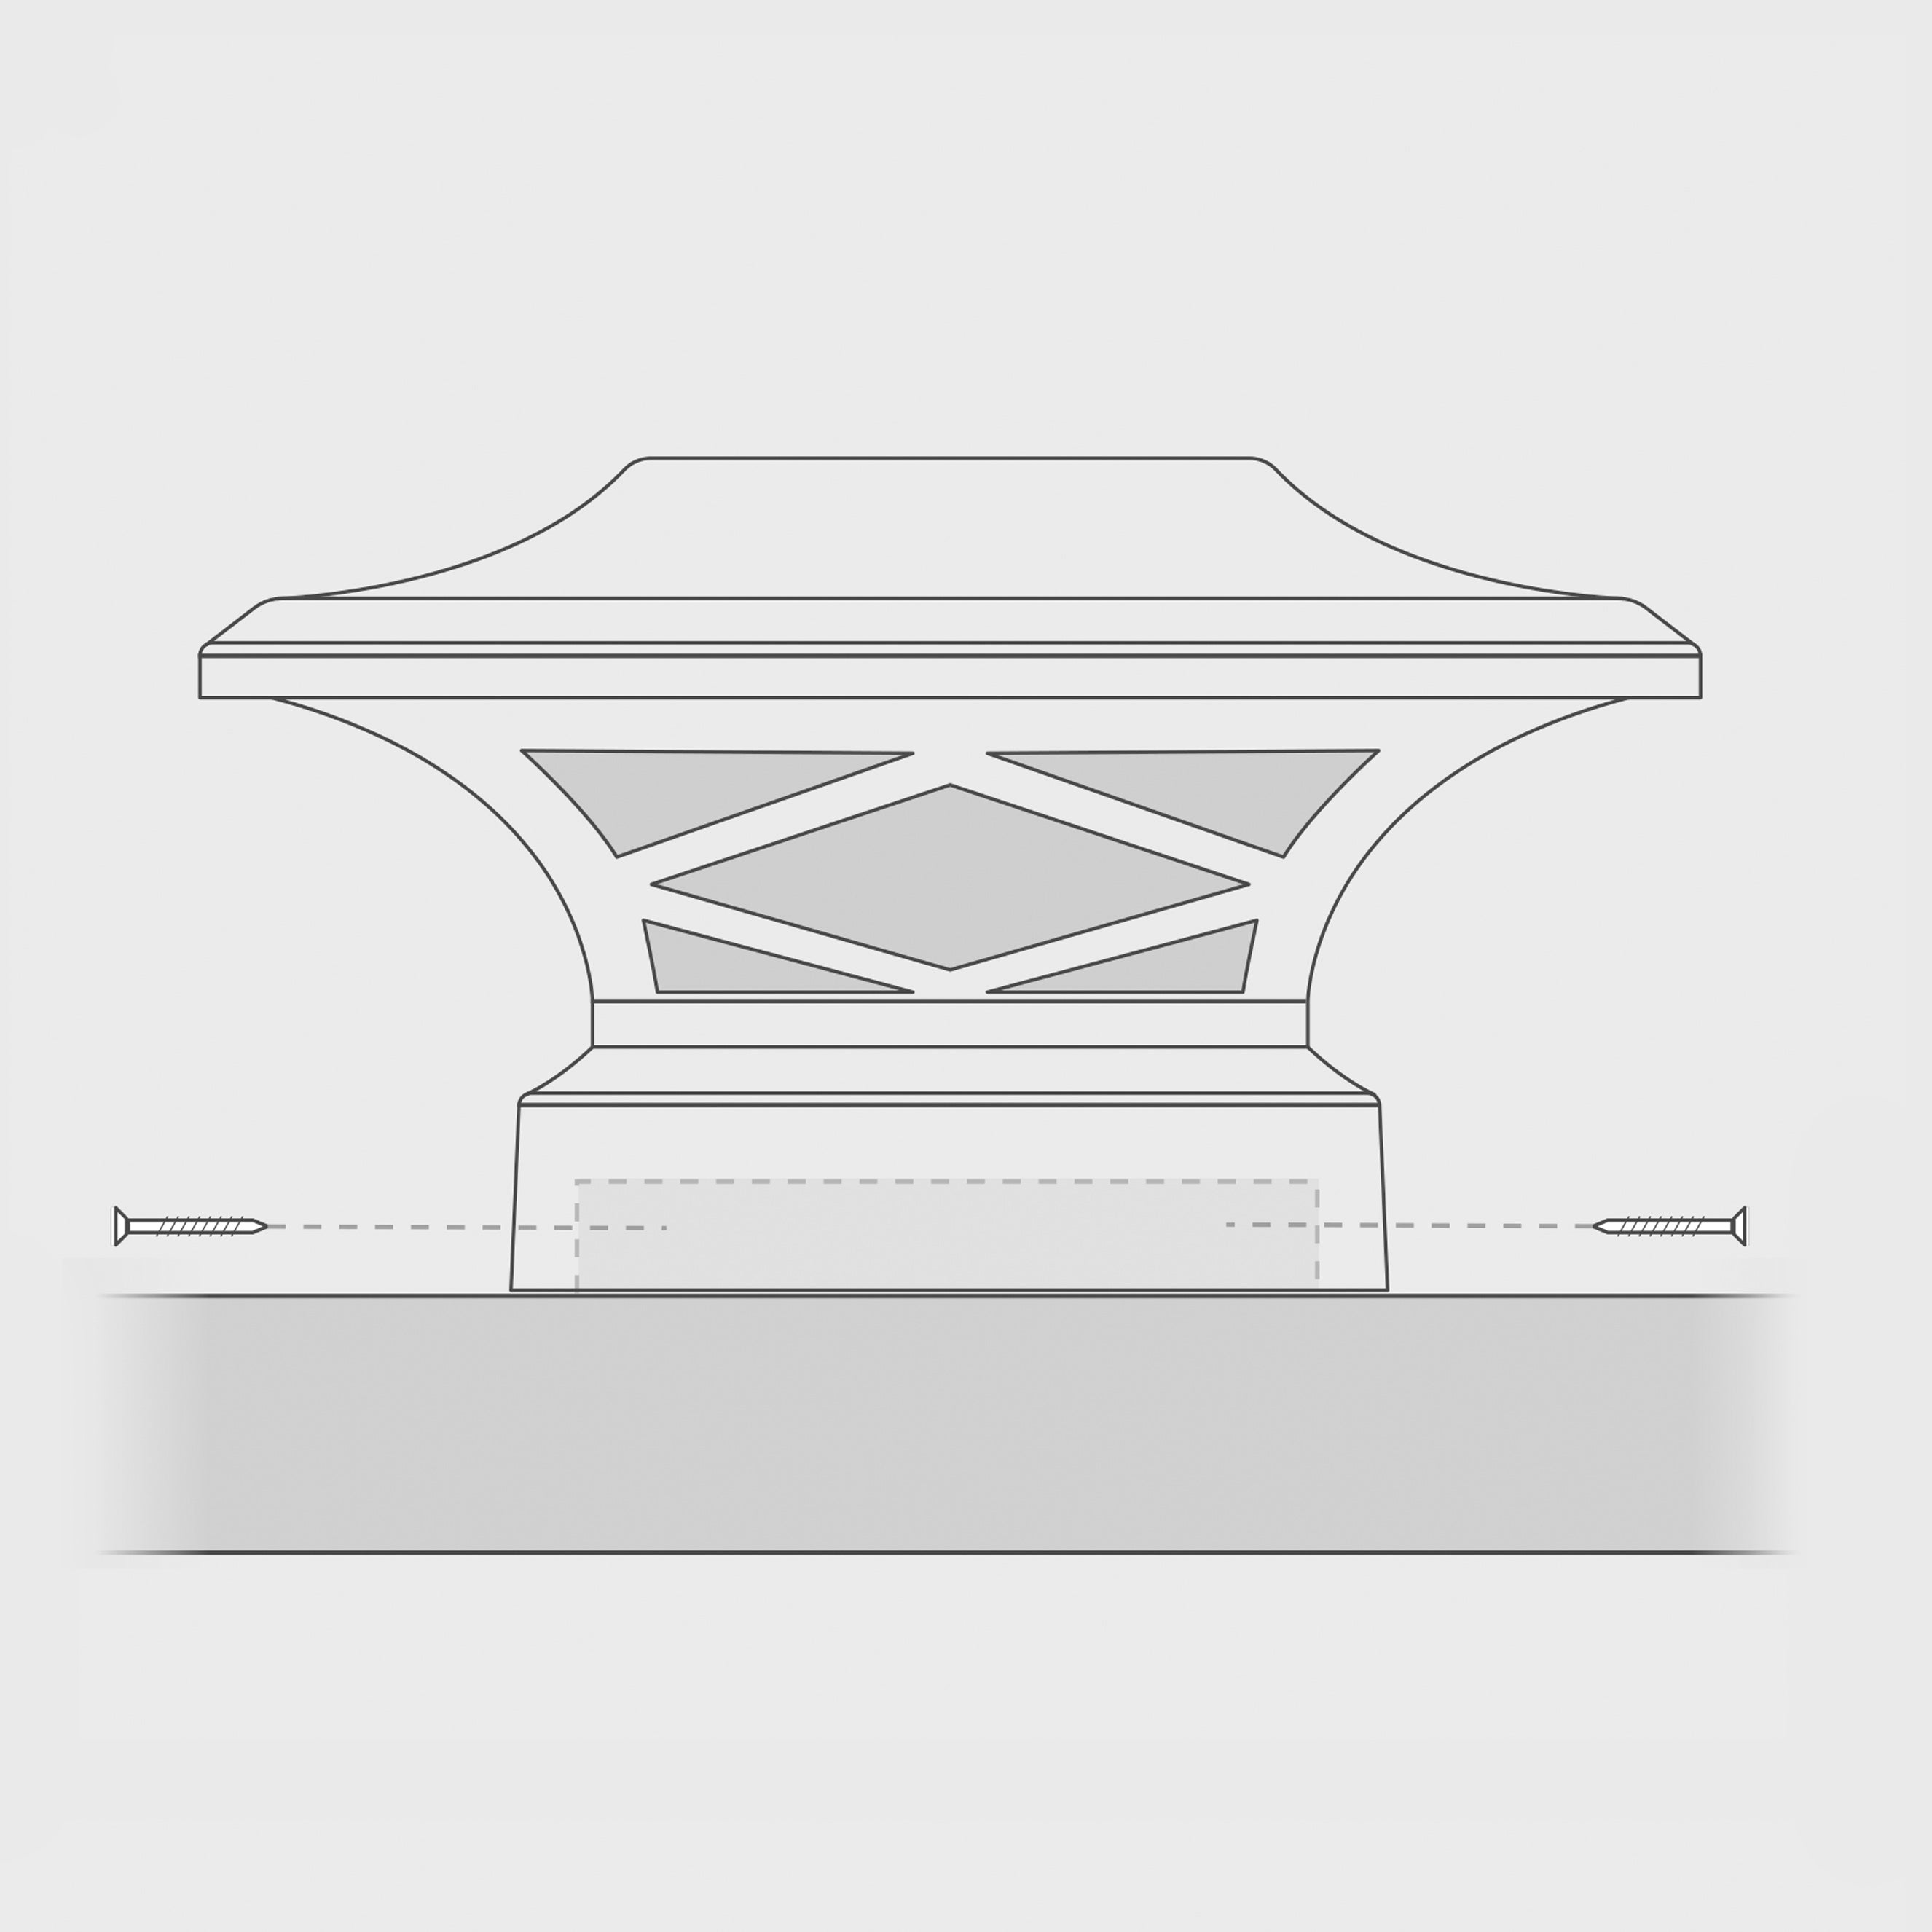
07.
How to Install #TRA45 4.5" x 4.5" Base Adapter
Remove Imperial Solar Post Cap Lid
Twist clockwise to remove lid from base.
Remove Lens From Base
Using a drill or screwdriver, remove the 4 screws that secure the clear lens to the aluminum base. Discard the aluminum base.
Replace Base and Reattach
Replace the discarded aluminum base with the #TRA45 4.5" x 4.5" Base Adapter. Reattach the clear lens to the base adapter using the existing screws.
Mount To Post
Ensure battery is installed and AUTO/OFF switch is set to AUTO. Twist to reattach the removeable lid. Place fixture onto post and secure using provided hardware.
08.
How to Install Solar Post Cap on Flat Railing

Saw-Off A Small Wood Block
Ensure the wood post is the required dimensions to accommodate the solar post cap. For Example: a 4" x 4" post for a 4" x 4" solar post cap.
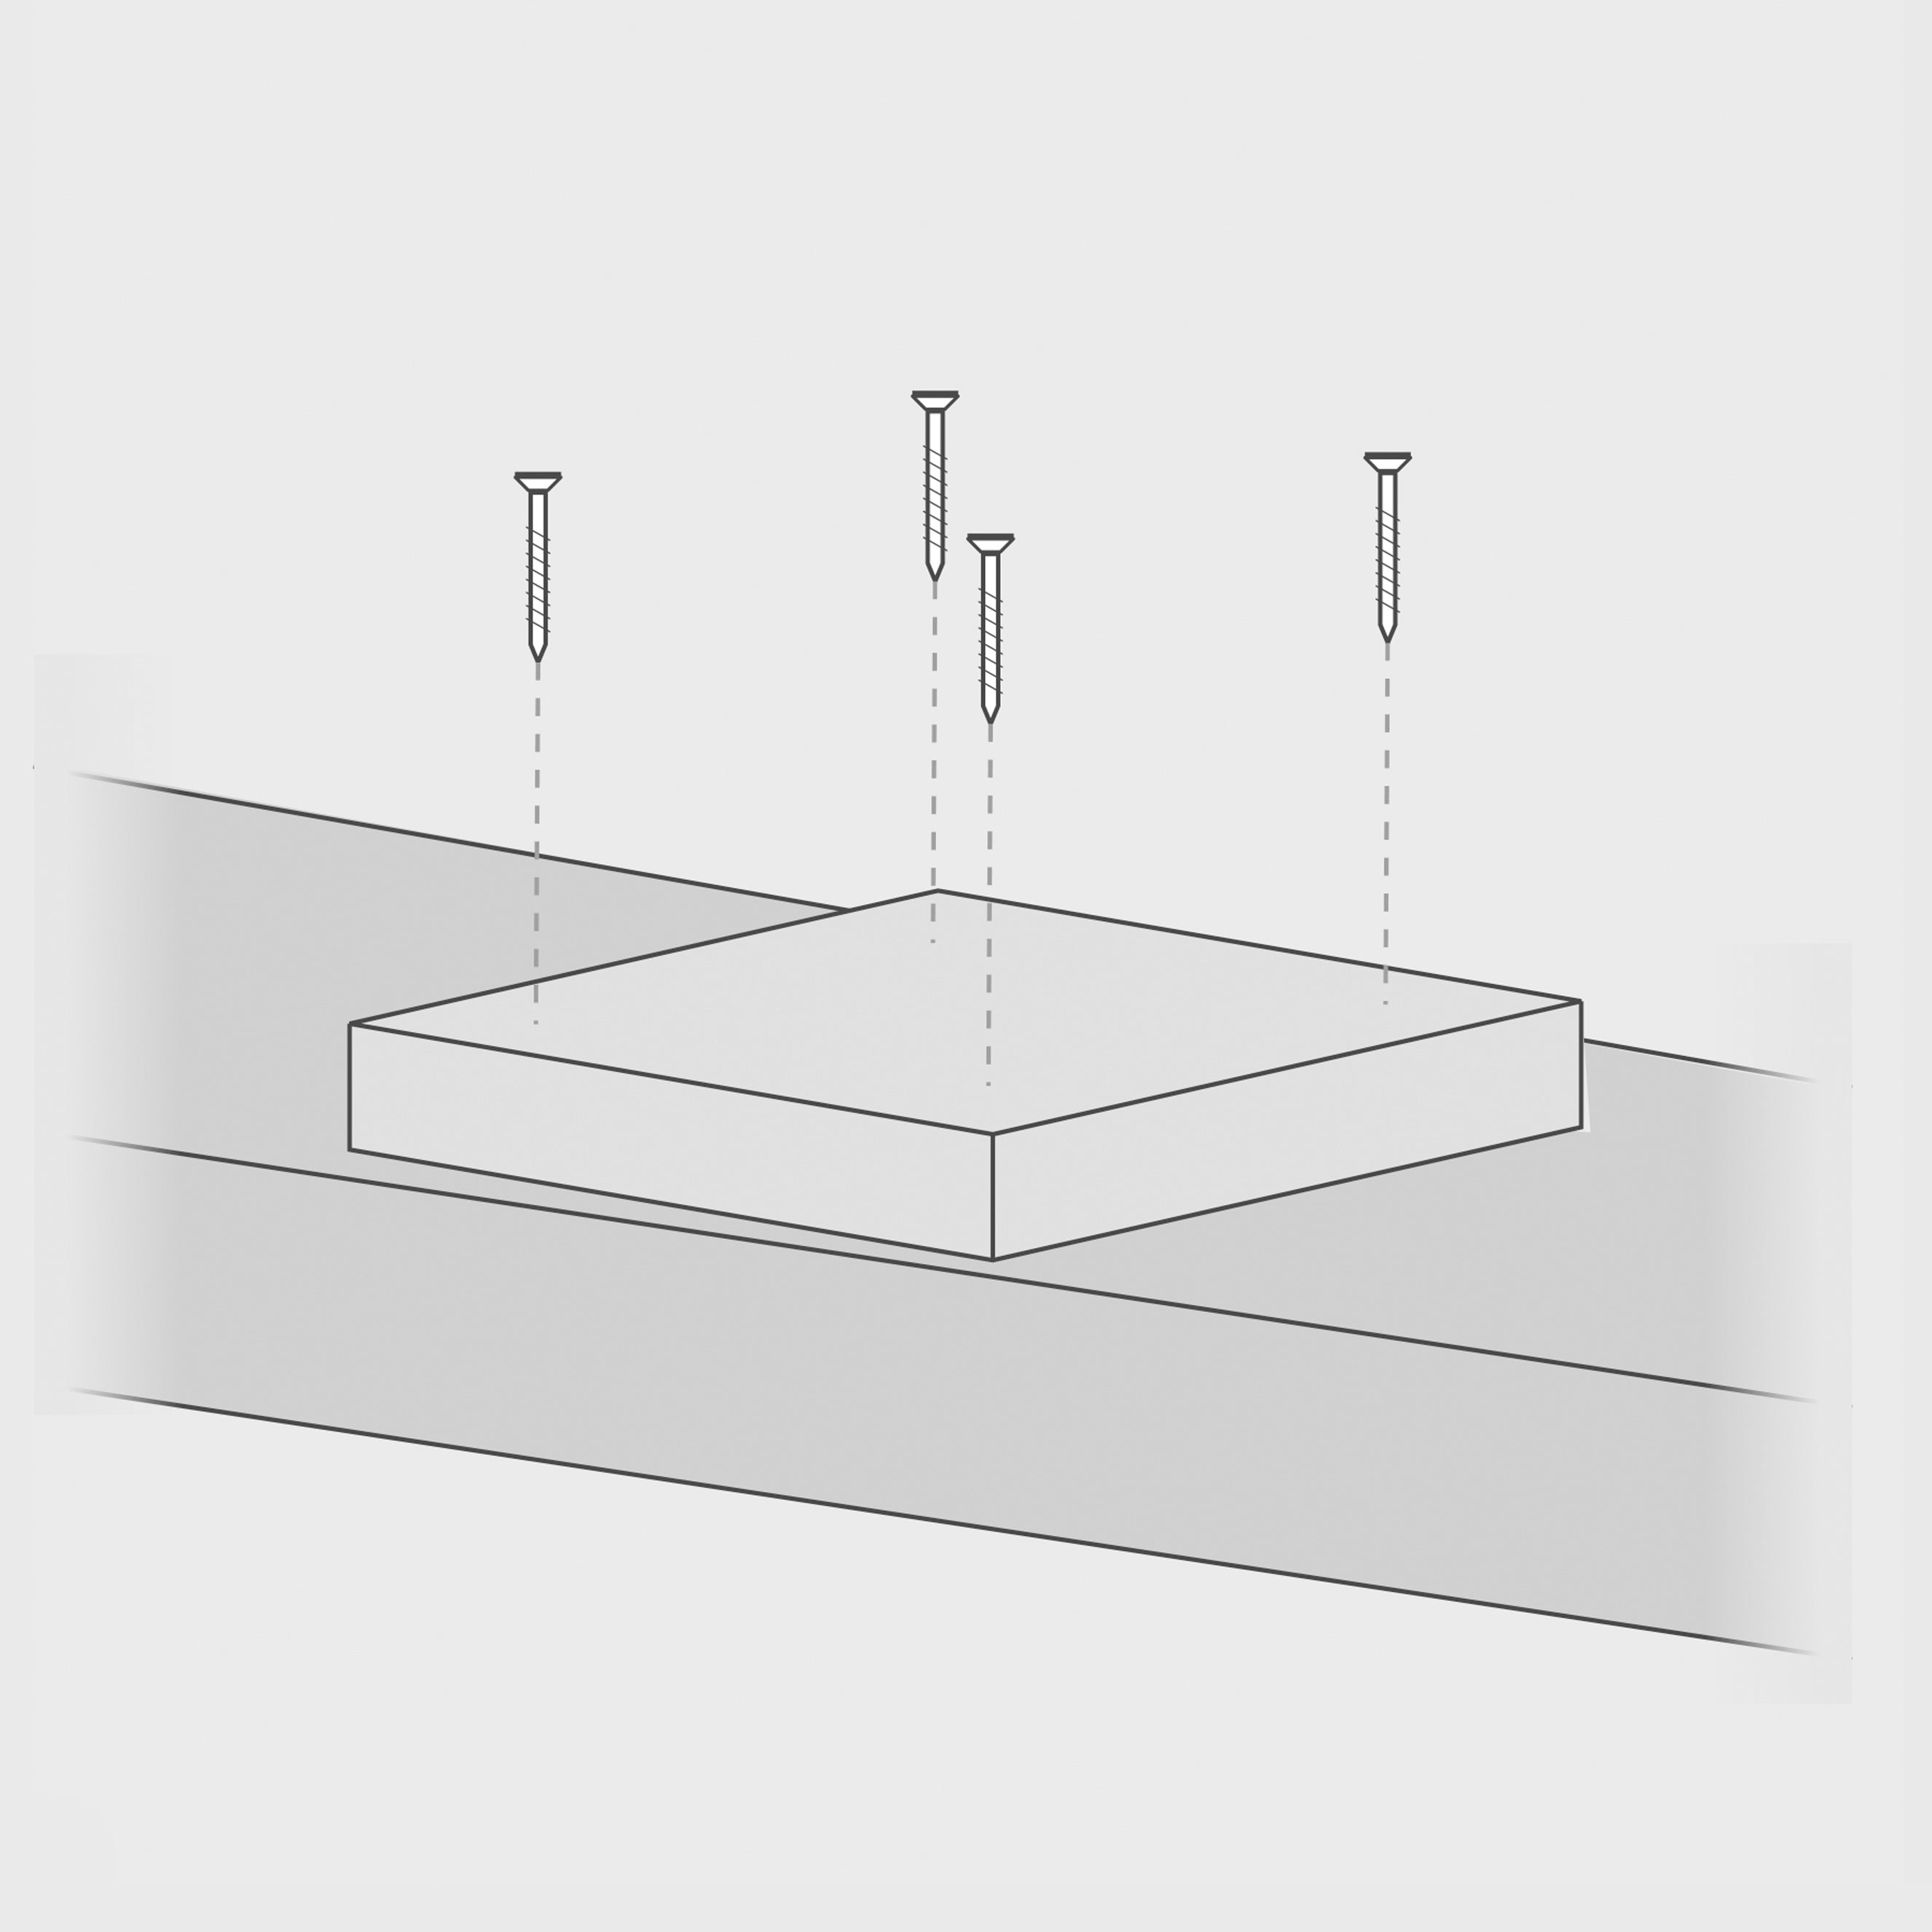
Secure The Block To The Railing
Fasten the block to the railing by drilling or gluing.
Secure Fixture To Wood Block
Place fixture onto wood block and secure using provided mounting hardware.